Drone motor failure is a common issue that can lead to crashes and costly repairs. Understanding the causes, symptoms, and how to address these failures is crucial for any drone pilot. This guide provides an in-depth look at drone motor failures, covering everything from prevention to repair, and even UK regulations related to drone operation.
What are the Key Components of Drone Motors?
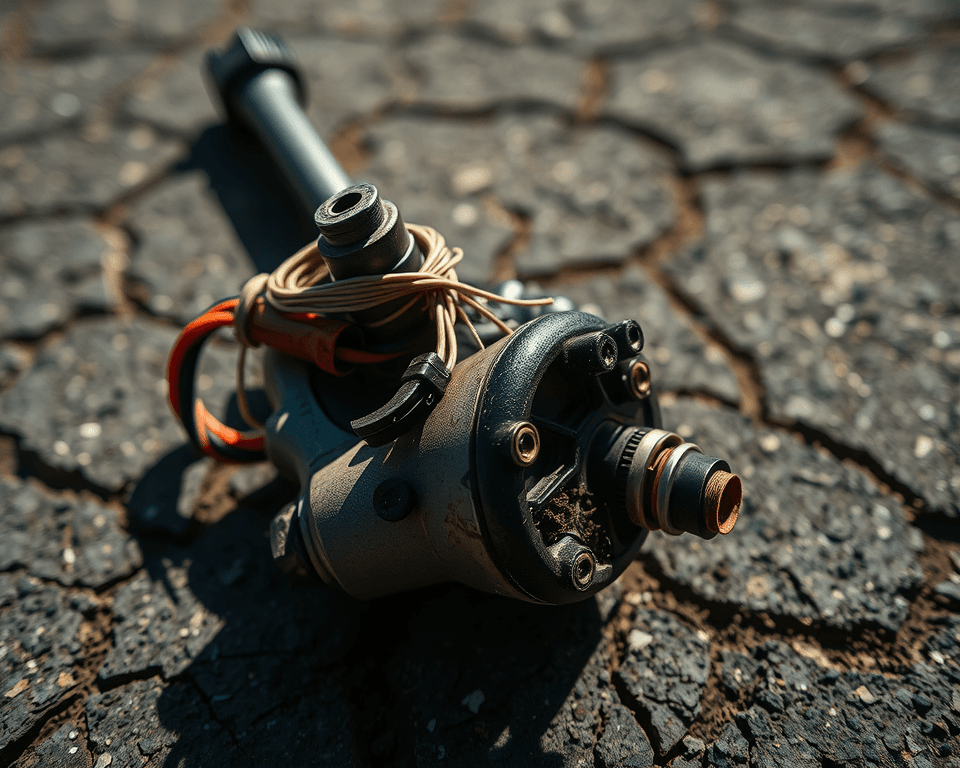
Drone motors are integral to a drone’s performance, stability, and efficiency. Here are their key components:
- Stator: The stationary part with copper windings that create a magnetic field when energized.
- Rotor: The moving part containing permanent magnets that interact with the stator’s magnetic field to enable rotation.
- Bearings: These minimize friction, ensuring smooth and efficient rotor movement.
- Electronic Speed Controller (ESC): This controls the motor’s speed and direction by regulating power delivery.
Common Causes of Drone Motor Failure
Several factors can lead to drone motor failure. Identifying these causes can help prevent future issues:
- Overheating: Excessive current draw, often due to overloading, prolonged high-speed operation, or an inadequate cooling system, can cause overheating.
- Physical Damage: Crashes, collisions, or rough landings can result in broken propellers, damaged motors or arms, or cracks in the drone’s body.
- Dirt and Debris: Accumulation of dirt, dust, and debris inside the motor housing can cause friction and wear.
- Bearing Wear: Dust, moisture, or environmental factors can cause friction, leading to worn bearings and reduced efficiency.
- ESC Issues: Faulty ESCs, loose or frayed wiring, or damaged motor windings can disrupt the motor’s commutation process.
- Propeller Problems: Improper propeller installation, deformed propellers or loose propellers can cause motor instability.
- Overload: Mounting overweight equipment or using larger propellers than recommended can cause the motor to output greater torque to maintain flight, leading to decreased motor speed and abnormal operation.
- Poor Battery Connection: Loose interfaces and oxidation of the metal can cause poor battery connection, due to vibrations during flight or long-term exposure of metal interfaces to the air.
- Damaged Power Cord: External forces such as extrusion and pulling can affect the power cord of the drone, resulting in line damage, short circuits or open circuits, and then cutting off the power supply to the motor.
- Flight Control System Failures: Component damage to electronic components or program errors can affect the start commands to the ESC.
- Electronic Speed Controller (ESC) Failures: Component damage to the MOS transistors inside the ESC or program error when upgrading the ESC can affect the motor’s normal start.
Recognizing the Symptoms of a Failing Drone Motor
Detecting a failing motor early can prevent in-flight failures and crashes. Common symptoms include:
- Unusual Noises: Grinding, squealing, or clicking sounds from the motor.
- Reduced Thrust: Diminished lift and flight dynamics.
- Rough or Jerky Movement: Irregular stuttering or an inability to start.
- Overheating: Motors becoming excessively hot during or after flight.
- Desyncing: Motor stalls or fails to spin at the same speed as other motors.
- Hot Frame: Overheated motor causes the drone frame to become hot during or after a flight.
- Drifting or Unstable Flight: Drifting in one direction or difficulty maintaining stability.
- Motor Twitching: Motor twitches instead of spinning when armed.
Troubleshooting Drone Motor Issues
When a drone motor malfunctions, follow these troubleshooting steps:
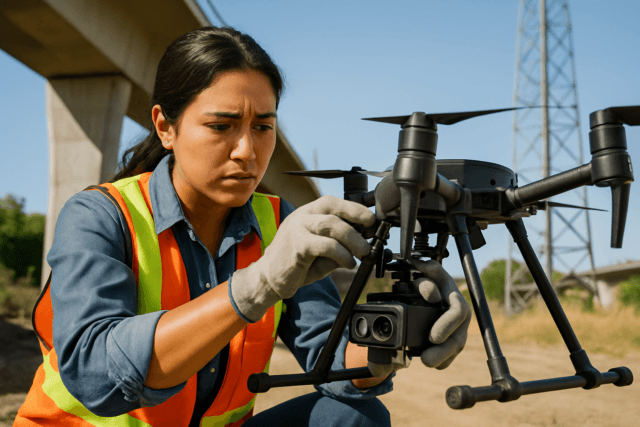
- Visual Inspection: Check for any visible signs of damage, such as broken propellers, damaged wires, or loose connections.
- Motor Test: Power up the drone (without propellers attached) and check that each motor is functioning correctly.
- Conductivity Check: Use a multimeter to check for continuity between the motor wires and the drone frame, which can indicate a short circuit.
- Component Examination: Disassemble the motor and inspect the windings, bearings, and magnets for damage.
- ESC Check: Inspect the ESCs for overheating or damage, as they regulate the motors and any breakdown can cause erratic flight.
- Battery Check: Ensure the battery is holding a charge and providing enough power for flight.
- Recalibrate Flight Controller: If the drone is acting erratically, recalibrating the flight controller can often solve the problem.
Essential Maintenance Tips for Drone Motors
Regular maintenance is key to extending the life of drone motors and ensuring optimal performance:
- Regular Cleaning: Clean motors regularly with a soft brush or compressed air to remove dirt and debris.
- Inspect Propellers: Check for cracks, chips, or imbalances and replace damaged propellers promptly.
- Lubricate Bearings: Apply a light lubricant to the bearings at regular intervals, avoiding over-lubrication.
- Monitor Motor Temperature: Ensure motors are not overloaded and the cooling system is functioning effectively.
- Check Electrical Connections: Inspect the electrical connections to ensure they are tight and free of corrosion.
- Cool Down Period: Allow the motors to cool down before touching or storing the drone.
Step-by-Step Guide to Replacing a Drone Motor
Replacing a drone motor involves several steps. Here’s a detailed guide:
- Gather Tools and Materials: You’ll need a screwdriver, soldering iron, solder, replacement motor, wire strippers, and heat shrink tubing.
- Disconnect the Battery: Ensure the drone is powered off and the battery is disconnected.
- Remove the Damaged Motor: Unscrew the motor from the drone frame and detach the wires from the ESC.
- Prepare the New Motor: Strip the ends of the new motor’s wires and tin them with solder.
- Connect the New Motor: Solder the new motor wires to the ESC, ensuring correct polarity.
- Secure the Connections: Cover the solder joints with heat shrink tubing to prevent shorts.
- Mount the New Motor: Screw the new motor onto the drone frame.
- Test the Motor: Connect the battery and power on the drone to test the new motor.
UK Drone Laws and Regulations
Operating a drone in the UK is subject to specific regulations to ensure safety and responsible use. Key points include:
- Registration: Anyone flying a drone weighing over 250g must register with the Civil Aviation Authority (CAA) and obtain a Flyer ID.
- Operator ID: If a drone is equipped with a camera, the operator must register for an Operator ID with the CAA. This ID must be displayed on the drone.
- Flyer ID: Anyone 13 or older can get a Flyer ID by themselves (children under 13 must have a parent help them). A Flyer ID is valid for 5 years before you need to re-take the test
- Height Restrictions: Drones must not be flown above 400 feet (120 meters) from the earth’s surface.
- Visual Line of Sight (VLOS): The drone must be operated within visual line of sight. If flying using first-person view (FPV), a competent observer must maintain VLOS.
- Restricted Areas: Do not fly within restricted airspace, such as near aerodromes, unless you have permission.
- Privacy: Respect other people’s privacy and be aware of data protection laws when using photos and videos.
- Insurance: Commercial drone operators may require insurance.
- Open Category: Recreational flyers must adhere to the rules of the Open Category, keeping the drone within VLOS and not flying higher than 400 ft.
- Specific Category: Operations that can’t be performed in the Open Category can be performed in the Specific Category, requiring an Operational Authorisation from the CAA.
- Labelling: Label drones and model aircraft with your operator ID visibly from the outside or within an easily accessible compartment.
How to Extend the Life of Your Drone Motor
Extending the life of your drone motors requires regular maintenance and attention to detail. By implementing proper care and preventative measures, one can ensure optimal performance and longevity of the drone’s motors.
- Regular Cleaning: Dirt, dust and debris can accumulate in the drone motor and its components, causing friction and wear. Cleaning motors regularly with a soft brush or using compressed air to remove dirt and debris.
- Inspect Propellers: Check for any cracks, chips or imbalances in the propeller. Damaged or unbalanced propellers place extra stress on the drone motor, which can lead to overheating and premature wear.
- Lubricate Bearings: Proper lubrication of the drone motor bearing helps reduce friction and wear and tear. Apply a light lubricant to the bearings at regular intervals but be careful not to over-lubricate, as excess grease can attract more dirt.
- Monitor Motor Temperature: Overheating is a common cause of drone motor failure. Ensure motors are not overloaded and the cooling system is functioning effectively.
- Battery Care: Take the battery out of the drone and let it cool down. Always keep the battery in a cool, dry area and never leave it fully charged for long periods of time. For long-term storage, discharge it to roughly 50-60%.
- Cool down period: Allow the motors to cool down before touching or storing the drone. Running motors for a long period of time can cause them to overheat and shorten their lifespan.
Drone Motor Failure: Common Problems and Solutions
Several issues can arise with drone motors, each requiring specific solutions:
- Worn-out Bearings: Replace worn-out bearings to prevent excessive vibration and control issues.
- Controller Issues: Check and adjust the motor’s controller settings, replacing it if necessary.
- Damaged Windings: Replace damaged windings to restore the motor’s efficiency.
- ESC Problems: Inspect and replace faulty ESCs to ensure proper motor regulation.
- Overheating: Reduce the load on the motor and improve cooling to prevent overheating.
What Happens If Drone Motors Overheat?
Drone motor overheating can cause several problems:
- Desyncing motors: Overheating of a drone motor can cause desyncing, where a motor stalls or fails to spin at the same speed as the other motors, leading to loss of control.
- Loss of magnetic strength: Prolonged overheating can weaken the magnets inside the motor, reducing its efficiency and power.
- Hot frames: An overheated drone will cause the drone frame to become hot during or after a flight.
- Damaged Windings: High temperatures can damage the motor’s windings, leading to reduced performance or complete failure.
- Drone motor failure: In extreme cases, overheating can cause the drone motor to fail completely, resulting in a crash.
DIY vs Professional Repair
When faced with a drone motor failure, you might consider whether to attempt a DIY repair or seek professional help.
DIY Repair:
- Pros: Cost-effective, learn valuable skills, and have control over the repair process.
- Cons: Requires technical knowledge, specialized tools, and carries the risk of further damage if not done correctly.
Professional Repair:
- Pros: Ensures the repair is done correctly, saves time and effort, and may come with a warranty.
- Cons: Can be expensive, and you may have to wait for the repair to be completed.
Ultimately, the decision depends on your technical skills, available resources, and the complexity of the issue.
The Future of Drone Motor Technology
Drone technology is continuously evolving, and advancements in motor technology are playing a significant role. Some trends include:
- More Efficient Motors: New motor designs and materials are increasing efficiency, allowing for longer flight times.
- Improved Cooling Systems: Advanced cooling systems are preventing overheating and extending motor life.
- Smart Motors: Motors with built-in sensors and diagnostics are providing real-time feedback on performance and potential issues.
- Emergency Control Strategies: Onboard cameras can be used to stabilize the drone and keep it flying autonomously after one rotor suddenly gives out
Final Thoughts
Drone motor failure can be a significant setback, but with the right knowledge and proactive measures, you can minimize the risk and ensure your drone stays in top condition. Regular maintenance, prompt troubleshooting, and adherence to UK drone laws are essential for safe and enjoyable flying.


