Is your drone’s camera failing to capture stunning aerial shots? A malfunctioning drone camera can be frustrating, whether you’re a hobbyist or a professional. This guide provides comprehensive troubleshooting steps to diagnose and fix common drone camera issues, ensuring you get back to capturing breathtaking footage in no time.
Common Drone Camera Problems
Before diving into solutions, it’s helpful to understand the common problems that can plague drone cameras:
- Blurry or Distorted Footage: This could be due to a dirty lens, incorrect camera settings, or gimbal issues.
- Shaky Footage: Often caused by gimbal instability, wind, or improperly attached propellers.
- Camera Not Responding: The camera might not respond to commands from the remote controller or app.
- Image Capture Failure: The drone fails to take photos or record videos.
- Overexposed or Underexposed Images: Incorrect exposure settings can lead to poorly lit images.
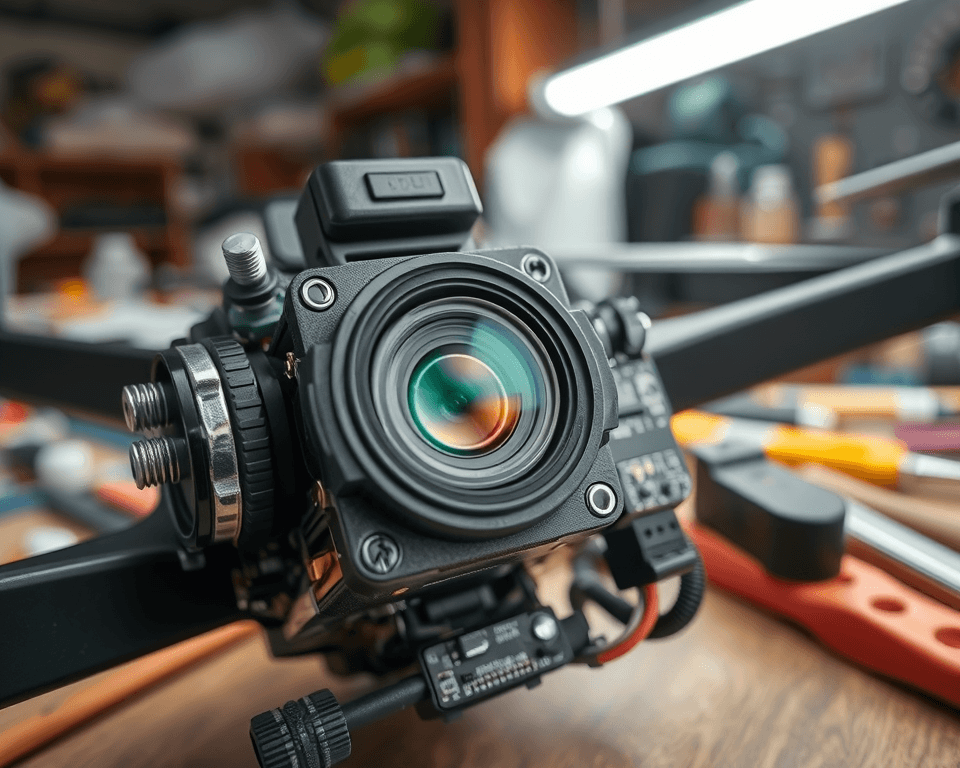
- Camera Gimbal issues: These are common among drone owners who use their drones for aerial photography or videography. Signs of camera and gimbal issues include blurry or distorted footage, shaky footage, or the camera not responding to control inputs properly.
Troubleshooting Steps
Here’s a step-by-step guide to troubleshooting your drone camera:
1. Initial Checks
- Battery Level: Ensure both the drone and the remote controller have sufficient battery power. Low battery can sometimes affect camera performance.
- Physical Damage: Inspect the drone, especially the camera and gimbal, for any signs of physical damage, loose connections, or detached parts.
- Gimbal Cover: Make sure the gimbal cover has been removed before powering on the drone. The gimbal cannot move correctly with the cover.
2. Camera and Gimbal Inspection
- Secure Attachment: Confirm that the camera and gimbal are securely attached to the drone.
- Clean Lens: A dirty lens is a common cause of blurry footage. Gently clean the lens with a soft, lint-free cloth to remove any dust, fingerprints, or debris.
- Gimbal Obstructions: Check for any obstructions that might prevent the gimbal from moving freely. Remove any debris or foreign objects.
- Shock Absorbing Ball: Check whether the shock-absorbing ball is installed correctly
3. Software and Firmware
- Restart Devices: Turn off both the drone and the remote controller, then turn them back on. This can resolve temporary software glitches.
- Firmware Updates: Outdated firmware can cause various issues. Regularly check for and install the latest firmware updates from the drone manufacturer’s website or app. These updates often include bug fixes and performance improvements.
- App Compatibility: Ensure you are using the latest version of the drone’s companion app on your mobile device.
- Refresh Firmware: Use the DJI Assistant 2 software to refresh the firmware
4. Camera Settings
- Proper Configuration: Verify that the camera settings are properly configured for your needs, adjusting parameters such as exposure, white balance, and resolution.
- Exposure Mode: Make sure the exposure mode is set to Auto. If using manual settings, ensure they match the current lighting conditions.
- Focus: Adjust the focus settings to ensure sharp images. Some drones offer manual focus controls.
5. SD Card Issues
- SD Card Compatibility: Use a high-quality SD card that meets the drone manufacturer’s specifications. Check the drone’s manual for the recommended type and capacity.
- Sufficient Speed: Make sure you are using at least a Class 10 (U3) SD card. Using slower cards can cause image capture to fail.
- SD Card Errors: Check DJI GO to make sure there are no SD errors.
- Storage Location: Ensure the storage location for images is set to SD card. Some drones have the option to save internally.
- Format SD Card: Format your SD card in the drone’s app or on a computer. This can resolve file system errors that may be preventing image capture.
- SD Card Space: Check whether there is still storage space on the SD card, if the SD card storage is full, please format or delete some files before taking photos and videos
- SD Card Health: If the SD card is old, replace it with a newer, U3 rated SD card capable of writing 4K video.
- SD Card Issues: There may be abnormal data in the SD card, which affects the photo and video functions. You need to format it to be able to use it normally.
- SD Card Compatibility: Try to replace the SD card compatible with the drone, we recommend the use of U1 (UHS Speed Class 1) or C10 (Class 10) SD card or above.
6. Connection and Signal
- Pairing: Ensure the drone and controller are correctly paired and connected before each flight.
- Signal Interference: Wi-Fi networks, power lines, and other electronic devices can disrupt the signal between your drone and controller. Try flying in an open area away from such sources of interference.
- Antenna Position: Adjust the remote controller antennas to get the optimum video transmission quality. Confirm whether the antenna plane of the remote controller is aligned with the direction of the drone. Do not point the top of the antenna towards the drone, as this will weaken the signal.
- Antenna Damage: Check the antennas on both the drone and controller for damage.
7. Gimbal Calibration
- Calibration: If the gimbal is not stabilizing properly, refer to the manufacturer’s instructions to recalibrate it. This process helps restore smooth, stable footage.
- Level Surface: Ensure the drone is on a level surface during calibration.
8. GPS and Navigation
- GPS Signal Strength: Check the GPS signal strength on the drone’s controller or app.
- Compass Calibration: Ensure that the drone’s compass is properly calibrated.
- Open Areas: Fly in open spaces with a clear view of the sky. Tall buildings or trees can block the GPS signal.
- Metal Interference: Move away from any metal objects (such as your car) to prevent interference.
9. Environmental Factors
- Wind Conditions: Avoid flying in strong winds, as this can affect camera stability and image quality.
- Temperature: Be mindful of extreme temperatures. Overheating can cause the camera to malfunction.
10. Advanced Troubleshooting
- DJI Assistant 2: Use the DJI Assistant 2 software to diagnose and troubleshoot more complex issues. This software can also be used to update or refresh the firmware.
- Error Codes: Check for any error messages displayed on the remote controller or in the app. Refer to the drone’s manual or the manufacturer’s website for information on specific error codes.
11. Contact Support
- Professional Help: If you’ve tried all the above steps and the camera still isn’t working, contact the drone manufacturer’s support team or visit a certified repair center.
Common Error Messages and Solutions
Here are some common error messages and how to address them:
- Camera Malfunction (Code 10001): This could indicate a hardware issue. Try restarting the drone and calibrating the camera. If the error persists, contact support.
- Gimbal IMU Data Error (Code 40021): This error suggests a problem with the gimbal’s inertial measurement unit (IMU). Calibrate the gimbal. If that doesn’t work, contact support.
- Camera Not Calibrated (Code 10016): Calibrate the camera following the manufacturer’s instructions.
- Downward Vision Sensor Error (Codes 180016, 180030, 180031): Restart the drone. If the error continues, the sensors may be damaged, and you should contact support.
- No GPS Signal (Codes 30007 & 30008): Ensure you are flying in an open area with a clear view of the sky.
Maintaining Optimal Performance
- Pre-Flight Checks: Before each flight, perform a thorough pre-flight check, including battery level, connection, and calibration.
- Regular Maintenance: Regularly inspect and clean the drone, including the camera lens and gimbal.
- Safe Flying Practices: Fly within visual line of sight, maintain a safe distance from people and property, and be aware of your surroundings.
- Proper Storage: Store the drone and batteries in a cool, dry place away from direct sunlight.
Conclusion
Troubleshooting a drone camera can be a process of elimination. By following these steps, you can identify and resolve many common issues. Remember to consult your drone’s manual for specific instructions and safety guidelines. With a little patience and persistence, you’ll be back to capturing stunning aerial footage in no time.
