Drone flying can be an exhilarating experience, but controller issues can quickly ground your fun. This guide provides a comprehensive overview of common drone controller problems, their causes, and practical solutions to get you back in the air safely and swiftly.
Understanding Drone Controller Issues
Drone controllers are essential for piloting your aerial vehicle. When they malfunction, it can lead to a frustrating and potentially dangerous situation. Addressing these issues promptly is crucial for maintaining control and ensuring flight safety.
Common Controller Problems
- Connectivity Issues: The drone doesn’t connect or respond to the controller.
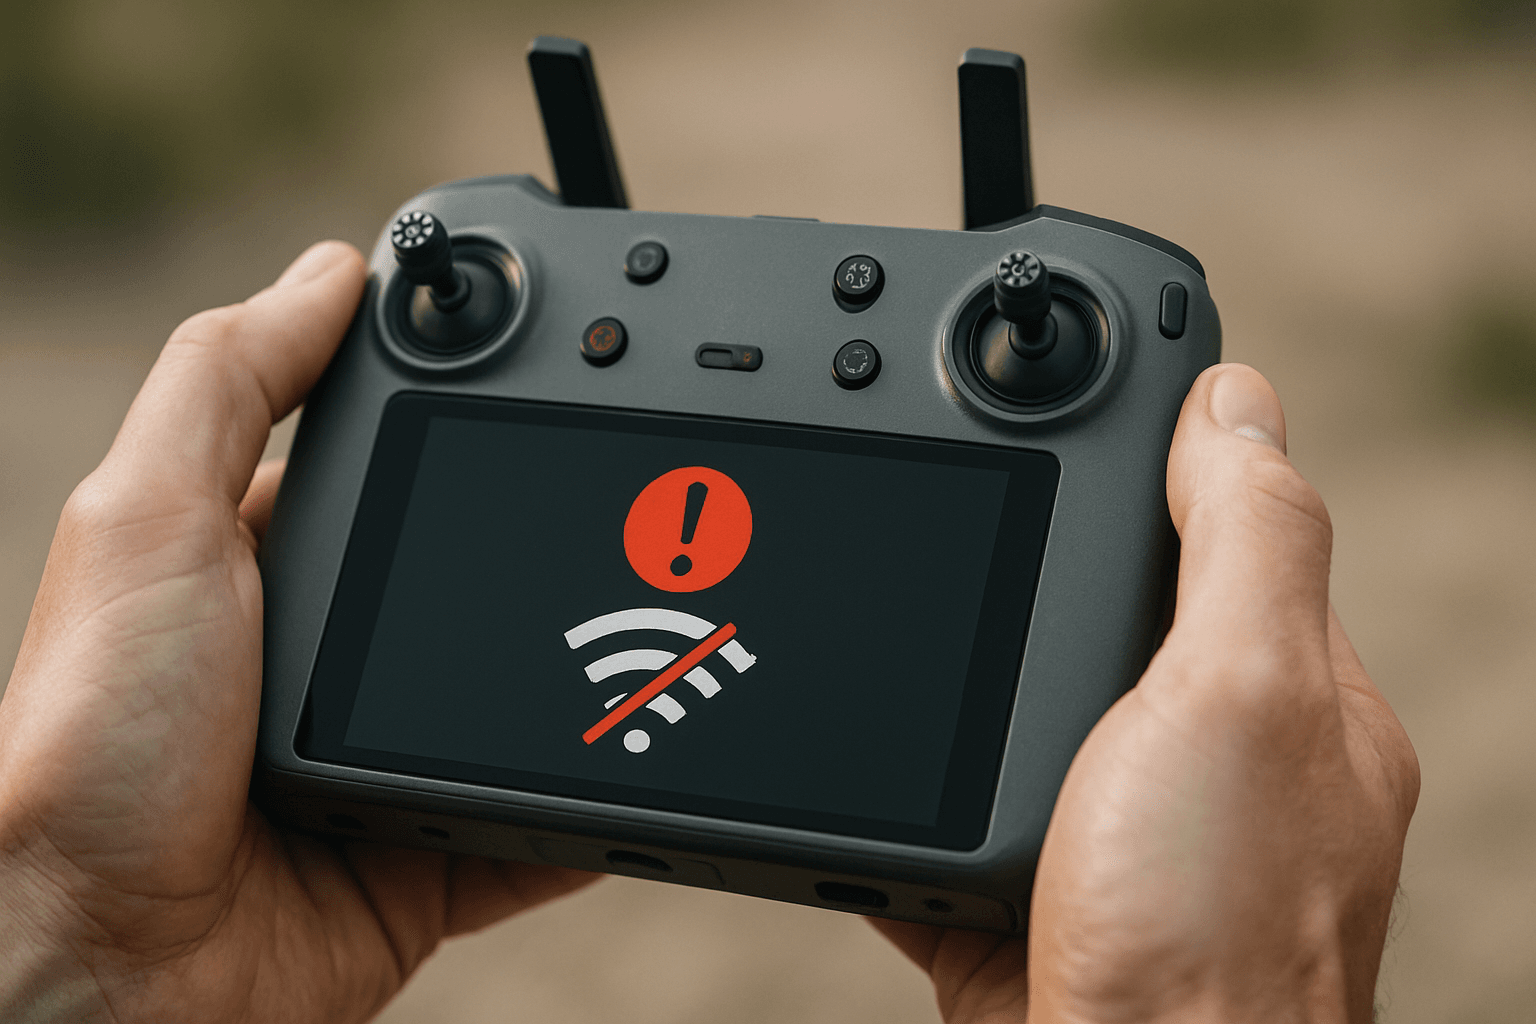
- Signal Loss: The controller loses connection mid-flight.
- Drifting: The drone drifts in one direction without input.
- Calibration Problems: The controller requires frequent calibration or fails to calibrate.
- Firmware Issues: Problems arise during or after firmware updates.
- Charging Problems: The controller doesn’t charge or has a shortened battery life.
- Physical Damage: Damaged antennas, ports, or buttons affect performance.
Troubleshooting Connectivity Issues
A stable connection between the drone and its controller is paramount. Here’s how to troubleshoot connectivity problems.
Initial Checks
- Battery Levels: Ensure both the drone and controller batteries are fully charged. Low batteries can prevent proper connection.
- Pairing: Verify that the drone and controller are correctly paired. Consult the user manual for specific pairing instructions, as the process varies by model.
- Reboot: Perform a simple reboot of both the drone and the controller. Turn off both devices, wait a few seconds, and then power them back on.
Advanced Troubleshooting for Connection Problems
- Cable Connections: Inspect USB ports and cables for damage or debris. Use a high-quality cable known to work with data transfer.
- Physical Damage: Check for any physical damage to the drone or controller, such as cracks, dents, or loose parts.
- Firmware Updates: Update the firmware on both the drone and the controller. Firmware problems can cause connection issues.
- App Updates: Ensure you’re using the latest versions of the drone control app.
- Interference: Check for interference from nearby electronic devices or radio signals. Try flying in an open area away from potential sources of interference like Wi-Fi networks, power lines, and other electronic devices.
- Reset Connections: Inspect and reset connections to ensure they are properly aligned.
- Try a Different Device: If possible, try connecting your drone to a different mobile device to see if the problem is isolated to your phone.
- Check Ports: Make sure the correct “Receiver Mode” is selected. For example, if you’re using the Commando 8 remote control with the ERLS receiver, select “CRSF.” For the Orqa remote control with the Ghost receiver, select “SBUS”.
Addressing Signal Loss During Flight
Losing signal mid-flight can be alarming. Here’s how to prevent and handle it.
Causes of Signal Loss
- Interference: Electronic devices or radio signals can disrupt the connection.
- Range: Flying beyond the recommended signal range for your drone model will cause a loss of connection.
- Low Battery: A low controller battery can cause the connection to drop.
- Obstacles: Trees, buildings, and other large objects can block the signal.
- Hardware Issues: Problems with the drone or controller hardware.
- Weather Conditions: Weather can affect signal strength.
Preventive Measures
- Fly in Open Areas: Avoid areas with a high density of electronic devices or radio signals.
- Stay Within Range: Keep the drone within the recommended range.
- Maintain Line of Sight: Fly in open areas with few obstacles.
- Antenna Position: Make sure your controller is pointed at your Drone.
- Check Environment: Turn on the Image Transmission Settings to check real-time channel quality. If the interference is significant, it is recommended changing the flight environment.
What to Do During Signal Loss
- Return to Home (RTH): Ensure the drone’s RTH function is activated. Set the proper altitude for RTH to clear any obstacles.
- GPS Tracker: Place a GPS tracker on your drone.
- Understand Failsafe: Losing control signal triggers a “failsafe” that will cause the drone to stop all motors and just fall where it is.
Fixing Drone Drifting Issues
If your drone drifts without any stick input, here’s how to correct it.
Common Causes of Drifting
- Calibration Issues: Incorrect calibration of the control sticks.
- Gimbal Misalignment: Slight misalignment of the gimbal can cause the impression of drifting.
- Propeller Problems: Damaged or uneven propellers can cause unstable flight.
- Motor Issues: Motors not spinning freely or at the same speed.
- Magnetic Interference: Have you got anything magnetic on or close to the RC Controller.
Steps to Resolve Drifting
- Controller Calibration: Calibrate the control sticks of your controller. Follow the steps to RC calibration.
- Gimbal Adjustment: Adjust the gimbal settings in the app.
- Propeller Inspection: Inspect the propellers for damage or cracks. Replace if necessary. Ensure that the propellers are installed correctly and not upside down.
- Motor Check: Check if all motors are spinning freely and at the same speed.
- Compass Calibration: Gyro compass calibration is crucial for stable flight. Refer to your drone’s manual for the calibration process specific to your model. Move away from any metal objects (such as your car) to prevent interference, and restart your drone, RC, and the DroneDeploy app.
- Board Alignment: Connect your drone to Betaflight and go to the “Setup” tab. Ensure the back of your drone (where the USB port is located) is facing you. Select “Reset Z Axis” to align the drone’s orientation in the software with the actual direction of your drone.
Overcoming Calibration Problems
Frequent or failed calibrations can hinder your drone’s performance. Here’s how to address these issues.
Troubleshooting Calibration
- Magnetic Interference: Move away from metallic objects, electrical lines, and electronic devices.
- Firmware Updates: Ensure your drone has the latest firmware.
- Calibration Settings: Check that the calibration method is set to “Auto” or “Manual” in the app.
- Restart: Restart the drone and controller.
- Default Settings: Reset the drone to its default settings. Back up any important data before resetting.
- Hall Effect: The sticks on the DJI controller use ‘Hall Effect’ to turn the deflections into electrical signals. Hall Effect is all about magnetic fields.
Resolving Firmware Update Issues
Firmware updates are essential but can sometimes cause problems.
Common Firmware Update Problems
- Update Failure: An update failure prompt appears, or the progress bar gets stuck.
- Controller Unresponsive: The remote control becomes unresponsive after the update.
- Repeated Update Requests: The controller prompts for an update every time it is turned on.
Solutions for Firmware Issues
- Battery Level: Ensure the device’s battery level (remote controller or aircraft) is higher than 50% before updating.
- Stable Connection: Check whether the network connection of your smartphone is available.
- No Interference: Check whether there is any interference nearby and whether the distance between the drone and the remote controller is too far.
- Do Not Operate: Do not operate the product during an update. Wait until the update has been completed.
- Restart: If the update progress bar gets stuck, try to restart the product and the mobile device and try again.
- Different Device: Try using a mobile device with a different operating system for updating.
- DJI Assistant 2: Use DJI Assistant 2 installed on a computer for updating. Connect the aircraft to a computer with a USB cable.
Solving Charging Problems
Controller charging issues can leave you grounded. Here’s how to resolve them.
Common Charging Issues
- Red Light Flashing: The indicator light flashes red during charging.
- No Charging: The battery does not charge at all during charging (the indicator light is off or flashing).
- Long Charging Time: The charging time is too long and the battery is not fully charged.
- Shortened Battery Life: The battery life is greatly shortened after charging.
Troubleshooting Charging
- Charger and Cable: Verify if the charger and cables are functioning correctly. Use an officially certified charger.
- Battery Condition: Check the drone controller battery. Aging batteries may need to be replaced.
- Temperature: Avoid low-temperature charging.
- Battery Contact: Make sure that the contact between the charger and the battery is good.
- Replace the Battery: If the drone controller battery is replaceable, consider replacing it with a new one.
- Check the ports: Accumulated/compacted dust at the bottom of the port can prevent the USB-C connector from going in far enough. Check the port and clean it with something thin and non-conductive like a toothpick or small tiewrap.
Addressing Physical Damage
Physical damage can significantly impair controller function.
Identifying Physical Damage
- Inspect USB Ports and Cables: Look for any damage or debris that might be causing a poor connection.
- Check for Cracks and Dents: Even minor cracks, dents, or loose parts can affect connectivity.
- Damaged Antennas: Check the antennas on both the drone and controller for damage.
Repairing Physical Damage
- Professional Repair: Seek professional repair services for complex issues.
- DIY Repair: Follow online guides for replacing damaged components like USB ports.
- Check the buttons: Check the controller’s buttons. Repair or replace any damaged parts to keep everything working correctly.
Additional Tips and Tricks
- Check if Your Drone is Bound Correctly: After binding your receiver with the controller, it’s essential to ensure they are communicating properly. If you see movement on the “Preview” screen, your drone is bound correctly.
- Check Propeller Orientation: Double-check that the propellers are installed correctly and not upside down.
- Adjust Board and Sensor Alignment: Go to the “Configuration” tab. Look for “Board and Sensor Alignment” on the right side. Change the “YAW Degree” value to 0, 90, 180, 270, -90, -180, or -270 degrees as needed.
- Move the sticks thru full rotation: Move the sticks thru full rotation before starting and see if you still get the message.
- Use a straw: Blow into the gap around the analog stick it’s best to use a straw.
When to Seek Professional Help
For complex issues or hardware failures, consider consulting the drone’s manual or seeking professional help. Many drone repair services offer thorough diagnostics and repairs using quality parts.
Maintaining Your Drone Controller
Regular maintenance can prevent many common controller problems.
- Regularly Update Firmware: Keep firmware updated to avoid software glitches.
- Charge Batteries Before Each Flight: Ensure batteries are fully charged to maintain a stable connection.
- Avoid Signal Interference: Fly in open areas away from potential interference.
- Inspect Hardware Regularly: Check for any damage or loose parts before flying.
- Avoid water: Avoid exposure to water as moisture can cause damage to the electronics.
By following these guidelines, you can effectively troubleshoot and resolve many drone controller problems, ensuring safer and more enjoyable flights.
