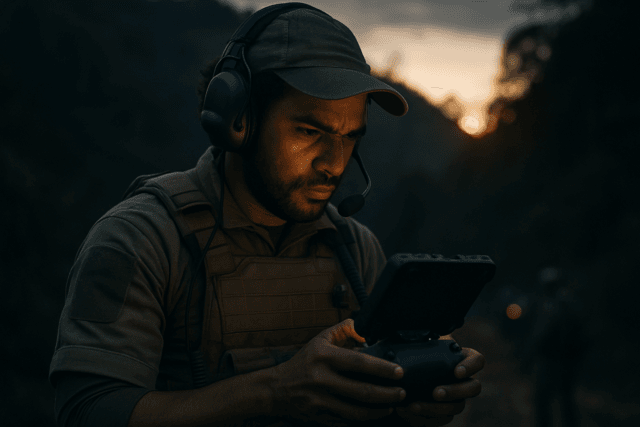
Drone photography has opened up a world of creative possibilities, allowing you to capture breathtaking aerial perspectives that were once impossible. However, to truly master drone photography, understanding and optimizing your camera settings is essential. This guide will walk you through the key camera settings for drone photography, helping you capture stunning images and videos from the sky.
Understanding the Basics of Drone Camera Settings
Before diving into specific settings, it’s crucial to understand the fundamental elements that make up the exposure triangle: aperture, shutter speed, and ISO. These three settings work together to determine the brightness and overall look of your images.
Aperture
Aperture refers to the size of the opening in the lens that allows light to pass through. It’s measured in f-stops, such as f/2.8, f/4, or f/8.
- Wider Aperture (e.g., f/2.8): Lets in more light, creating a shallower depth of field (blurry background). Ideal for low-light conditions or isolating a subject.
- Narrower Aperture (e.g., f/8): Lets in less light, creating a deeper depth of field (more of the scene in focus). Ideal for landscapes or when you want everything in the scene to be sharp.
Note: Many beginner-friendly drones have a fixed aperture, meaning you cannot adjust it. However, some higher-end drones, like the Mavic 2 Pro, offer variable aperture control.
Shutter Speed
Shutter speed is the amount of time the camera’s sensor is exposed to light. It’s measured in seconds or fractions of a second, such as 1/60, 1/250, or 1 second.
- Faster Shutter Speed (e.g., 1/500): Freezes motion, preventing blur. Ideal for capturing fast-moving subjects or when the drone is moving quickly.
- Slower Shutter Speed (e.g., 1/30): Creates motion blur, which can be used creatively to convey movement. Also allows more light to enter the camera, which is helpful in low-light situations.
Note: When using slower shutter speeds, it’s crucial to ensure the drone is stable to avoid unwanted blur.
ISO
ISO measures the camera sensor’s sensitivity to light. A lower ISO value means the sensor is less sensitive, while a higher ISO value means it’s more sensitive.
- Low ISO (e.g., 100): Produces cleaner images with less noise (grain). Ideal for well-lit conditions.
- High ISO (e.g., 800 or higher): Allows you to capture images in low-light conditions, but it introduces more noise into the image.
Note: It’s generally best to keep the ISO as low as possible to maintain image quality.
Essential Drone Camera Settings
Now that you understand the basics, let’s explore the essential camera settings you’ll need to master for drone photography:
1. Resolution
Resolution determines the clarity and detail of your images and videos. Higher resolutions, such as 4K, result in clearer images that can be cropped or enlarged without losing too much detail. For most drone photography, it’s recommended to shoot at the highest resolution your drone allows.
2. Frame Rate (FPS)
Frame rate determines the smoothness of your videos. 24fps is a common frame rate for a cinematic look, while 60fps is ideal for capturing smoother footage, especially if you plan to use slow-motion playback.
3. White Balance
White balance adjusts the color temperature of your images, ensuring accurate and realistic colors. You can choose a preset white balance, such as “Daylight,” “Cloudy,” or “Tungsten Light,” based on the current lighting environment. Alternatively, you can manually adjust the white balance for more precise control.
4. File Format: RAW vs. JPEG
- RAW: Captures significantly more information than JPEG, giving you greater flexibility when editing your photos. RAW files are uncompressed and retain all the data captured by the sensor.
- JPEG: A compressed file format that is smaller in size but loses some image data. JPEGs are convenient for quick sharing but offer less flexibility for editing.
Recommendation: Always shoot in RAW format to maximize image quality and editing potential.
5. Exposure Value (EV) Compensation
EV compensation allows you to adjust the overall brightness of your image. Increasing the EV value will make the image brighter, while decreasing it will make it darker. This is useful when shooting in automatic mode and the camera’s exposure is not quite right.
6. Focus Mode: Auto vs. Manual
- Auto Focus (AF): The camera automatically focuses on the subject. Ideal for most scenarios, especially when the subject is moving.
- Manual Focus (MF): You manually adjust the focus point. Useful in situations where autofocus struggles, such as in low light or when shooting through obstacles.
Camera Settings for Different Scenarios
The best camera settings for drone photography will vary depending on the specific shooting conditions. Here are some general guidelines for different scenarios:
Landscape Photography
- Aperture: f/8 (for maximum depth of field)
- Shutter Speed: Adjust to achieve proper exposure
- ISO: 100 (to minimize noise)
- White Balance: “Daylight” or custom
- File Format: RAW
Action Photography
- Aperture: Adjust to achieve desired depth of field
- Shutter Speed: 1/500 or faster (to freeze motion)
- ISO: Adjust to achieve proper exposure
- White Balance: “Daylight” or custom
- File Format: RAW
Low-Light Photography
- Aperture: Widest possible (e.g., f/2.8)
- Shutter Speed: Adjust to achieve proper exposure, but be mindful of motion blur
- ISO: Increase as needed, but be aware of noise
- White Balance: Custom
- File Format: RAW
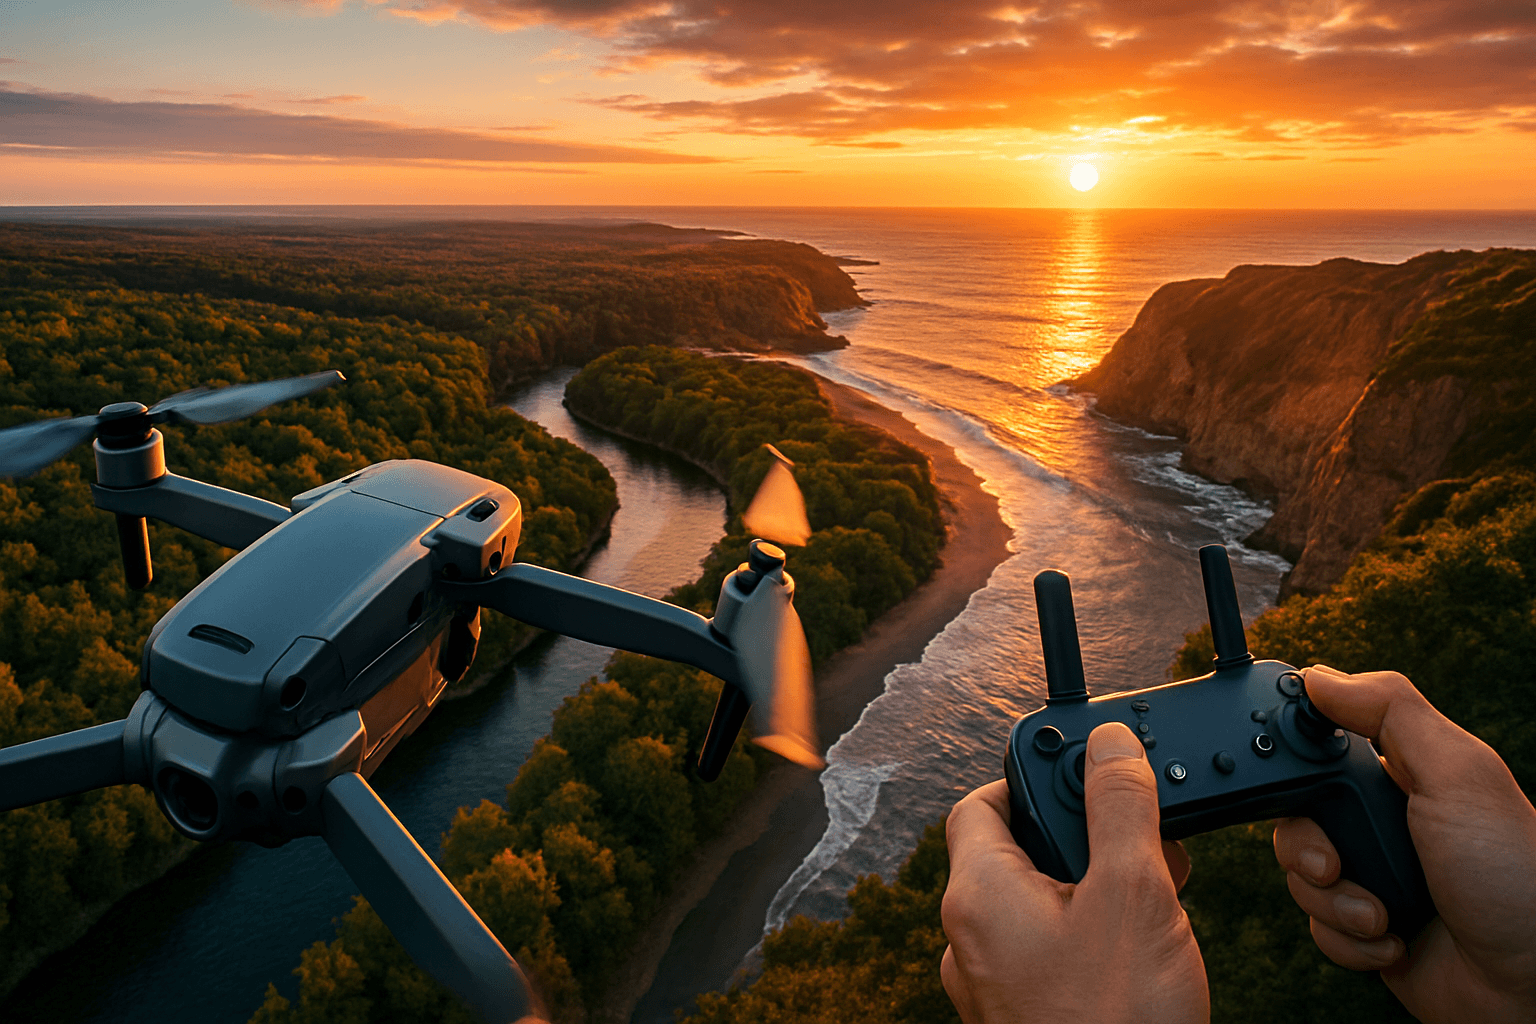
Sunrise/Sunset Photography
- Aperture: Adjust to achieve desired depth of field
- Shutter Speed: Slower (e.g., 1/60) to capture soft light
- ISO: 100-200
- White Balance: Manually adjust to adapt to changing light tones
- File Format: RAW
Tips and Tricks for Optimizing Drone Photography Settings
Here are some additional tips and tricks to help you optimize your drone photography settings:
- Shoot in Manual Mode: Manual mode gives you the most control over your drone’s camera.
- Use a Lower ISO: Stick to a lower ISO to get the best possible image quality.
- Use Filters: ND (Neutral Density) and polarizing filters can help control light and glare.
- Plan and Prepare: Scout locations and plan your shots ahead of time.
- Embrace Lighting: Leverage the golden hours of dawn and sunset for warm, soft lighting.
- Utilize the Rule of Thirds: Use the rule of thirds grid overlay to compose your shots effectively.
- Experiment with Lines, Patterns, and Geometry: Look for leading lines, patterns, and geometric shapes to create visually appealing images.
- Take Advantage of Auto Exposure Bracketing (AEB): AEB takes multiple shots at different exposures, allowing you to combine them into an HDR image with a wider dynamic range.
- Get a Top-Down Shot: Capture a unique perspective by pointing the camera straight down.
- Check the Weather Forecast: Always check the weather forecast before flying to ensure safe and optimal shooting conditions.
- Practice: The more you practice, the better you’ll become at understanding and adjusting your drone camera settings.
Conclusion
Mastering drone camera settings is crucial for capturing stunning aerial photographs and videos. By understanding the exposure triangle, essential camera settings, and tips and tricks outlined in this guide, you’ll be well on your way to creating breathtaking aerial imagery. So, grab your drone, experiment with different settings, and unleash your creativity from the sky.
