Drone panorama photography opens up a world of possibilities for capturing breathtaking aerial views. By stitching together multiple images, you can create expansive, high-resolution panoramas that showcase landscapes, cityscapes, and other scenes in a way that a single photo simply can’t match. This guide will walk you through the process of creating stunning drone panoramas, from choosing the right equipment to mastering shooting techniques and post-processing.
Why Shoot Panoramas with a Drone?
- Wider Field of View: Capture a much larger area than a standard drone photo.
- Higher Resolution: Panoramas combine multiple images, resulting in significantly more detail.
- Immersive Experience: Viewers can explore the scene interactively, feeling like they are actually there.
- Unique Perspective: Drones offer an unparalleled vantage point for capturing panoramic images.
1. Gear Up: Choosing the Right Drone and Accessories
1.1. The Ideal Drone
- Camera Quality: Look for a drone with a high-resolution camera (at least 12 megapixels) and a large sensor for capturing detailed images.
- Gimbal Stability: A 3-axis gimbal is essential for smooth, stable footage, especially in windy conditions.
- Automated Panorama Modes: Many modern drones have built-in panorama modes that simplify the shooting process.
- RAW Support: Shooting in RAW format allows for greater flexibility during post-processing.
Recommended Drones:
- DJI Mini 4 Pro: Compact, excellent image quality.
- DJI Air 3: Dual camera system, obstacle avoidance.
- DJI Mavic 3 Pro: Pro-level video and cinema capabilities.
- Autel Robotics Evo Lite+: Great for photography, variable aperture.
1.2. Essential Accessories
- Fast SD Card: Minimize waiting time between shots.
- Extra Batteries: Extend your shooting time.
- ND Filters: Control exposure in bright conditions.
- Polarizing Filters: Reduce glare and enhance colors (use with caution, may cause issues with stitching).
2. Pre-Flight Planning: Scout Your Location and Plan Your Shots
2.1. Location Scouting
- Identify Interesting Subjects: Look for compelling landscapes, unique architectural features, or dynamic scenes.
- Check for Obstacles: Ensure a clear flight path and avoid areas with trees, power lines, or buildings.
- Consider the Lighting: Plan to shoot during the golden hours (sunrise and sunset) for the most dramatic light.
- Use Online Maps: Explore the area beforehand using Google Earth or other mapping tools.
2.2. Flight Planning
- Choose Your Panorama Type: Decide whether you want a horizontal, vertical, spherical, or wide-angle panorama.
- Determine the Number of Shots: Plan how many photos you’ll need to capture the entire scene with sufficient overlap.
- Set Camera Settings: Configure your drone’s camera settings for optimal image quality.
3. Mastering the Technique: Shooting a Drone Panorama
3.1. Manual vs. Automated Panoramas
- Automated Modes:
- Pros: Easy to use, quick results.
- Cons: Limited control over camera settings and overlap.
- Manual Shooting:
- Pros: Full control over every aspect of the shot, higher quality results.
- Cons: More time-consuming, requires practice.
3.2. Step-by-Step Guide to Shooting a Manual Panorama
- Take Test Shots: Ensure your settings are correct before beginning the panorama.
- Set Exposure: Use manual mode to lock in your exposure settings and prevent flickering. Alternatively, open the drone histogram when shooting and adjust the camera EV value to facilitate post-processing.
- Find the Sweet Spot: Get closer, play with different levels, and carefully position your drone to get the best perspective. Sometimes only a few meters above eye level is enough.
- Maintain Consistent Altitude: Keep the drone at the same altitude throughout the panorama to avoid perspective distortions.
- Ensure Camera is Level: If the camera is tilted, you can get a wavy horizon or weird stair-stepping in the panoramic merge, or it could fail altogether. Try putting your drone on a perfectly level surface that’s free from magnetic interference, and run a gimbal calibration.
- Overlap Your Shots: Overlap each image by at least 30-50% to ensure seamless stitching. For smaller cameras, shoot for more overlap.
- Take Multiple Rows (if needed): If you want to create a high-resolution, multi-row panorama, tilt the camera down slightly and repeat the process.
- Minimize Movement: Capture images quickly to minimize movement of objects within the scene.
3.3. Key Considerations
- Parallax: Be aware of parallax issues, especially when shooting close to objects. Parallax is reduced with distance.
- Wind: Avoid shooting panoramas in strong winds, as it can be difficult to maintain a stable position.
- Dynamic Range: Shoot during the golden hours or use HDR techniques to capture a wider range of tones.
4. Post-Processing Perfection: Stitching and Editing Your Panorama
4.1. Panorama Stitching Software
- Adobe Lightroom/Camera Raw: Quick and easy for basic panoramas.
- Adobe Photoshop: More control, advanced blending options.
- PTGui: Powerful, industry-leading stitching software.
- Hugin: Open-source, feature-rich panorama stitcher.
- Microsoft ICE: Fast, simple, and free panorama stitcher.
- PanoVolo: Windows/Mac app created mainly for drone photographers.
4.2. Stitching Workflow
- Import Your Images: Load your photos into your chosen stitching software.
- Select a Projection: Choose the appropriate projection method (spherical, cylindrical, rectilinear, etc.).
- Align and Stitch: Allow the software to automatically align and stitch the images.
- Review and Correct: Inspect the panorama for any stitching errors or artifacts. Manually adjust control points if necessary.
- Crop and Blend: Crop the image to remove any unwanted areas and blend the edges for a seamless finish.
- Fill Gaps: Use software that can fill gaps in the sky.
4.3. Editing and Enhancements
- Adjust Exposure and Contrast: Fine-tune the overall brightness and contrast of the panorama.
- Color Correction: Adjust the white balance and color saturation to achieve a natural look.
- Sharpening: Add sharpness to enhance details.
- Noise Reduction: Reduce noise in the shadows and darker areas.
- Remove Distractions: Use cloning or healing tools to remove any unwanted objects or blemishes.
- Add Vignetting: Create a subtle vignette to draw the viewer’s eye to the center of the image.
- Edit your images: Adjust the exposure, contrast, and color balance in editing software, then experiment with different filters and effects. But keep in mind that less is frequently more; avoid over-editing your photographs, since this can make them appear artificial.
5. Advanced Techniques
5.1. HDR Panoramas
- Capture multiple exposures for each shot in the panorama.
- Merge the exposures into an HDR image before stitching.
- This technique extends the dynamic range and captures more detail in highlights and shadows.
5.2. Little Planet Panoramas
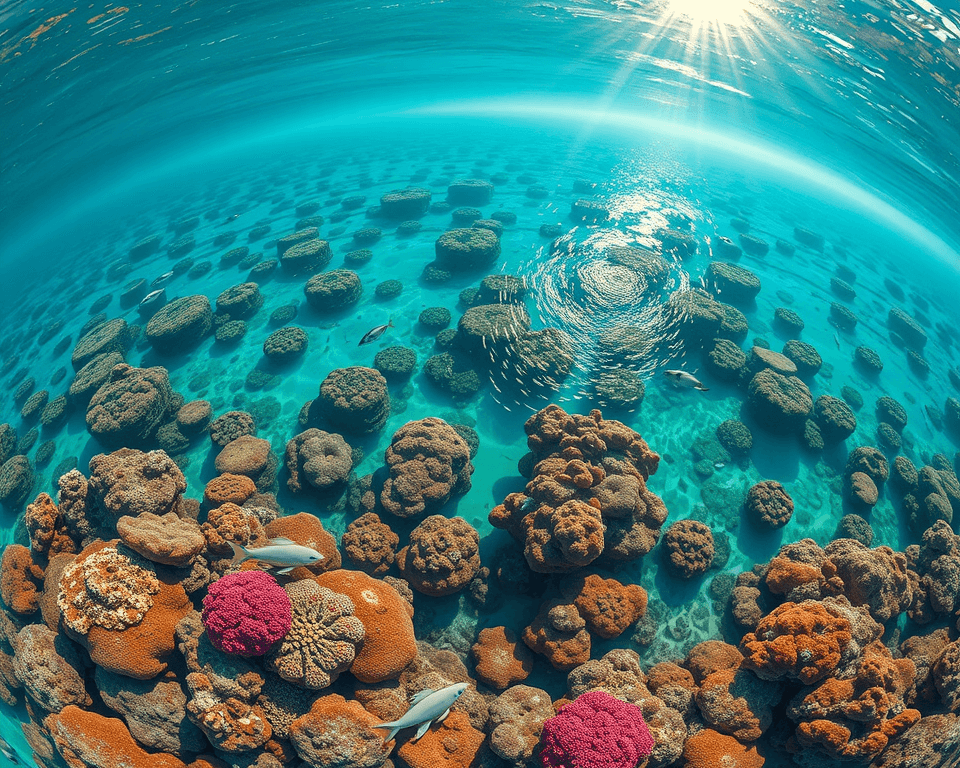
- Create a stereographic projection of a spherical panorama.
- This results in a “little planet” effect, where the scene is wrapped around a sphere.
5.3. Hyperlapse Panoramas
- Combine panorama photography with hyperlapse techniques.
- Capture a series of panoramas over time, creating a time-lapse effect with a wide field of view.
6. Tips and Tricks for Stunning Drone Panoramas
- Shoot in RAW: Preserve maximum image data for editing.
- Use Manual Mode: Lock in your exposure and white balance settings.
- Overlapping Images: Aim for at least 30-50% overlap between shots.
- Avoid Moving Objects: Minimize the presence of cars, people, or other moving objects in the scene.
- Practice Makes Perfect: Experiment with different techniques and settings to find what works best for you.
- Choose a Clear Subject: Make sure the viewer knows what they’re looking at and the picture will speak for itself.
7. Common Mistakes to Avoid
- Tilting the Camera: Ensure the camera is level with the horizon.
- Insufficient Overlap: Overlap each image by at least 30%.
- Overexposed Sun: The sun will always be in the shot causing an extreme dynamic range.
- Lack of Reference Points: Avoid scenes with a significant portion taken by uniform elements, like water or the sky.
- Using Filters: Can ruin the panorama by causing issues with stitching.
8. Showcasing Your Drone Panoramas
- Online Portfolios: Share your work on platforms like Flickr, 500px, or your own website.
- Social Media: Post your panoramas on Facebook, Instagram, and other social media channels.
- Virtual Tours: Create interactive virtual tours using platforms like My360tours or WPVR.
- Prints: Print your high-resolution panoramas for display in your home or office.
Drone panorama photography is a rewarding and creative pursuit. With the right equipment, techniques, and a little patience, you can capture stunning aerial views that will impress and inspire. So get out there, explore the world from above, and create some breathtaking panoramas!


