The golden hour, that magical period shortly after sunrise and before sunset, bathes the world in a warm, soft light that’s perfect for photography. When combined with the unique perspectives offered by drones, the results can be truly breathtaking. This guide explores the art of drone photography during the golden hour in the UK, covering everything from essential gear and camera settings to composition tips and legal considerations.
What is Golden Hour and Why is it Perfect for Drone Photography?
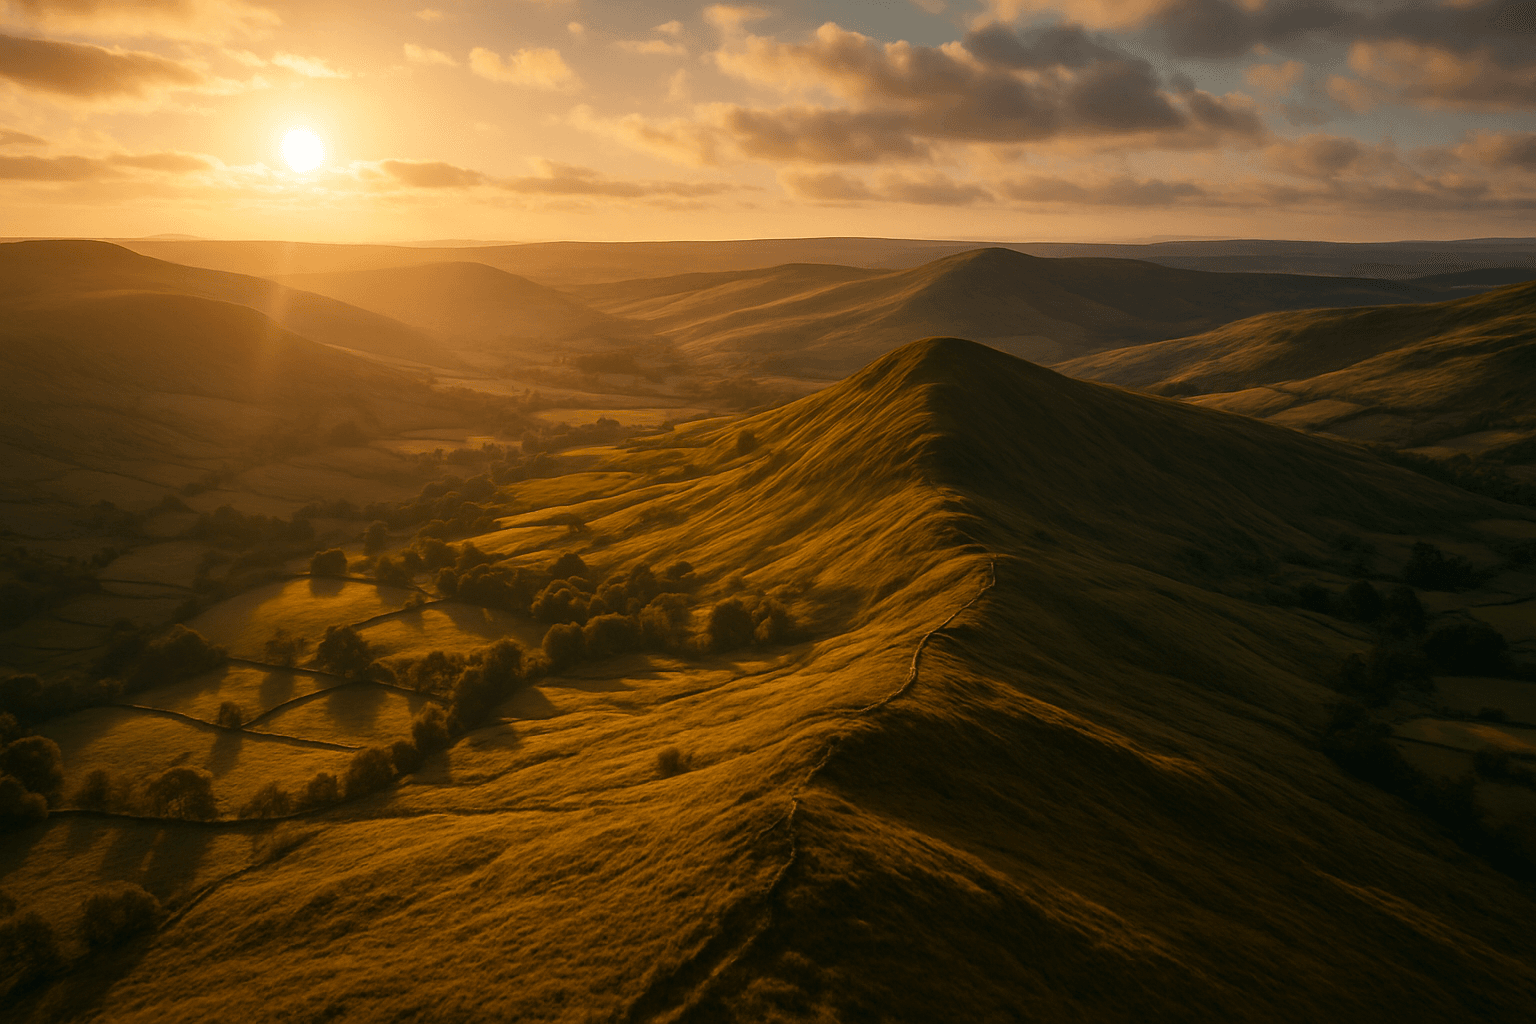
The golden hour occurs when the sun is low on the horizon, typically within an hour after sunrise and an hour before sunset. During this time, sunlight travels through more of the atmosphere, scattering blue light and leaving behind the warmer tones of red, orange, and yellow. This creates a diffused, soft light that enhances colors, reduces harsh shadows, and adds a golden glow to everything it touches.
Here’s why the golden hour is ideal for drone photography:
- Soft, diffused light: The gentle light minimizes harsh shadows and highlights, resulting in more balanced and visually appealing images.
- Warm colors: The golden hues add warmth and richness to your photos, creating a more inviting and captivating atmosphere.
- Long shadows: The low sun angle casts long, dramatic shadows that add depth and dimension to your compositions.
- Enhanced textures: The soft light and shadows accentuate textures in the landscape, bringing out details that might be missed in harsher light.
- Calmer Winds: Mornings and evenings often have calmer winds, making for more stable and easier drone flying.
Essential Gear for Golden Hour Drone Photography
To make the most of golden hour drone photography in the UK, you’ll need the right equipment:
- Drone with a good camera:
- Look for a drone with a high-resolution camera (at least 12 megapixels) and a large sensor for better low-light performance.
- Drones with adjustable aperture settings (like the DJI Mavic 2 Pro) offer greater control over depth of field.
- Good gimbal stabilization is essential for capturing sharp, blur-free images.
- ND Filters:
- Neutral density (ND) filters reduce the amount of light entering the camera, allowing you to use slower shutter speeds and wider apertures in bright conditions.
- This is particularly useful during the golden hour when the light can still be quite intense.
- Polarizing Filter:
- A polarizing filter reduces glare and reflections from water and other surfaces, enhancing colors and contrast.
- Extra Batteries:
- Golden hour is fleeting, so it’s essential to have extra batteries on hand to extend your shooting time.
- Memory Cards:
- Ensure you have sufficient storage space to capture all your desired shots.
- Remote Controller with a Screen or Smartphone/Tablet:
- Allows you to see what your drone camera sees and adjust settings in real-time.
- Drone Assist App:
- Essential for checking no-fly zones and local restrictions.
- Alpenglow App (or similar):
- Helps you plan your shoots by providing accurate timing for the golden hour.
Best Drone Camera Settings for Golden Hour
Mastering your drone’s camera settings is crucial for capturing stunning golden hour images. Here are some recommended settings:
- Shooting Mode: Use manual mode to have full control over your camera settings.
- ISO: Set the ISO as low as possible (usually ISO 100) to minimize noise and maximize image quality.
- Aperture: Adjust the aperture based on the desired depth of field.
- For landscapes, use a narrower aperture (f/5.6 – f/8) to keep more of the scene in focus.
- In low light, open up the aperture (f/2.8 – f/4) to allow more light to enter the camera.
- Shutter Speed: Adjust the shutter speed to achieve proper exposure.
- Use a shutter speed that is at least double your frame rate to avoid motion blur (e.g., 1/60th of a second for 30 frames per second).
- White Balance: Set the white balance to “daylight” or “sunny” to capture the warm tones of the golden hour accurately.
- File Format: Shoot in RAW format to retain maximum image data and flexibility for post-processing.
- Exposure Compensation: Use exposure compensation to fine-tune the exposure and prevent overexposed skies. Underexposing slightly can help preserve details in highlights and shadows.
- AEB (Automatic Exposure Bracketing): Use AEB to capture multiple shots of the same image at different exposures, which can then be merged in post-processing to create an HDR (High Dynamic Range) image.
Composition Tips for Stunning Golden Hour Drone Photos
Composition is key to creating visually appealing and impactful drone photos. Here are some tips for composing your shots during the golden hour:
- Rule of Thirds: Divide your frame into nine equal segments and place key elements at the intersection of these lines to create a balanced and visually interesting composition.
- Leading Lines: Use natural or man-made lines to guide the viewer’s eye through the scene and towards the main subject.
- Symmetry and Patterns: Look for symmetrical elements and repeating patterns in the landscape to create visually striking images.
- Framing: Use natural elements like trees, arches, or rock formations to frame your subject and add depth to the image.
- Height and Angle: Experiment with different heights and angles to find the perfect vantage point.
- Flying higher can capture a broader view of the landscape.
- Flying lower can provide a more intimate view of the subject.
- Tilting the camera up or down can create a more dynamic shot.
- Shadows: Pay attention to shadows and use them to add depth, dimension, and drama to your compositions.
- Reflections: Look for opportunities to capture reflections in water or other reflective surfaces.
- Foreground Interest: Include interesting elements in the foreground to add depth and scale to your images.
- Subject Placement: Position your subject carefully within the frame to create a sense of balance and harmony.
UK Locations Perfect for Golden Hour Drone Photography
The UK offers a wealth of stunning locations for golden hour drone photography. Here are a few suggestions:
- Coastal Areas:
- Cornwall: Rugged coastlines, sandy beaches, and picturesque fishing villages.
- Isle of Skye: Dramatic cliffs, otherworldly rock formations, and stunning sunsets.
- Pembrokeshire Coast: A rugged coastline filled with wildflowers and wildlife.
- Norfolk Coast: Expansive beaches, salt marshes, and charming seaside towns.
- National Parks:
- Lake District: Serene lakes, rolling hills, and dramatic mountains.
- Snowdonia: Majestic mountains, glacial valleys, and stunning vistas.
- Peak District: Rolling hills, dramatic cliffs, and picturesque villages.
- Cities:
- London: Iconic landmarks, historic architecture, and vibrant cityscapes.
- Edinburgh: Historic castles, dramatic skylines, and stunning architecture.
- Bath: Georgian architecture, Roman baths, and picturesque surroundings.
Drone Photography Rules and Regulations in the UK
Before you take to the skies, it’s essential to be aware of the rules and regulations governing drone flight in the UK. The Civil Aviation Authority (CAA) sets these rules, and it’s your responsibility to comply with them. Here are some key points:
- Registration: You must register as a drone operator if your drone weighs 250g or more.
- Flyer ID: You must pass an online theory test to get a flyer ID if your drone weighs 250g or more.
- Flying Restrictions:
- Do not fly above 400 feet (120 meters).
- Keep your drone within visual line of sight (VLOS).
- Do not fly near airports or airfields (check the Drone Assist app for no-fly zones).
- Do not fly over or near crowds of people. The CAA defines a crowd as any group of people who can’t quickly move away due to the number of other people around them.
- Respect people’s privacy.
- The Drone Code: Familiarize yourself with the Drone Code, which outlines the key rules and regulations for flying drones safely and legally in the UK.
- Local Restrictions: Be aware of any local restrictions that may be in place, such as those imposed by local councils or landowners. The Crown Estate has granted drone pilots permission to fly between the high and low tide lines in areas under their ownership. Always check for local restrictions before launching your drone.
Post-Processing Tips for Golden Hour Drone Photos
Post-processing is an essential step in enhancing your golden hour drone photos. Here are some tips for editing your images:
- Color Correction: Adjust the white balance to enhance the warm tones of the golden hour.
- Exposure Adjustment: Fine-tune the exposure to achieve the desired brightness and contrast.
- Highlight and Shadow Recovery: Recover details in the highlights and shadows to create a more balanced image.
- Contrast Adjustment: Add contrast to enhance the details and textures in the scene.
- Sharpening: Sharpen the image to enhance the details and make it look crisper.
- Noise Reduction: Reduce noise, especially in low-light images, to improve image quality.
- Color Grading: Use color grading to further enhance the colors and mood of the image.
- Cropping: Crop the image to improve the composition and remove any distractions.
Additional Tips for Golden Hour Drone Photography
- Plan Ahead: Research your location, check the weather forecast, and plan your shots in advance.
- Arrive Early: Arrive at your location before the golden hour begins to set up and scout the area.
- Experiment: Don’t be afraid to experiment with different settings, angles, and compositions.
- Be Patient: The best light often appears just before or after the official golden hour.
- Respect the Environment: Be mindful of the environment and avoid disturbing wildlife or damaging natural habitats.
- Have Fun: Enjoy the process of capturing stunning aerial images during the magical golden hour!
By following these tips and techniques, you can capture breathtaking golden hour drone photos that showcase the beauty of the UK from a unique aerial perspective. Remember to always fly safely, respect the rules and regulations, and have fun exploring the world from above!


