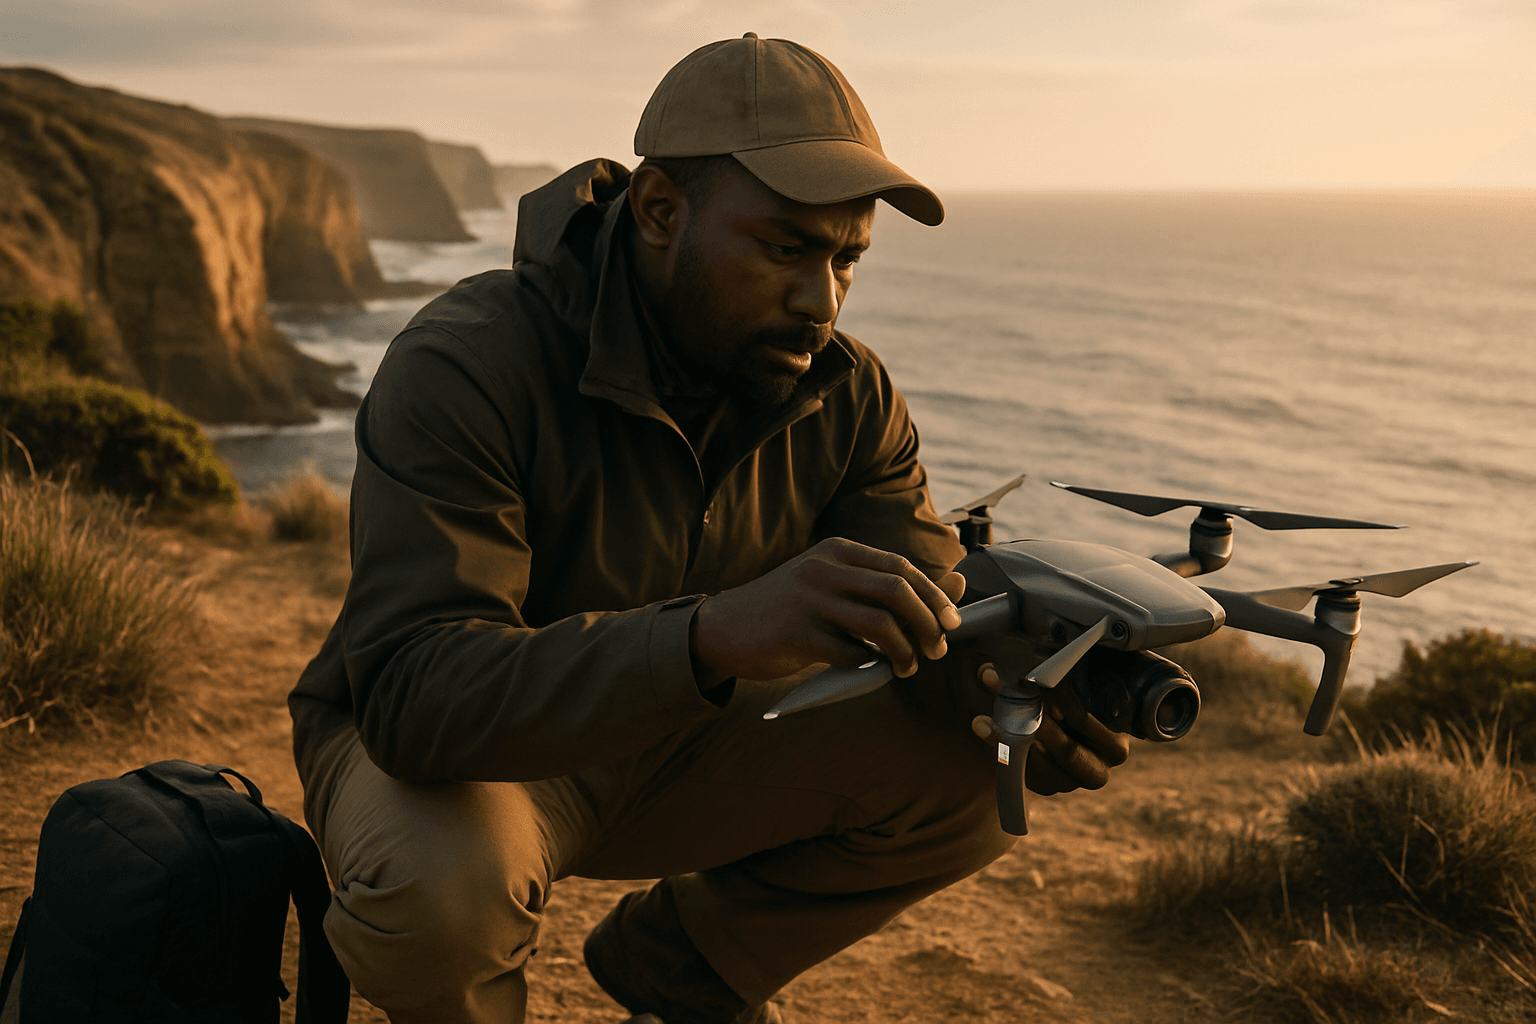
The allure of the coastline, where land meets an ever-changing sea, offers an unparalleled canvas for drone photographers. From rugged cliffs and pristine beaches to dynamic ocean views, aerial perspectives can transform ordinary scenes into breathtaking imagery. However, capturing these stunning visuals requires meticulous planning, an understanding of complex environmental factors, and strict adherence to regulations. This guide will walk you through the essential steps to plan successful and safe drone flights for coastal photography.
Understanding the Unique Challenges of Coastal Environments
Coastal areas present a unique set of challenges that differ significantly from inland drone operations. Factors such as unpredictable weather, saline air, and specific regulations necessitate a tailored approach to flight planning.
Wind Conditions and Stability
Wind is arguably the most significant variable when flying drones near the coast. Coastal winds are often stronger and more unpredictable, with gusts that can rapidly change direction and intensity. Strong winds can make drone control difficult, leading to blurry images or, worse, loss of the drone.
- Wind Limits: Most consumer drones can safely operate in winds up to 10-20 mph, while professional models might handle gusts up to 25-35 mph. Always check your drone’s specific wind resistance rating in its manual. Some experienced pilots may question flying if gusts hit 20 mph, even if the drone is rated higher, due to real-world turbulence.
- Direction Matters: Offshore winds (blowing from land to sea) pose a higher risk than onshore winds, as a drone struggling against an offshore wind can quickly be carried out over the water, potentially beyond recovery.
- Battery Drain: Flying in windy conditions forces your drone’s motors to work harder, significantly draining battery life. It’s advisable to reduce your planned flight time by 30-50% in windy conditions and always land with at least 35% battery remaining.
Saline Air and Sand
The salty air and fine sand found near coastlines can be detrimental to drone electronics and moving parts. Salt is corrosive, and sand can easily get into motors and gimbals, causing damage.
- Protection: Consider using a hard-shell, water- and dustproof case for transportation. After flying, gently clean your drone to remove any salt residue or sand.
- Take-off/Landing: Avoid launching or landing directly on sand, which can kick up particles. Use a portable landing pad to create a clean take-off and landing surface. If it’s very windy, launching from the ground can risk flipping the drone, so a hand launch or landing might be safer if practiced correctly.
Tides and Water Dynamics
The constantly changing tides introduce another layer of complexity, particularly for capturing specific coastal features or safely launching/landing near the water’s edge.
- Tidal Planning: For shots requiring specific water levels (e.g., exposed rock formations at low tide, dramatic waves at high tide), consult tide charts for your location. Planning flights around optimal tide times, such as peak low tide for surveying intertidal areas, is crucial.
- Water Reflections: Water can create glare and reflections. Polarizing filters (often combined with ND filters) can help reduce these effects and enhance color saturation when shooting over water.
Regulatory and Safety Considerations
Before any coastal drone flight, understanding and complying with local, state, and national regulations is paramount. Safety should always be the top priority.
Drone Laws and Airspace Restrictions
Drone laws vary significantly by location. It’s essential to research the specific rules for your chosen beach or coastal area.
- National Regulations: In the United States, the FAA’s Part 107 covers commercial drone operations, while recreational flyers must follow specific guidelines, including taking the TRUST test and operating under the Exception for Limited Recreational Operations of Unmanned Aircraft (USC 44809). Always register your drone if required and carry proof of registration.
- Local Ordinances: Many coastal areas, state parks, and cities have their own drone regulations, including no-fly zones, altitude limits (typically 400 feet or below), and restrictions on flying over crowds or private property without permission. Tools like the B4UFLY app can help identify airspace restrictions.
- Visual Line of Sight (VLOS): Always keep your drone within your visual line of sight or use a visual observer who is co-located and in direct communication with you.
- Privacy and Wildlife: Be mindful of privacy, avoiding flying over people or private property without consent. Maintain a respectful distance from wildlife and natural habitats to avoid disturbance.
Risk Assessment and Emergency Planning
Coastal environments demand a thorough risk assessment before every flight.
- Pre-flight Checklist: Always use a pre-flight checklist. This includes checking weather, battery levels, compass calibration, and ensuring all equipment is functioning correctly.
- Emergency Procedures: Have a contingency plan. This includes knowing what to do in case of a flyaway, low battery, or sudden weather change. The “return-to-home” function is crucial but should not be solely relied upon.
- Spotter: Especially when pushing the limits of your drone or flying over water, a visual spotter is highly recommended and often legally required for commercial operations.
Essential Equipment for Coastal Drone Photography
Choosing the right drone and accessories can significantly impact your coastal photography results.
Drone Selection
Look for drones that offer a balance of camera quality, flight stability, battery life, and wind resistance.
- Camera Quality: Drones with high-resolution cameras (e.g., 4K video, 20+ megapixel stills) and gimbals for stabilization are essential. Models like the DJI Mavic 2 Pro, DJI Mavic 3 Pro, DJI Air 2S, DJI Air 3, Autel Robotics EVO II, and DJI Mini 5 Pro are often recommended for their camera capabilities and performance in various environments. The DJI Mavic 3 Pro, for instance, offers a triple-camera system for wide-angle to telephoto shots.
- Wind Resistance: Drones like the DJI Mavic 3 Pro, with its robust build and wind resistance, are well-suited for coastal conditions.
- Battery Life: Longer flight times (30+ minutes) are beneficial for exploring extensive coastal areas. Always carry extra batteries, as wind can deplete them faster.
- Portability: For photographers traveling to remote coastal locations, lightweight and compact drones are advantageous.
Must-Have Accessories
- ND/PL Filters: Neutral Density (ND) filters act like “sunglasses” for your drone’s camera, reducing the amount of light entering the lens without altering colors. This is crucial for bright coastal sunlight to prevent overexposure and achieve cinematic motion blur for video (e.g., smoothing water movement). ND/Polarizing (ND/PL) filters offer the added benefit of reducing glare and reflections from water, enhancing contrast and color saturation. Recommended strengths for bright conditions often include ND8, ND16, ND32, or even ND64.
- Extra Batteries: As mentioned, critical for extended shooting and mitigating wind impact on flight time.
- Landing Pad: Protects your drone from sand, dust, and uneven surfaces during take-off and landing.
- Hard Case: Provides essential protection for your drone and accessories from sand, salt, and impacts.
Strategic Flight Planning for Stunning Shots
Effective planning goes beyond just technical considerations; it involves artistic vision and strategic execution.
Defining Your Objectives
Clearly define what you want to achieve from your flight. Are you aiming for wide scenic panoramas, detailed shots of specific coastal features, or cinematic video sequences? Your objectives will guide your flight path, altitude, and camera settings.
Scouting the Location
- Pre-flight Research: Use satellite maps and online tools to identify interesting features (cliffs, unique rock formations, patterns in the sand or water), potential obstacles (power lines, buildings), and safe take-off/landing zones.
- On-site Assessment: If possible, visit the location beforehand to observe wind patterns, check for crowds, identify wildlife, and note the terrain.
Timing Your Shots
Lighting is critical for coastal photography.
- Golden Hour: The periods shortly after sunrise and before sunset (golden hour) offer soft, warm light that enhances textures and colors, creating dramatic shadows and reflections. This is often the best time for breathtaking coastal aerials.
- Avoid Midday Glare: Midday sun can be harsh, leading to overexposed highlights and flat images. A direct top-down shot in midday sun often results in unflattering reflections on the water. If you must shoot at midday, tilt the camera away from the sun to minimize glare.
- Overcast Days: Overcast conditions can provide soft, even lighting, which is excellent for diffused light and reduced harsh shadows, though images might appear less dramatic.
Designing Your Flight Path
- Pre-programmed Paths: Utilize drone flight planning software or apps to plot your flight path with waypoints, altitude changes, and drone speed. This ensures smooth, repeatable movements and allows you to focus on composition.
- Smooth Transitions: Plan for smooth transitions between points to create cinematic footage.
- Compositional Elements: Look for leading lines (shorelines, waves, jetties), symmetry, and foreground interest to create impactful compositions. Experiment with different angles and perspectives that only a drone can achieve. Don’t be afraid to take many photos; the ocean is constantly changing, and slight differences can yield superior results.
- Safe Distances: Keep a safe distance from people, boats, and wildlife.
Camera Settings for Aerial Photography
Mastering manual camera settings provides the most control over your final images.
- Shoot in RAW: Always shoot in RAW format for maximum flexibility during post-processing.
- ISO: Keep ISO low (100-400 in daylight) to minimize noise and grain.
- Aperture: A mid-range aperture (e.g., f/5.6 to f/8) often provides sharp focus across the entire landscape. For drones with fixed apertures (like many DJI models at f/2.8), ND filters become even more critical to manage light.
- Shutter Speed: Use an ND filter to achieve a cinematic shutter speed (typically double your frame rate, e.g., 1/50th or 1/60th of a second for 24 or 30 fps video) for smooth motion blur. For still photography, a faster shutter speed (e.g., 1/500s or faster) might be needed to freeze motion and prevent blur, especially in windy conditions. However, for long exposure effects on water, a strong ND filter can allow for slower shutter speeds (e.g., 0.5 seconds or more).
- White Balance: Set white balance manually to ensure accurate colors under specific lighting conditions.
- Monitor Histogram: Use the histogram on your controller screen to check exposure and adjust ND filters or other settings as needed.
By combining careful pre-flight preparation, an understanding of coastal dynamics, and strategic aerial techniques, you can unlock the full potential of your drone to capture the mesmerizing beauty of coastlines.


