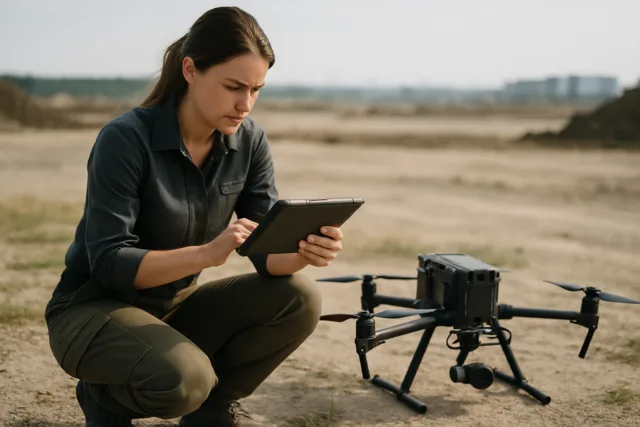
Drones have revolutionized photography and videography, offering breathtaking aerial perspectives. However, issues with the drone camera can be frustrating. This guide provides comprehensive troubleshooting steps to address common drone camera problems and ensure you capture stunning aerial shots.
Common Drone Camera Problems
- Blurry or distorted footage: This can be due to a dirty lens, incorrect camera settings, or gimbal issues.
- Shaky footage: Often caused by gimbal malfunction or strong winds.
- Camera not responding: This could be due to connection problems, software glitches, or hardware failure.
- Overexposed or underexposed photos: Improper camera settings for the lighting conditions.
- Noisy video: High ISO settings in low light conditions.
- Stuttering: Frame rate mismatches or quick panning motions.
- Drifting or unstable flight: GPS issues, damaged propellers, or windy conditions.
Pre-Flight Checks
Before each flight, perform these checks to prevent common camera issues:
- Inspect the drone: Check for any physical damage, loose parts, or signs of wear.
- Check the battery: Ensure the battery is fully charged and securely attached.
- Examine propellers: Look for damage or debris.
- Clean the lens: Gently wipe the camera lens with a soft, clean cloth to remove dirt or fingerprints.
- Check camera settings: Verify that the camera settings (resolution, white balance, exposure) are appropriate for your environment.
- GPS Calibration: Power on the drone in an open area away from metal structures or electromagnetic interference and allow it to connect to GPS satellites for accurate positioning.
- Compass Calibration: Calibrate the drone’s compass regularly to ensure accurate navigation and orientation.
Troubleshooting Steps
1. Initial Assessment
- Gimbal Functionality: Confirm whether the gimbal functions normally before, or if it is abnormal at the first use.
- Impact Assessment: Check whether the drone has been dropped or impacted, which may cause the gimbal connection line to fail.
2. Camera and Gimbal Issues
- Secure Attachment: Ensure the camera and gimbal are securely attached to the drone.
- Clean Lens: Regularly check for debris or fingerprints and clean the lens accordingly.
- Camera Settings: Verify that the camera settings are appropriate for your needs, adjusting parameters such as exposure, white balance, and resolution.
3. Recalibrate the Gimbal
- Gimbal Calibration: If the gimbal is not stabilizing properly, refer to the manufacturer’s instructions to recalibrate it and restore smooth, stable footage. Some drones require gimbal calibration after repairs or modifications. Follow the manufacturer’s instructions to calibrate the gimbal using the drone’s controller or mobile app. This ensures optimal performance and stability of the camera gimbal.
- Gimbal Setting on the App: After the aircraft and the remote control are successfully paired, connect the drone through the mobile phone, enter the App control interface, and perform a factory reset or manually adjust the gimbal balance in the gimbal settings.
4. Check for Disconnections
- Wire Connections: Carefully examine each wire connection to ensure they’re securely attached to the gimbal motors.
- Trace the Wires: Follow the wires from the gimbal motors to their connection points on the gimbal control board or main circuit board inside the drone.
- Verify Connections: Gently wiggle each wire connection to check for any signs of looseness or instability.
5. SD Card Problems
- Storage Location: Ensure the storage location for images is set to SD card.
- SD Card Errors: Check DJI GO to make sure there are no SD errors.
- SD Card Quality: Make sure you are using at least a Class 10 (U3), high-quality SD card. Using slower or low-quality cards can cause image capture to fail.
- Format SD Card: If the camera check fails or your flight does not capture photos, format your SD card in DJI GO.
- Try a test photo:.
- Try with a different, empty Class 10 (U3) SD card:.
6. Exposure Problems
- Manual Settings: If photos are overexposed or underexposed, enable ‘Set Exposure Manually in DJI GO’, then adjust to manual camera settings in DJI GO. Choose settings that match the conditions of your flight.
- Auto Exposure: Make sure exposure mode is set to Auto.
7. Connection and Signal Issues
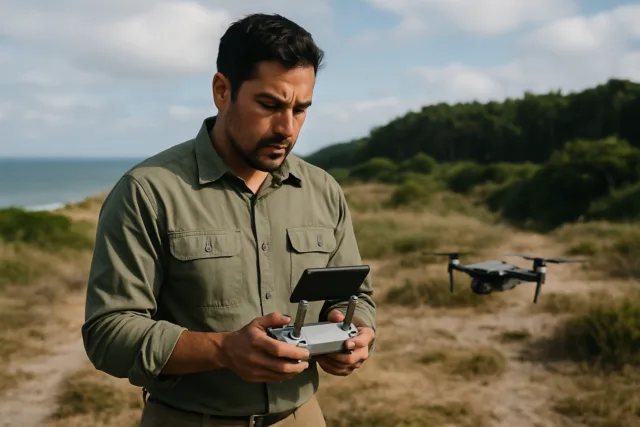
- Pairing: Verify that the remote controller and drone are properly paired and connected.
- Interference: Check for any interference from nearby electronic devices or power lines that could disrupt the signal.
- Antenna: Inspect the antennas on both the drone and the controller for any damage.
- Frequency: Changing the frequency or channel can help mitigate signal congestion.
8. Motor and Propeller Problems
- Motor Functionality: Crashes can damage the drone’s motors, resulting in unsteady or failed takeoffs. Test the motors to ensure.
- Propeller Damage: Damaged propellers are a frequent issue after a crash. Even minor dents or cracks can impact the drone’s flight stability. Inspect propellers for visible signs of damage.
9. Software and Firmware
- Firmware Updates: Check for firmware updates from the drone manufacturer and apply them as needed.
- Software Updates: Update the companion app or software on your mobile device to ensure seamless integration and control between your drone and the app.
Advanced Troubleshooting
1. Internal Inspection
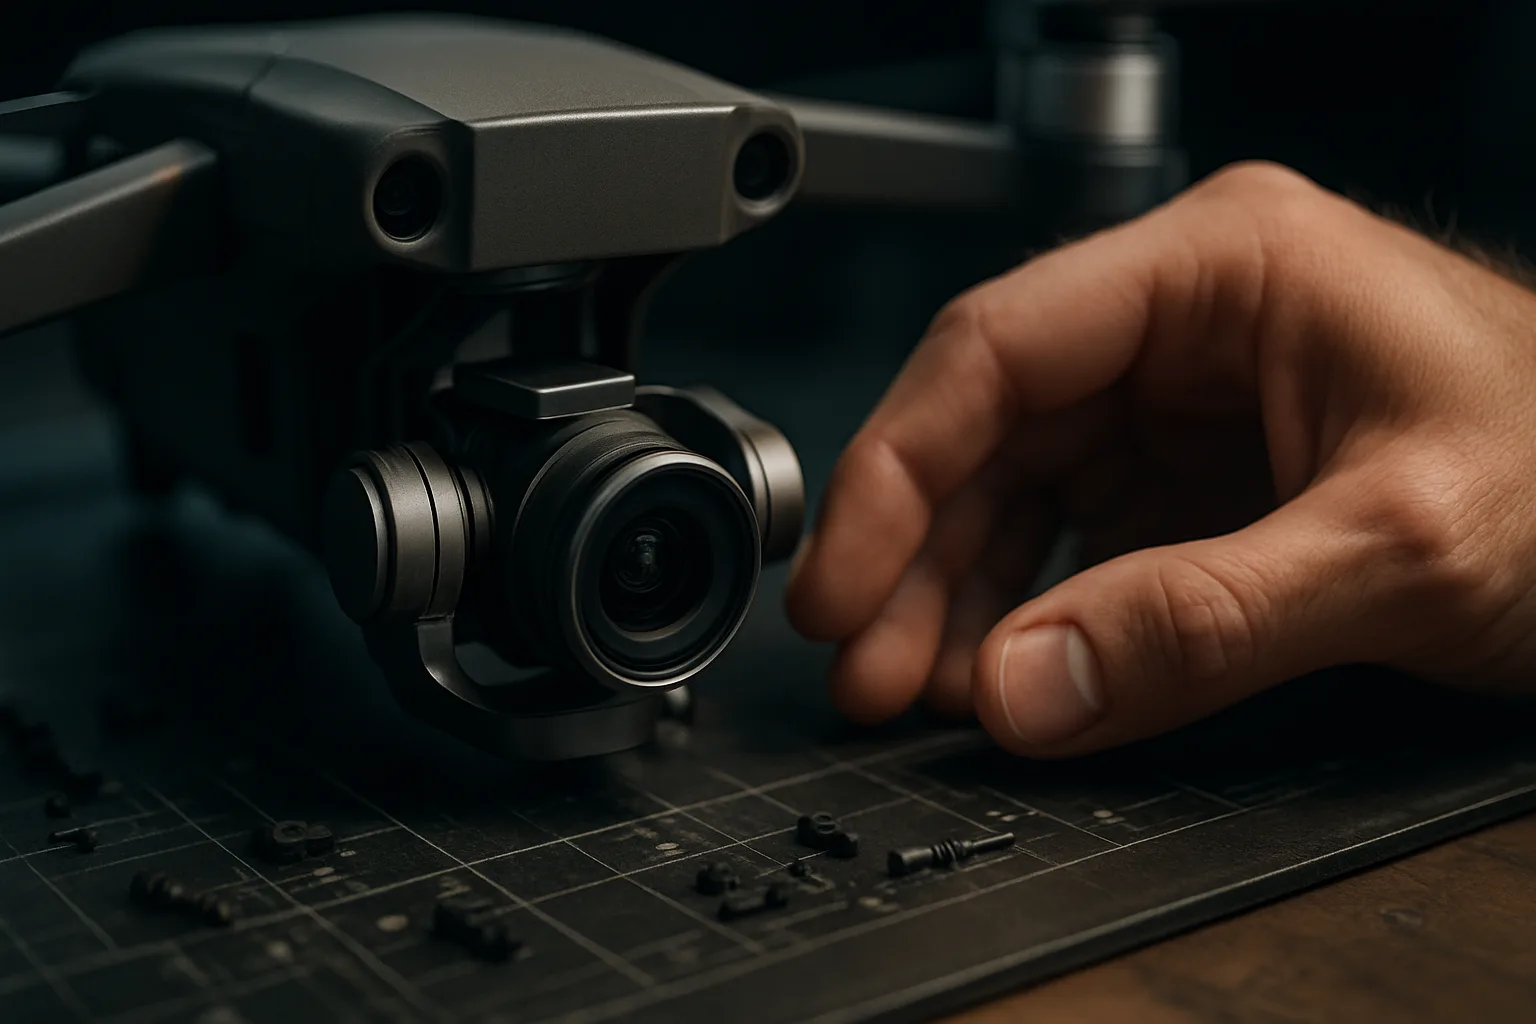
- Opening the Drone: Find a clean and well-lit area to work in. Clear off a table or workbench and gather all your tools and materials. Before opening the drone, make sure it’s powered off completely. Remove the battery to prevent any accidental power-ups.
- Access Points: Take a close look at your drone to locate the screws or clips holding it together. These are usually located on the underside or sides of the drone’s body.
- Appropriate Tools: Depending on the type of screws or clips, use the appropriate screwdriver or tool to carefully loosen and remove them. Keep track of the screws and any small parts you remove.
- Gimbal Assembly: Locate the gimbal assembly inside the drone. This is usually a small, delicate mechanism that holds the camera and allows it to move smoothly.
2. Soldering
- Soldering Skills: The ability to solder is essential for drone repairs.
- Essential Tools: Soldering iron, wire cutters, wire strippers, heat shrink tubing.
- Pre-Tinning: Clean the soldering iron and melt solder onto the pad.
- Wire Connection: Strip the wire and twist the ends.
Calibration
- IMU Calibration: Calibrate the Inertial Measurement Unit (IMU) according to the manufacturer’s guidelines, usually by placing the drone on a level surface and allowing it to stabilize.
- Gimbal Calibration: If equipped with a gimbal for stabilizing the camera, calibrate it to ensure smooth and stable footage. Follow the manufacturer’s instructions for gimbal calibration, typically involving powering the drone and gimbal in a specific orientation.
- Controller Calibration: If using a separate controller to pilot the drone, calibrate it according to the manufacturer’s instructions.
- Compass Calibration: Calibrate the drone’s compass regularly to ensure accurate navigation and orientation.
Test Flight
- Controlled Environment: After calibrating the drone, perform a test flight in a controlled environment to verify its stability, responsiveness, and accuracy.
- Adjustments: Make any necessary adjustments based on the flight test results to ensure optimal performance.
Additional Resources
- Online Forums: DJI Forum page.
- DJI Repair Manuals: DJI is now providing original factory parts and comprehensive inspection manuals to users.
- YouTube Tutorials: There are many helpful videos.
- Professional Help: Consider consulting the drone’s manual, seeking professional help, or visiting a certified repair center.
- Online Marketplaces: Amazon, eBay, or AliExpress to find spare parts.
By following these troubleshooting steps, you can address common drone camera problems and enjoy capturing stunning aerial footage. Remember to always prioritize safety and consult your drone’s manual for specific instructions.
