Drones have become increasingly popular, finding applications in various fields, from photography and videography to agriculture and surveillance. However, like any technology, drones are susceptible to damage and malfunctions. Whether you’re a hobbyist or a professional, understanding drone repair is crucial for keeping your UAV in top condition and minimizing downtime. This comprehensive guide covers everything you need to know about drone repair, from basic maintenance and troubleshooting to advanced repairs and professional services.
Why Drone Repair Matters
- Cost Savings: Repairing your drone is often more cost-effective than replacing it, especially for minor damages.
- Reduced Downtime: Identifying and fixing problems early can prevent more significant issues and keep your drone operational.
- Extended Lifespan: Regular maintenance and timely repairs can significantly extend the lifespan of your drone, protecting your investment.
- Improved Flight Safety: A well-maintained drone is safer to fly, reducing the risk of accidents and injuries.
- Environmental Responsibility: Repairing instead of replacing reduces electronic waste, contributing to a more sustainable approach.
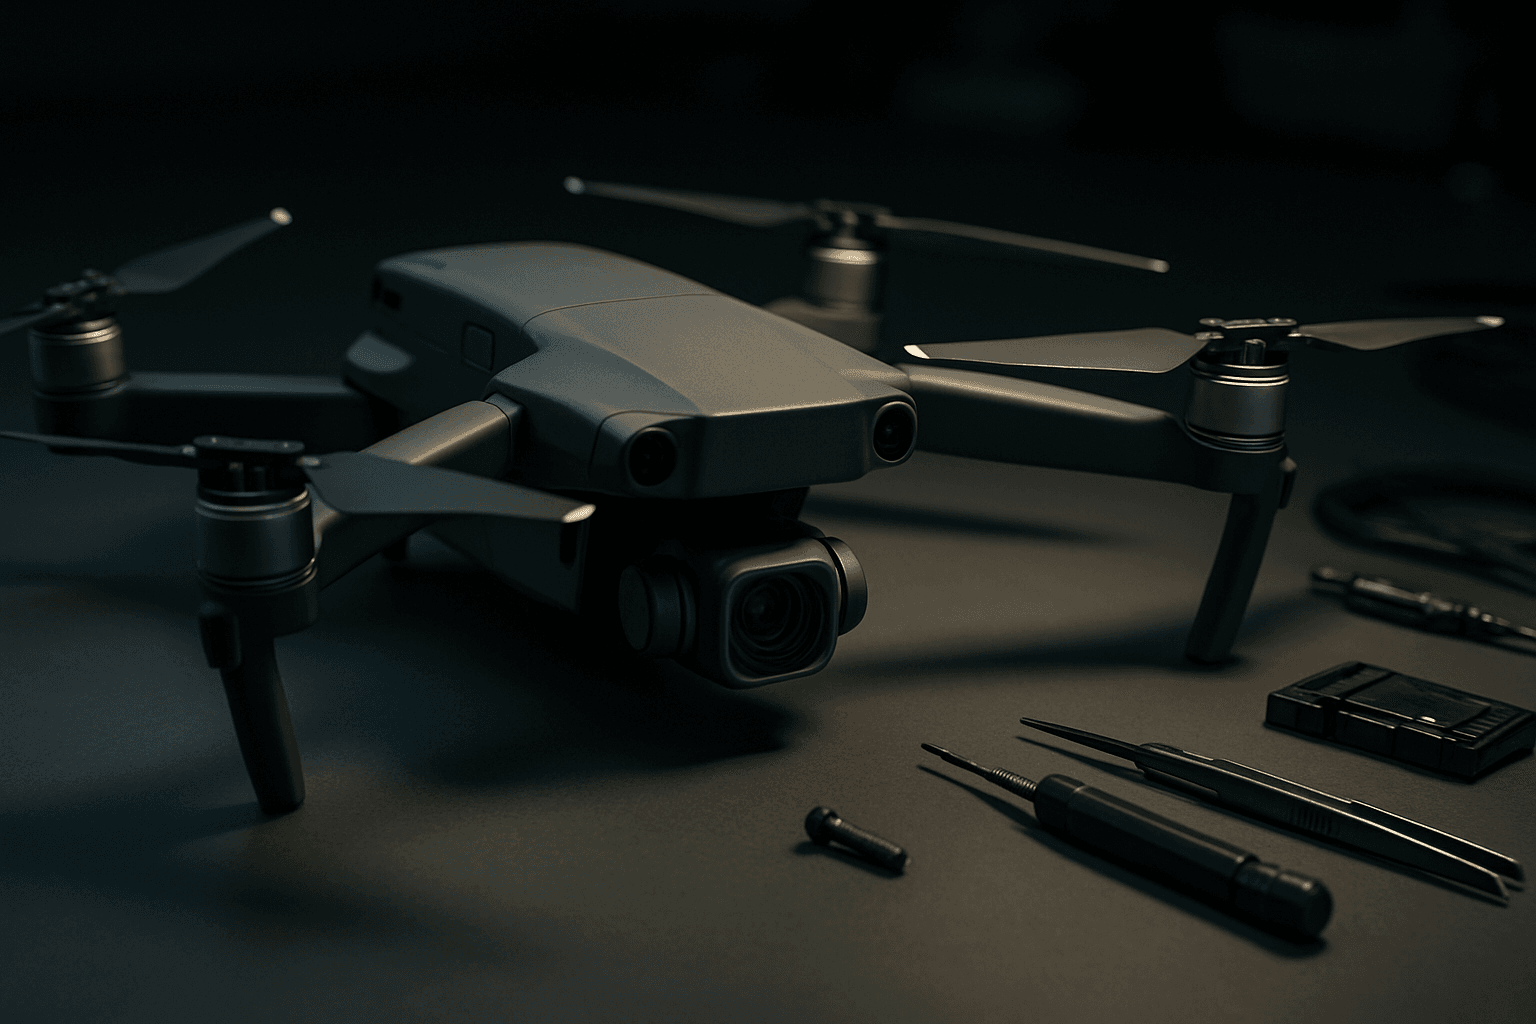
Essential Tools for Drone Repair
Having the right tools is essential for efficient and precise drone repairs. Here’s a list of must-have tools for your drone repair kit:
- Screwdriver Set: A variety of precision and hex screwdrivers to handle different screw types.
- Soldering Equipment: A soldering iron with adjustable temperature settings, solder, and desoldering tools for electrical repairs.
- Multimeter: For diagnosing electrical issues by measuring voltage, current, and resistance.
- Pliers and Cutters: For cutting wires, removing components, and general manipulation.
- Tweezers: For handling small parts and accessing tight spaces.
- Magnifying Glass: For inspecting small components and solder joints.
- Cleaning Kit: Microfiber cloths, brushes, and cleaning solutions for removing dust and debris.
- Anti-Static Wrist Strap: To protect sensitive electronic components from static discharge.
- Heat Gun: For removing old adhesives or heat-shrinking tubing.
- Repair Stand or Helping Hands: To hold the drone steady during repairs.
Common Drone Problems and Solutions
1. Battery Issues
- Insufficient Charge: Always ensure your battery is fully charged before each flight. Carry backup batteries to prevent disruptions.
- Reduced Flight Time: Battery health degrades over time. Replace old batteries or those showing signs of swelling or damage.
- Battery Not Charging: Check the battery connections, charger, and charging port for any issues. Try a different charger or battery.
- Battery Maintenance: Store batteries in a cool, dry place at 30-60% charge. Avoid extreme temperatures and deep discharges. Cycle batteries monthly by draining to 20% and recharging to 80%.
2. Connectivity Problems
- Loss of Signal: Fly in open areas away from tall buildings, trees, and sources of interference. Ensure antennas are correctly positioned and undamaged.
- Weak GPS Signal: Calibrate the compass and IMU. Fly in areas with a clear view of the sky.
- Remote Controller Issues: Check the remote controller’s battery level and connection to the drone. Update the remote controller’s firmware.
3. Flight Instability
- Drifting or Unstable Hover: Calibrate the drone’s compass and IMU. Ensure propellers are clean, undamaged, and properly attached.
- Erratic Movements: Check for any obstructions or damage to the motors. Ensure proper weight distribution and balance.
- Wind Interference: Fly in calm weather conditions to avoid wind-related instability.
4. Motor Problems
- Motor Not Spinning: Check the motor connections and wiring. Replace the motor if it’s damaged or burned out.
- Unusual Noises: Clean the motor chamber and check for obstructions. Lubricate the motor bearings if necessary.
- Overheating: Take breaks between flights to allow the motors to cool down. Fly in cooler weather.
5. Propeller Damage
- Cracks or Chips: Replace damaged propellers immediately to avoid flight instability and potential crashes.
- Loose Propellers: Ensure propellers are securely attached to the motors.
- Propeller Imbalance: Check for any imbalance in the propellers and replace them if necessary.
6. Camera and Gimbal Issues
- Blurry or Distorted Footage: Clean the camera lens with a microfiber cloth and lens cleaning solution. Check camera settings and ensure they are properly configured.
- Shaky Footage: Calibrate the gimbal. Check the gimbal for any physical damage or loose connections.
- Unresponsive Camera: Check the camera connections and wiring. Update the camera’s firmware.
7. Physical Damage
- Broken Propellers: Replace broken propellers immediately.
- Damaged Motors or Arms: Replace damaged motors or arms.
- Cracks in the Drone’s Body: Repair cracks with epoxy or replace the damaged parts.
8. Firmware and Software Errors
- Update Firmware: Regularly update the drone’s firmware to maintain compatibility, improve performance, and address known issues.
- Software Glitches: Restart the drone and remote controller. Reinstall the drone’s software or app.
Step-by-Step Drone Repair Guide
1. Diagnosis
- Visual Inspection: Check for any external damage, loose parts, or broken components.
- Power On and Test: Power on the drone and test its functionality, including motors, propellers, camera, and sensors.
- Troubleshooting: Use the troubleshooting tips above to identify the source of the problem.
2. Disassembly
- Power Down: Turn off the drone and disconnect the battery.
- Remove Components: Carefully remove the damaged components using the appropriate tools.
- Label Parts: Label all screws and parts to make reassembly easier.
- Refer to Manuals: Consult the manufacturer’s manual for disassembly procedures and wiring diagrams.
3. Component Repair or Replacement
- Repair: Repair damaged components if possible, such as soldering wires or gluing cracks.
- Replace: Replace damaged components with new ones. Ensure the replacement parts are compatible with your drone model.
4. Reassembly
- Follow Instructions: Follow the disassembly instructions in reverse to reassemble the drone.
- Connect Wires: Reconnect all wires and connectors, ensuring they are securely attached.
- Tighten Screws: Tighten all screws, but be careful not to overtighten them.
5. Testing and Calibration
- Power On and Test: Power on the drone and test its functionality, including motors, propellers, camera, and sensors.
- Calibration: Calibrate the compass, IMU, and gimbal according to the manufacturer’s instructions.
- Flight Test: Perform a flight test in a safe area to ensure the drone is functioning correctly.
Basic Drone Maintenance Tips
Pre-Flight Checks
- Inspect Propellers: Ensure propellers are free from damage and securely attached.
- Check Battery: Verify the battery is fully charged and properly inserted.
- Inspect Camera: Clean the camera lens and gimbal.
- Check Landing Gear: Ensure the landing gear is stable and capable of supporting the drone.
- Inspect Antennas: Verify that all antennas are secure and in good shape.
Post-Flight Checks
- Inspect for Damage: Check the drone for any signs of damage, such as cracks, dents, or loose components.
- Clean the Drone: Remove any dirt, dust, or debris that may have accumulated during the flight.
- Check Propellers: Check the propellers for any signs of wear, damage, or imbalance.
Regular Maintenance
- Clean Motors: Clean the motor chambers regularly to prevent dust buildup.
- Check Wiring: Inspect all wires for fraying, wear, or damage.
- Update Firmware: Regularly update the drone’s firmware and software.
- Battery Maintenance: Follow the manufacturer’s guidelines for charging and storing batteries.
- Storage and Transport: Store the drone in a clean, dry environment, away from extreme temperatures and direct sunlight. Use a protective case or bag during transportation.
When to Seek Professional Help
While many drone repairs can be performed DIY, some situations require professional expertise:
- Complex Issues: If you’re unable to diagnose the problem or the repair involves intricate electronics, seek professional help.
- Warranty Coverage: If your drone is under warranty, professional repair services may be required to maintain the warranty.
- Major Damage: Severe structural damage or extensive component failure often necessitates professional repair.
- Lack of Experience: If you’re not comfortable with electronics repair or soldering, it’s best to leave it to the professionals.
Finding Drone Repair Services in the UK
Several companies in the UK offer professional drone repair services:
- COPTRZ: An approved repair center by DJI, Flyability, and Parrot, offering expert servicing and crash coverage.
- Drone Doctor: A DJI-recommended service center for the UK, providing fast repairs with a one-year guarantee.
- Heliguy: A DJI-authorized repair center in the UK with DJI-trained technicians, offering warranty repairs and drone servicing.
- Direct Drone Repair: Offers fixed-cost repairs and services for common drone crash repairs.
- Drone Air Solutions: Specializes in DJI drone repairs with a one-year guarantee.
- Mavdrones: Offers comprehensive repair services for DJI, fixed-wing, and custom-built drones.
These services typically offer:
- Diagnosis and Assessment: Thorough inspection to determine the extent of the damage and provide a repair quote.
- Repair Services: Repair or replacement of damaged components using genuine parts.
- Maintenance Services: Regular maintenance to ensure optimal performance and longevity.
- Warranty: Guarantee on parts and labor for a specified period.
DIY vs. Professional Repair: Which is Right for You?
DIY Drone Repair
Pros:
- Cost-Effective: Save money on labor costs.
- Educational: Learn about drone mechanics and electronics.
- Convenient: Repair your drone on your own schedule.
Cons:
- Time-Consuming: Repairs can take time, especially for complex issues.
- Risk of Damage: Incorrect repairs can further damage the drone.
- Warranty Issues: DIY repairs may void the manufacturer’s warranty.
Professional Drone Repair
Pros:
- Expertise: Skilled technicians with experience in drone repair.
- Quality Parts: Use of genuine replacement parts.
- Warranty: Guarantee on parts and labor.
- Time-Saving: Repairs are typically completed quickly.
Cons:
- Costly: Higher cost due to labor and parts expenses.
- Inconvenient: Requires shipping or dropping off the drone.
- Turnaround Time: May take several days or weeks for repairs to be completed.
FPV Drone Repair
FPV (First Person View) drones, often used for racing and freestyle flying, are particularly prone to crashes and damage. Repairing FPV drones requires specialized knowledge and skills, including soldering, electronics repair, and frame replacement. Many online RC shops sell individual motors, flight controllers, frames, and other parts needed for FPV drone repairs.
Cost of Drone Repair
The cost of repairing a drone varies depending on several factors:
- Drone Model: More complex drones with advanced features tend to be more expensive to repair.
- Type of Damage: Minor repairs like propeller replacement are relatively inexpensive, while major repairs like motor or gimbal replacement can be costly.
- Parts Cost: The cost of replacement parts can vary depending on the brand and availability.
- Labor Cost: Professional repair services typically charge an hourly labor rate.
- Location: Repair costs may vary depending on the region and the service provider.
Drone Insurance and Crash Cover
Consider purchasing drone insurance or crash cover to protect yourself from unexpected repair costs. Some companies offer specialized drone insurance plans that cover damage from crashes, collisions, and other incidents.
Advanced Drone Maintenance Certification
For those looking to deepen their knowledge and skills in drone repair, advanced certification programs are available. These programs equip learners with essential skills to troubleshoot, repair, and optimize drone systems, focusing on advanced diagnostics, safety protocols, and emerging drone technologies.
By following this comprehensive guide, you’ll be well-equipped to handle common drone repairs and keep your UAV flying smoothly. Remember to prioritize safety, follow manufacturer guidelines, and seek professional help when needed. With proper care and maintenance, you can extend the lifespan of your drone and enjoy countless hours of safe and enjoyable flying.


