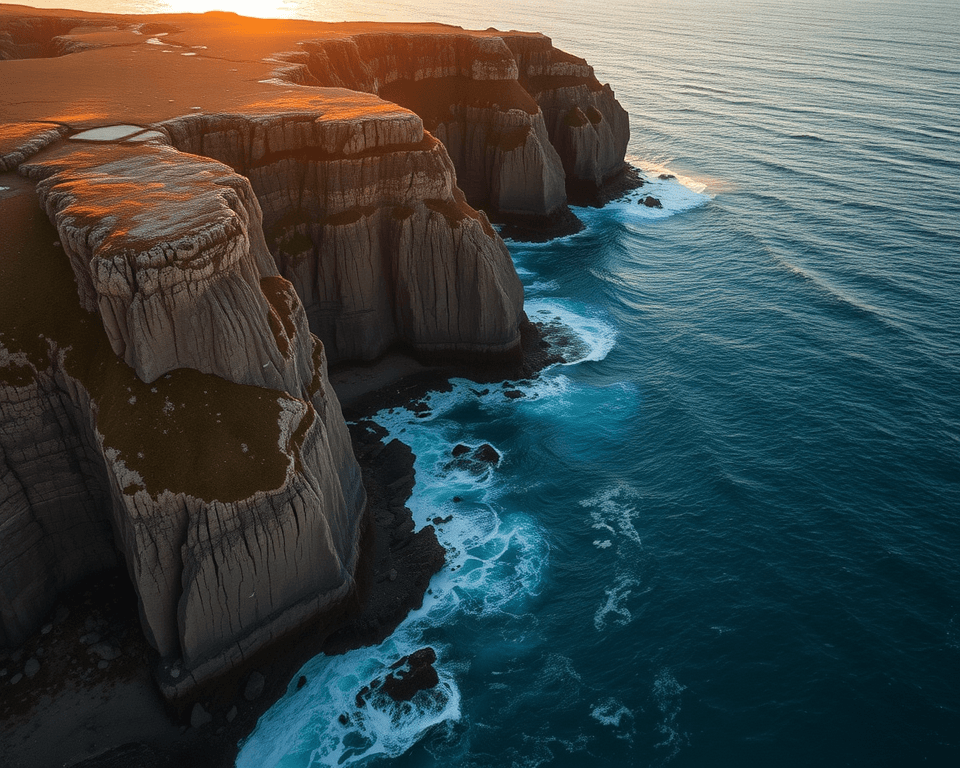
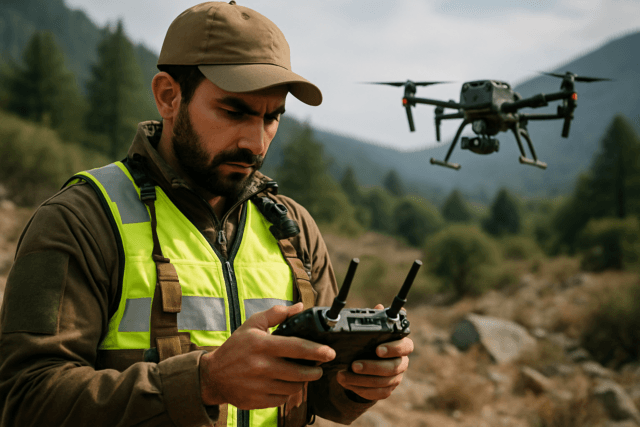
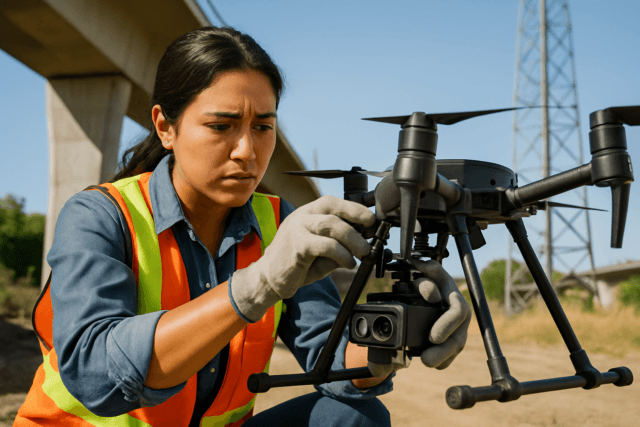
Drone photography has opened up incredible possibilities for capturing stunning aerial perspectives. However, the dynamic range limitations of drone cameras can often result in blown-out highlights or crushed shadows, especially in high-contrast scenes. High Dynamic Range (HDR) photography offers a powerful solution, allowing you to capture breathtaking images with rich detail in both the brightest and darkest areas. This guide will provide you with everything you need to know to master drone HDR photography, from understanding the basics to advanced shooting and editing techniques.
What is HDR Photography?
HDR, or High Dynamic Range, refers to a technique that expands the dynamic range of an image beyond what a standard camera sensor can capture in a single shot. The dynamic range is the difference between the lightest and darkest tones in a scene. In situations with a wide dynamic range, such as landscapes with a bright sky and a shadowy foreground, a single exposure often fails to capture detail in both areas.
HDR photography overcomes this limitation by capturing multiple images of the same scene at different exposure levels, and then merging them together into a single image. This resulting image boasts a far greater dynamic range, revealing details in both highlights and shadows that would otherwise be lost.
Why Use HDR for Drone Photography?
- Overcome Sensor Limitations: Drone cameras typically have smaller sensors compared to DSLRs or mirrorless cameras, which limits their dynamic range. HDR helps to compensate for this limitation.
- Capture High-Contrast Scenes: Aerial photography often involves scenes with significant contrast, such as bright skies and dark landscapes. HDR ensures detail is preserved throughout the entire image.
- Enhance Real Estate Photography: HDR is essential for real estate photography, balancing interior and exterior lighting to showcase properties in their best light.
- Create Visually Stunning Images: HDR can produce images with enhanced detail, vibrant colors, and a dramatic look that captures the viewer’s attention.
Understanding HDR Modes on Drones
Most modern drones offer built-in HDR modes, but it’s crucial to understand the differences between them to achieve the best results. There are generally two main approaches:
1. Automatic HDR Mode
- How it Works: In this mode, the drone automatically captures several bracketed exposures and merges them into a single JPEG image.
- Pros: Simple and convenient for quick HDR results.
- Cons: Limited control over the final image. The drone handles all the processing, which may not always align with your creative vision. You’re also typically limited to a JPEG output, which offers less flexibility for further editing.
- When to Use: When you need a quick and easy HDR image and don’t require extensive post-processing control.
2. Auto Exposure Bracketing (AEB) Mode
- How it Works: AEB mode captures a series of individual images at different exposure levels (typically 3 or 5 shots). These images are then merged manually in post-processing software.
- Pros: Greater control over the HDR process. You can fine-tune the merging and tone-mapping to achieve your desired look. Shooting in RAW format preserves maximum detail and editing flexibility.
- Cons: Requires more effort in post-processing.
- When to Use: When you want full control over the final HDR image and are willing to invest time in post-processing.
AEB is generally the preferred method for professional drone photographers because it offers the most flexibility and control over the final result.
Gear Up: Essential Equipment for Drone HDR Photography
- Drone with AEB Capability: Ensure your drone has an AEB mode that allows you to capture multiple bracketed exposures. Many DJI drones, such as the Mavic series, Air series, and Inspire series, offer this feature. Even smaller drones like the DJI Mini series have AEB.
- Fast SD Card: A fast SD card is essential for capturing multiple images in quick succession without lag. Look for cards with high write speeds to ensure smooth performance.
- ND Filters (Optional): Neutral Density (ND) filters reduce the amount of light entering the camera, allowing you to use slower shutter speeds in bright conditions. This can be useful for creating motion blur or achieving proper exposure when shooting HDR panoramas.
- HDR Post-Processing Software: Choose software that specializes in HDR merging and tone mapping. Popular options include:
- Adobe Lightroom Classic
- Adobe Photoshop
- Photomatix
- Aurora HDR
- EasyHDR
- Luminar Neo
Step-by-Step Guide to Shooting HDR Drone Photos
1. Pre-Flight Preparations
- Check Weather Conditions: Avoid windy days, as drone movement between exposures can cause ghosting and alignment issues.
- Choose the Right Time of Day: Golden hours (early morning and late afternoon) offer soft, warm light that enhances HDR results. Avoid shooting in harsh midday sunlight if possible.
- Plan Your Composition: Use the drone’s grid overlay feature to compose balanced and engaging images. Consider the rule of thirds to position key elements.
- Calibrate your drone’s gimbal: Ensure the camera is level with the horizon to avoid wavy horizons in panoramas.
2. Camera Settings
- Shoot in RAW Format: RAW files retain the maximum amount of detail and provide the most flexibility for editing.
- Enable AEB Mode: Access the camera settings in your drone’s app and select AEB mode. Choose either 3 or 5 shots, with 5 shots generally providing a wider dynamic range.
- Set ISO to the Lowest Possible Value: Lower ISO settings minimize noise and maximize image quality.
- Aperture: If your drone allows for manual aperture control, choose an aperture that provides sufficient depth of field for your scene.
- White Balance: Set white balance to auto, as it can be easily adjusted in post-processing when shooting in RAW.
- Sharpness: Some pilots recommend setting sharpness to +1 to disable in-camera noise reduction, resulting in sharper images for post-processing.
3. Capturing the Images
- Position the Drone: Place your drone in a stable hover position using Tripod mode or GPS mode.
- Focus: Ensure your image is properly focused.
- Trigger AEB: Capture the bracketed exposures. The drone will automatically take 3 or 5 shots in quick succession. Avoid moving the drone until the sequence is complete.
- Manual Bracketing (If AEB is Unavailable): If your drone lacks AEB, you can manually bracket by taking individual shots with different exposure compensation values (e.g., EV -2, EV 0, EV +2). However, this method is less precise and increases the risk of movement between shots.
4. Advanced Techniques
- HDR Panoramas: Combine HDR with panoramic photography to capture expansive scenes with exceptional detail and dynamic range. Shoot bracketed exposures at each panorama segment, ensuring sufficient overlap (around 50%) between images.
- Vertical Panoramas: Most drones only shoot landscape format photos, but you can shoot vertical panoramas and stitch them together in Photoshop to create portrait format HDR images. This is useful for capturing tall structures or scenes with a strong vertical element.
- Shooting into the Sun: When shooting directly into the sun, consider using a -3 exposure compensation for one of your bracketed shots to retain detail in the highlights.
Post-Processing: Merging and Editing HDR Drone Photos
1. Importing and Organizing
- Import Images: Import the bracketed exposures into your chosen HDR software (Lightroom, Photoshop, Photomatix, etc.).
- Organize: Keep your images organized by using folders or stacks to group the bracketed sets together.
2. Merging to HDR
- Select Images: Select the bracketed exposures for a particular scene.
- Initiate HDR Merge: In Lightroom, right-click and select “Photo Merge” > “HDR.” In Photoshop, go to “File” > “Automate” > “HDR Pro.”
- Adjust Settings:
- Auto Alignment: Enable auto alignment to correct for slight movements between shots.
- Deghosting: Use deghosting to remove any ghosting artifacts caused by moving objects (cars, people, etc.) or wind-induced drone movement. Start with a low setting and increase if necessary.
- Auto Tone: Experiment with auto tone to see if it provides a good starting point for your edit. You can always adjust the settings manually later.
- Merge: Click “Merge” to create the HDR image.
3. Tone Mapping and Editing
Once the HDR image is merged, you can begin tone mapping and editing to achieve your desired look. Here are some common adjustments:
- Exposure and Contrast: Adjust the overall exposure and contrast to balance the image.
- Highlights and Shadows: Fine-tune the highlights and shadows to reveal detail in both areas.
- Whites and Blacks: Adjust the white and black points to control the overall tonal range.
- Clarity and Texture: Add clarity and texture to enhance detail and sharpness.
- Vibrance and Saturation: Adjust vibrance and saturation to enhance colors.
- Color Grading: Use color grading to create a specific mood or style.
- Noise Reduction: Apply noise reduction to minimize any noise introduced during the HDR process, especially in shadow areas.
4. Local Adjustments
Use local adjustment tools (brushes, gradients, radial filters) to make targeted adjustments to specific areas of the image. For example, you might darken the sky, brighten the foreground, or add detail to a particular subject.
5. Exporting
Once you are satisfied with your edit, export the image in your desired format (JPEG, TIFF, etc.) with appropriate settings for resolution, color space, and sharpening.
Troubleshooting HDR Drone Photography
- Ghosting: Ghosting occurs when moving objects or drone movement cause misalignment between exposures. Use deghosting tools in your HDR software to minimize this effect. In severe cases, manual editing may be required to remove ghosting artifacts.
- Noise: HDR processing can sometimes amplify noise, especially in shadow areas. Use noise reduction tools to minimize noise while preserving detail.
- Haloing: Haloing refers to bright or dark fringes that can appear around objects in HDR images. Adjust tone mapping settings or use local adjustments to reduce haloing.
- Over-Processed Look: Avoid excessive tone mapping, which can result in an unnatural or “over-processed” look. Aim for a balanced and realistic result.
Software for Post Processing HDR Drone Images
- Adobe Lightroom Classic: A popular choice for its comprehensive editing tools and HDR merging capabilities.
- Adobe Photoshop: Offers advanced editing features and HDR Pro merging, ideal for complex edits.
- Photomatix: A dedicated HDR software known for its powerful merging and tone-mapping algorithms.
- Aurora HDR: Another dedicated HDR software with a user-friendly interface and a range of creative presets.
- EasyHDR: A streamlined HDR software with a focus on ease of use.
- Luminar Neo: Combines AI-powered editing tools with HDR merging capabilities, offering a unique and efficient workflow.
The Best Drones for HDR Photography in 2025
As of April 2025, here are some of the top drones for HDR photography, considering their camera capabilities and features:
- DJI Mavic 3 Pro: The flagship drone with a large 4/3-inch Hasselblad sensor, offering exceptional detail and dynamic range.
- DJI Air 3: A high-value all-rounder with dual cameras (wide and telephoto), capable of capturing 4K/60fps HDR video.
- DJI Mini 4 Pro: A compact and lightweight drone with impressive camera power, including 4K/60fps HDR video and omnidirectional obstacle sensing.
- Autel Evo Lite+: A strong DJI alternative with a 1-inch sensor and adjustable aperture, offering excellent image quality.
Tips for Stunning Drone HDR Photography
- Practice Regularly: Experiment with different settings and techniques to find what works best for you.
- Study Other Photographers’ Work: Analyze successful HDR drone photos to learn from their techniques and compositions.
- Don’t Overdo It: HDR should enhance the image, not overwhelm it. Aim for a natural and balanced look.
- Pay Attention to Detail: Sharpness, color accuracy, and noise reduction are all important factors in creating high-quality HDR images.
- Have Fun: Drone photography should be an enjoyable experience. Explore different perspectives and let your creativity soar.
By following these guidelines and practicing regularly, you can unlock the full potential of drone HDR photography and capture breathtaking aerial images that showcase the world in all its vibrant detail.

