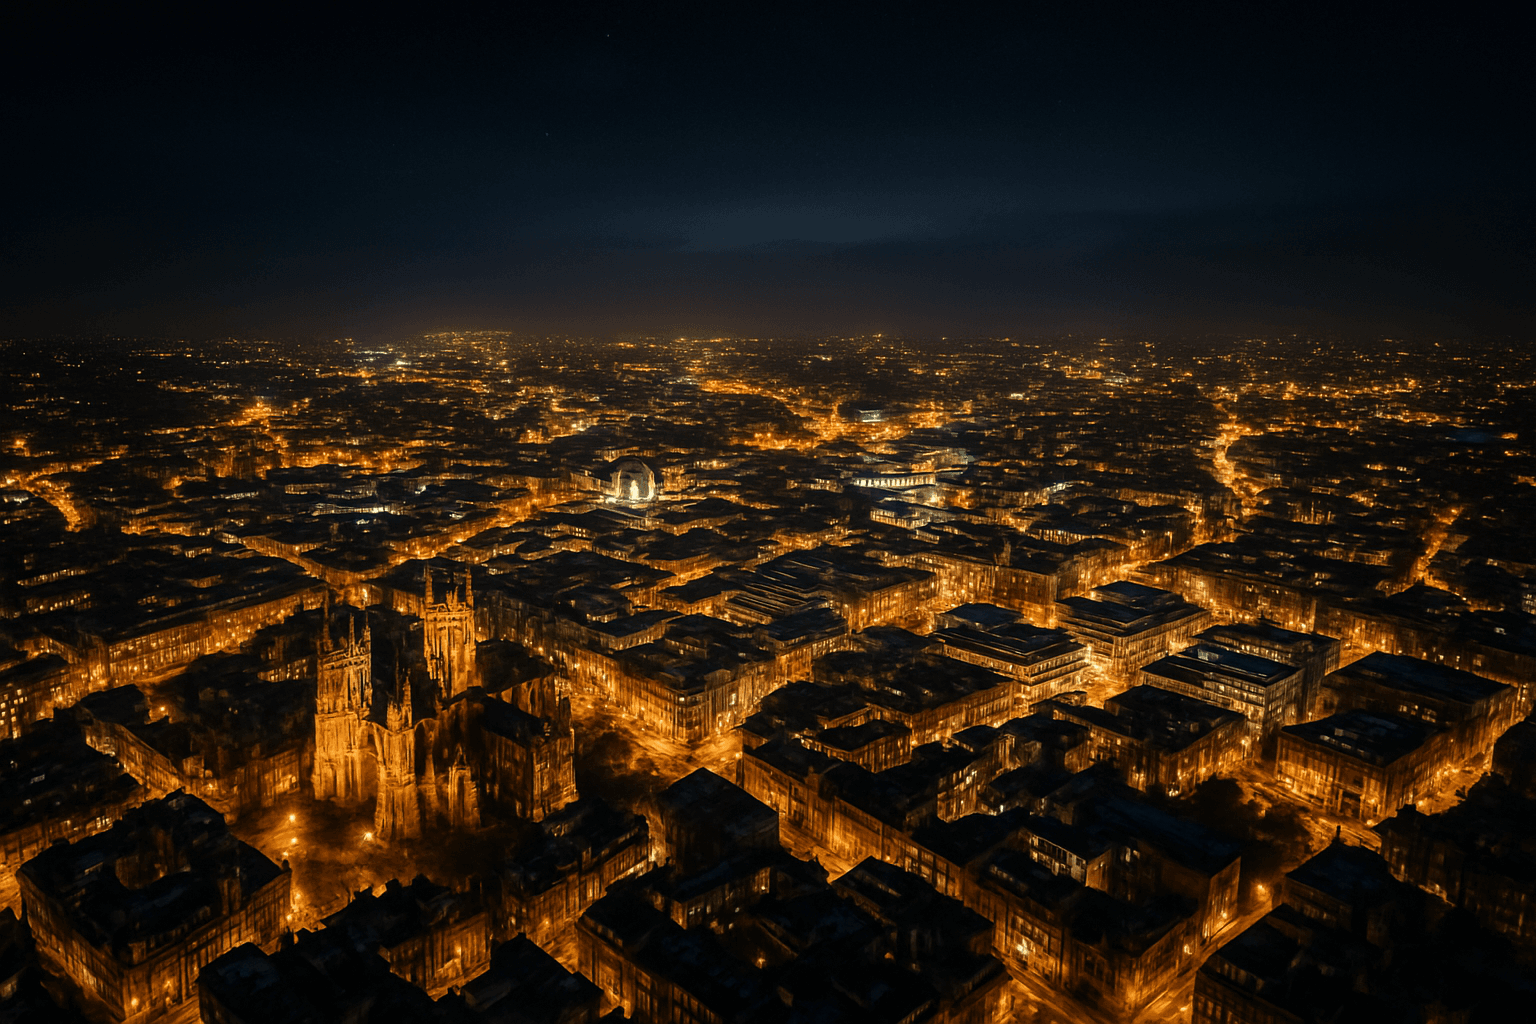
Drone night photography opens up a world of creative possibilities, allowing you to capture breathtaking images of illuminated cityscapes and serene landscapes under the stars. However, it also presents unique challenges compared to daytime drone photography. This guide will equip you with the essential knowledge and techniques to master drone night photography in the UK, from choosing the right equipment and camera settings to understanding regulations and post-processing tips.
Is Drone Night Photography Legal in the UK?
Yes, you can legally fly a drone at night in the UK, but you must adhere to specific regulations set by the Civil Aviation Authority (CAA) . Key requirements include:
- Visual Line of Sight (VLOS): You must maintain a clear and direct visual line of sight with your drone at all times . This is more challenging at night, so proper lighting is essential.
- Anti-Collision Lights: Your drone must be equipped with anti-collision lights visible from at least three statute miles away . A green flashing light is often recommended .
- Registration: If your drone weighs 250g or more, or if it has a camera, you must register with the CAA .
- Flyer ID: You need to pass an online test to get a flyer ID .
- Operator ID: You must register for an operator ID if you’re responsible for a drone or model aircraft .
- Height Restrictions: Standard UK drone regulations, including the 400-foot height restriction, still apply during nighttime flights .
- No-Fly Zones: You must never fly in an airport’s flight restriction zone or other restricted areas .
Choosing the Right Drone for Night Photography
Selecting the right drone is crucial for capturing high-quality night photos. Consider these factors:
- Camera Quality: Look for a drone with a high-quality camera that performs well in low-light conditions . Key specifications include:
- Sensor Size: Larger sensors gather more light and generally perform better in low light .
- Aperture: A wide aperture (f/2.8 or lower) allows maximum light into the camera .
- ISO Range: A wide ISO range provides flexibility in adjusting to different lighting conditions .
- Stability: A stable flight system is essential for capturing sharp images, especially with longer exposure times .
- Battery Life: Extended flight time allows you more opportunities to find the perfect shot .
- Manual Settings: The ability to adjust ISO, aperture, and shutter speed manually is crucial for optimal exposure during night shoots .
- RAW Image Capture: Shooting in RAW format preserves more image data, providing greater flexibility during post-processing .
- Obstacle Avoidance: Reliable obstacle avoidance systems enhance safety during night flights .
- Lighting: Ensure your drone has built-in lighting or the ability to attach external lights for visibility .
Recommended Drones:
- DJI Mini 4 Pro: Excellent for professional-quality aerial photography, low-light performance, and obstacle avoidance .
- DJI Air 3S: Offers LiDAR and infrared cameras and long battery life . It also has a 50-megapixel, 1-inch-CMOS sensor and 24mm lens .
- DJI Mavic 3 Pro/Classic: Solid photography workhorses with great wide-angle cameras .
- DJI Mavic 4 Pro: A premium choice with a 25 megapixel Micro Four Thirds wide-angle camera .
Essential Tips for Successful Night Photography
Here are some essential tips to help you capture stunning night images with your drone:
- Plan Ahead: Scout your location during the day to identify potential obstacles and find the best angles and compositions . Check for local regulations and no-fly zones .
- Check Weather Conditions: Monitor weather conditions, including wind speed, temperature, and visibility . Avoid flying in adverse weather .
- Time Your Shoot: The “blue hour,” the period shortly after sunset or before sunrise, often provides magical contrast and complements city lights . Moonlight can also add a valuable element of natural light .
- Use a Tripod or Gimbal: Although it refers to traditional photography, remember to use a tripod or gimbal for stability .
- Camera Settings:
- Manual Mode: Set your camera to manual mode to have full control over the settings .
- ISO: Use the lowest ISO possible (typically between 100 and 400) to minimize noise . Increase the ISO only if necessary, but be mindful of noise .
- Aperture: Use a wide aperture (f/2.8 to f/4) to allow more light to reach the sensor .
- Shutter Speed: Adjust the shutter speed depending on the lighting conditions and desired effect . A slower shutter speed (e.g., 1 to 1.6 seconds) lets in more light but requires greater stability . A faster shutter speed (e.g., 1/125 second) is better for capturing clear images of moving objects .
- White Balance: Set white balance to auto or daylight and adjust in post-processing if needed .
- Focus: Use manual focus and set it to infinity or focus on a distant light source .
- Composition: Compose your shot carefully, using grid lines to help with alignment and the rule of thirds . Consider the foreground, midground, and background elements .
- Lighting: Experiment with different lighting setups, including external LED lights or ambient sources like street lamps . Be aware of potential overexposure from bright light sources .
- Safety:
- Maintain VLOS at all times .
- Ensure your drone is properly lit with anti-collision lights .
- Be aware of your surroundings and potential obstacles .
- Land with plenty of power in reserve .
- Post-Processing:
- Adjust exposure to highlight key features .
- Enhance colors with saturation and contrast adjustments .
- Reduce noise to minimize graininess .
- Crop or straighten for better composition .
Mastering Camera Settings
Understanding camera settings is paramount for capturing stunning drone night photos. Here’s a detailed breakdown:
ISO
ISO measures the sensitivity of your camera’s sensor to light. In low-light conditions, increasing the ISO can help you capture brighter images. However, higher ISO settings also introduce more noise, which appears as graininess in your photos .
- Low ISO (100-400): Best for well-lit conditions or when you want to minimize noise .
- High ISO (800+): Use in darker environments when you need to brighten the image, but be cautious of noise .
Aperture
Aperture refers to the opening in your camera’s lens that allows light to pass through. It is measured in f-numbers (e.g., f/2.8, f/4, f/8) .
- Wide Aperture (f/2.8 – f/4): Allows more light to enter the camera, ideal for low-light conditions. It also creates a shallow depth of field, blurring the background and emphasizing the subject .
- Narrow Aperture (f/8 – f/16): Allows less light into the camera, suitable for well-lit scenes. It creates a large depth of field, keeping both the foreground and background in focus .
Shutter Speed
Shutter speed determines how long the camera’s sensor is exposed to light. It is measured in seconds or fractions of a second (e.g., 1 second, 1/30 second, 1/1000 second) .
- Slow Shutter Speed (1 second or longer): Allows more light to enter the camera, ideal for capturing light trails or motion blur . Requires a stable drone or tripod to avoid blurry images .
- Fast Shutter Speed (1/125 second or faster): Captures fast-moving objects with clarity and reduces motion blur .
Exposure Compensation
Exposure compensation allows you to fine-tune the brightness of your images. It is measured in stops of light (+/-) .
- Positive Exposure Compensation (+): Brightens the image.
- Negative Exposure Compensation (-): Darkens the image.
White Balance
White balance corrects color casts caused by different light sources. It ensures that colors appear accurate in your photos .
- Auto White Balance: Allows the camera to automatically adjust the white balance based on the scene .
- Daylight White Balance: Sets the white balance to match daylight conditions .
- Custom White Balance: Allows you to manually set the white balance based on a specific light source.
Focus
Focus ensures that your subject is sharp and clear in your photos .
- Manual Focus: Allows you to manually adjust the focus of the lens. Best for night photography when autofocus may struggle to find focus in low light .
- Autofocus: Allows the camera to automatically focus on the subject .
Post-Processing Techniques
Post-processing is an essential step in drone night photography . It allows you to enhance your images and bring out the best details. Here are some common post-processing techniques:
- Exposure Adjustment: Adjust the overall brightness of the image .
- Contrast Adjustment: Increase or decrease the contrast between the light and dark areas of the image .
- Highlight and Shadow Adjustment: Adjust the brightness of the highlights and shadows separately .
- Noise Reduction: Reduce noise and graininess in the image .
- Color Correction: Correct color casts and adjust the white balance .
- Sharpening: Increase the sharpness and clarity of the image .
- Cropping and Straightening: Crop the image to improve the composition and straighten any tilted horizons .
Common Mistakes to Avoid
- Failing to Plan: Not scouting locations or checking regulations beforehand .
- Ignoring Weather Conditions: Flying in adverse weather can be dangerous and result in poor image quality .
- Using Incorrect Camera Settings: Not understanding and adjusting camera settings for low-light conditions .
- Forgetting Safety Precautions: Neglecting VLOS, anti-collision lights, and other safety measures .
- Over-Editing: Over-processing images can result in unnatural and artificial-looking photos .
By following these guidelines, you can elevate your drone night photography and capture stunning images that showcase the beauty of the world from a unique aerial perspective.
