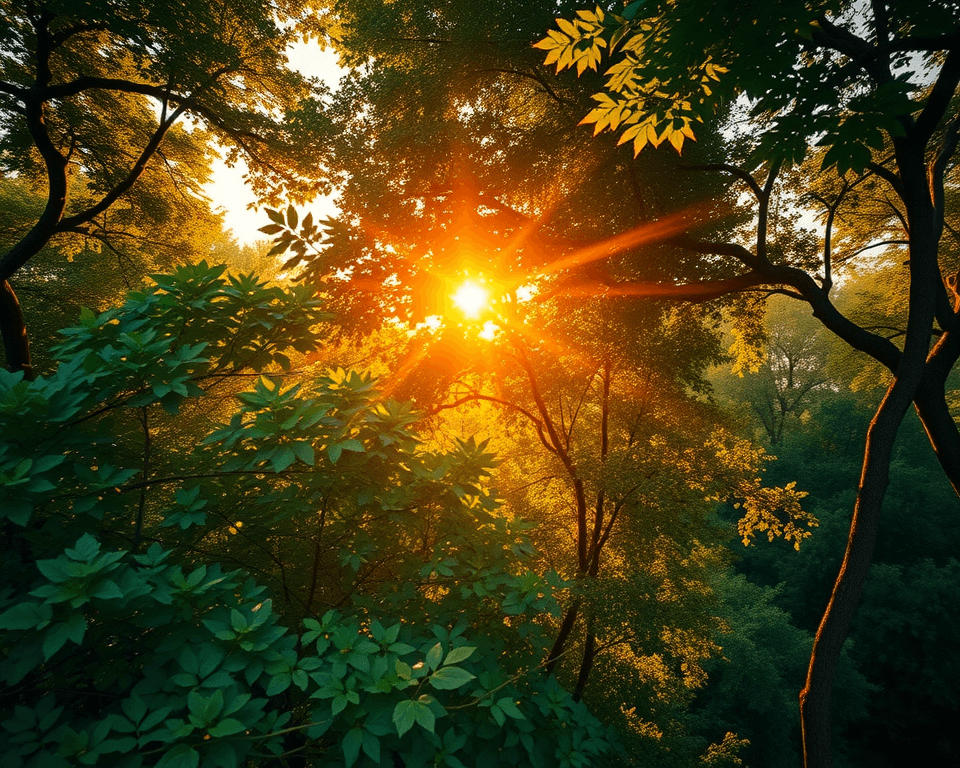
Drone photography and videography have opened up breathtaking new perspectives, but capturing truly stunning aerial shots requires more than just a drone. Filters are essential tools that can dramatically improve the quality of your aerial imagery, helping you overcome challenging lighting conditions and achieve creative effects. This guide will walk you through everything you need to know about drone filters, from the different types available to how to choose the right ones for your needs and how to keep them clean.
Why You Need Filters for Your Drone
Think of drone filters as sunglasses for your drone’s camera. They reduce the amount of light entering the lens, prevent glare, and protect the lens itself. This is crucial because:
- Avoid Overexposure: Flying high exposes your camera to intense sunlight, especially on bright days. Without filters, footage can be overexposed, losing detail in highlights.
- Control Shutter Speed: ND filters allow slower shutter speeds to create cinematic motion blur, making videos smoother and more professional-looking.
- Reduce Glare and Reflections: Polarizing filters cut glare from water, glass, and other reflective surfaces, enhancing color saturation and contrast.
- Protect Your Lens: Filters act as a barrier against dust, scratches, and fingerprints, safeguarding the delicate lens.
Types of Drone Filters
1. Neutral Density (ND) Filters
What they do: ND filters reduce the amount of light entering the camera lens without affecting the color balance. They are like sunglasses for your drone, allowing you to shoot with wider apertures or slower shutter speeds in bright conditions.
Why you need them:
- Cinematic Motion Blur: Achieve a smooth, cinematic look in your videos by using a slower shutter speed. Without an ND filter, bright sunlight would cause overexposure.
- Better Exposure Control: Prevent overexposed highlights and maintain detail in your footage.
- Long Exposure Photography: Capture stunning long-exposure shots during the day, blurring moving water, clouds, or traffic.
ND Filter Strengths:
ND filters come in various strengths, each reducing light by a different amount. Here’s a general guide:
- ND4: Reduces light by 2 stops (1/4 of the light). Useful for slightly overcast days or early morning/late afternoon light.
- ND8: Reduces light by 3 stops (1/8 of the light). Ideal for partly cloudy days or when you want to smooth out water movement.
- ND16: Reduces light by 4 stops (1/16 of the light). Great for bright sunny days, allowing you to achieve cinematic motion blur.
- ND32: Reduces light by 5 stops (1/32 of the light). Use in extremely bright conditions, such as shooting over snow or sand.
- ND64: Reduces light by 6 stops (1/64 of the light). For very bright conditions when you need extreme motion blur.
- Variable ND Filters: These filters allow you to adjust the amount of light reduction by rotating the filter ring, offering versatility in changing light conditions.
2. Polarizing Filters (CPL)
What they do: Polarizing filters reduce glare and reflections from non-metallic surfaces like water, glass, and foliage. They also enhance color saturation and contrast, making skies bluer and foliage greener.
Why you need them:
- Reduce Glare: Eliminate unwanted reflections from water surfaces, allowing you to see beneath the surface and capture details that would otherwise be hidden.
- Enhance Colors: Increase color saturation, making your images more vibrant and visually appealing.
- Improve Contrast: Boost contrast in skies and foliage, creating more dynamic and dramatic images.
How they work: CPL filters work by blocking polarized light waves, allowing only the desired light to pass through the lens. You can rotate the filter to adjust the amount of polarization, controlling the effect based on shooting conditions.
3. UV Filters
What they do: UV filters primarily protect your camera lens from scratches, dust, and fingerprints. They also reduce the impact of ultraviolet (UV) rays, which can cause a bluish tint or whitening effect in photos, especially at high altitudes or near the sea.
Why you might need them:
- Lens Protection: Act as a sacrificial layer, protecting the expensive drone lens from damage.
- UV Reduction: Minimize the effects of UV rays, resulting in clearer and more accurate colors.
Are they necessary? Modern drone cameras often have built-in UV protection, making UV filters less essential than ND or polarizing filters. However, many pilots still use them for the added lens protection.
4. Graduated Neutral Density (GND) Filters
What they do: GND filters have a gradient that darkens the top half of the filter while leaving the bottom half clear. This balances the exposure between a bright sky and a darker foreground, preventing the sky from being overexposed.
Why you might need them:
- Landscape Photography: Ideal for landscape shots where the sky is much brighter than the ground.
- Balanced Exposure: Create more balanced and visually appealing images by darkening the sky without affecting the foreground.
Considerations: Using GND filters on drones can be tricky because the horizon line isn’t always horizontal when the drone tilts the camera.
Choosing the Right Drone Filters
- Compatibility: Ensure the filter is compatible with your drone model and camera lens. Check the lens diameter and thread size before purchasing. Many popular drone models, like the DJI Mavic series, have specific filters designed for them.
- Filter Quality: Invest in high-quality filters made from premium materials with multi-coated glass elements. This ensures optimal image quality, sharpness, and clarity. Look for filters with anti-reflective coatings to minimize unwanted reflections and glare.
- Consider Your Shooting Conditions: Think about the types of environments and lighting conditions you typically shoot in. If you frequently shoot near water or in bright sunlight, a polarizing filter and ND filters with different levels of light reduction would be beneficial.
- Weight: Opt for lightweight filters to avoid affecting your drone’s flight performance. Heavy filters can reduce flight time and strain the gimbal.
- Attachment Mechanism: Filters typically attach to the drone’s camera lens using a screw-on mechanism or a magnetic mount. Choose an attachment method that is secure and easy to use.
Top Drone Filter Brands
- DJI: Offers a range of high-quality filters designed specifically for their drones.
- Freewell: Known for their excellent customer service and filters with a limited lifetime warranty.
- PolarPro: A popular brand offering a wide range of drone-specific filters.
- K&F Concept: Offers a variety of filters, including polarizing and ND filters, known for their quality and value.
- PGYTECH: Offers exceptional quality and performance.
- NEEWER: A solid reputation for making quality filters for DJI drones.
- SKYREAT: Known for making quality filters for DJI drones.
How to Clean and Maintain Your Drone Filters
Proper cleaning and maintenance are essential to keep your drone filters in good condition and ensure optimal image quality. Here are some tips:
- Use a Microfiber Cloth: Gently wipe the filter surface with a clean, lint-free microfiber cloth to remove dust, fingerprints, and smudges.
- Lens Pen: A lens pen is a handy tool for removing dust and fingerprints from filters. Use the brush end to remove dust particles and the cleaning tip to wipe away smudges.
- Lens Cleaning Solution: For stubborn dirt or smudges, use a lens cleaning solution specifically designed for camera lenses and filters. Apply a small amount to the microfiber cloth and gently wipe the filter surface.
- Compressed Air: Use compressed air to blow away dust and debris from the filter surface before cleaning it with a cloth. This helps prevent scratches.
- Clean Threads: If you frequently remove and attach filters, clean the threads with a small amount of WD-40 to ensure smooth operation.
- Storage: Store your filters in a protective case or pouch to prevent scratches and damage.
- Avoid Harsh Chemicals: Do not use harsh chemicals or abrasive cleaners to clean your filters, as they can damage the coatings.
- Regular Cleaning: Clean your filters regularly, especially after flying in dusty or dirty environments.
Take Your Aerial Photography to New Heights
Drone filters are essential tools for capturing stunning aerial photos and videos. By understanding the different types of filters available and how to use them, you can overcome challenging lighting conditions, enhance your images, and protect your valuable equipment. So, invest in a quality set of drone filters and take your aerial photography to new heights!


