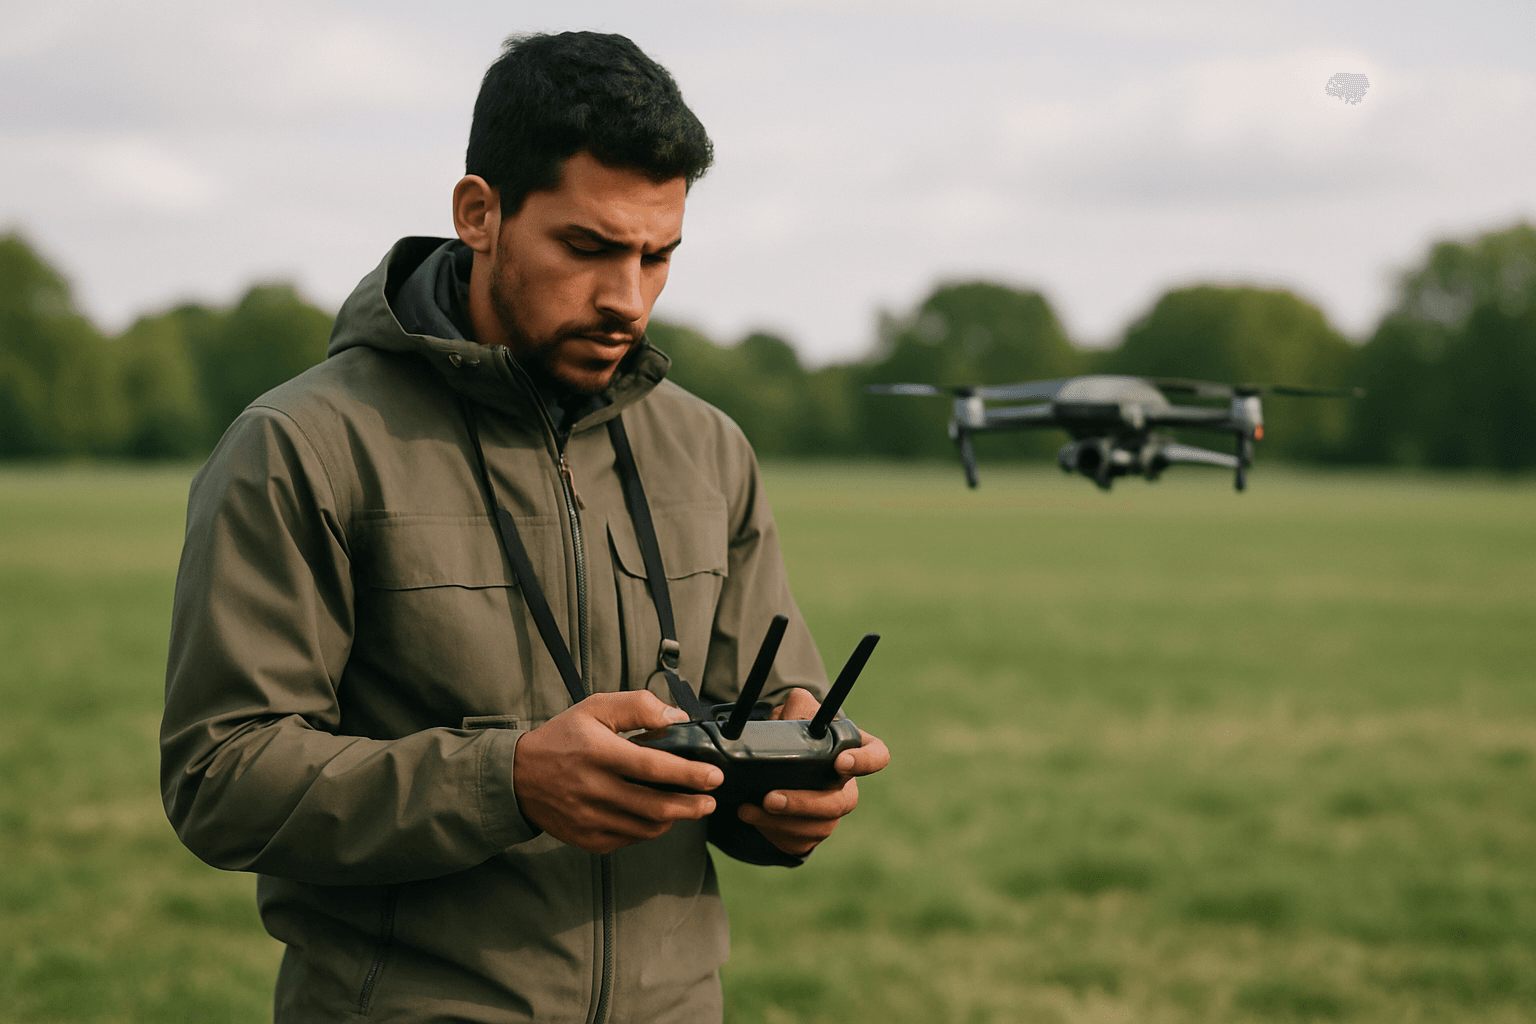
Drone photography offers a breathtaking new perspective, transforming ordinary scenes into extraordinary aerial vistas. However, many aspiring and even experienced drone pilots encounter common pitfalls that can detract from the quality of their images and footage. From technical settings to environmental awareness and compositional blunders, understanding these frequent mistakes is the first step towards capturing truly stunning aerial photographs. This guide will equip you with the knowledge to identify and prevent these issues, ensuring your drone photography consistently reaches new heights.
Pre-Flight Preparation: The Foundation of Flawless Shots
Effective drone photography begins long before takeoff. A thorough pre-flight checklist and environmental assessment are crucial for safety and image quality.
Ignoring the Pre-Flight Checklist
Neglecting pre-flight checks can lead to equipment failure or subpar results. Many drone incidents, including crashes or unexpected battery drainage, are preventable with proper inspection.
- Solution: Develop and consistently use a comprehensive pre-flight checklist. This should include checking the drone’s physical condition (propellers, motors, frame for damage), ensuring batteries (drone and controller) are fully charged, confirming the SD card is inserted and formatted, cleaning camera lenses and sensors, and removing the gimbal cover. Always check for firmware updates.
Disregarding Weather and Environmental Conditions
Flying in adverse weather can not only damage your drone but also severely impact image quality. Harsh midday sun, strong winds, rain, or even extreme temperatures can lead to blurry photos, glare, or loss of control.
- Solution: Always check the weather forecast, including wind speed, before flying. Plan your shoots during the “golden hours” (early morning or late afternoon) for soft, warm lighting and long shadows, which are ideal for aerial photography. Utilize tools like SunCalc to predict sun position. Also, be mindful of “No Fly Zones” and potential interference from mobile towers or power lines.
Mastering Camera Settings for Optimal Drone Photography
While modern drones boast advanced auto modes, relying solely on them can limit your creative control and image quality. Manual control of your drone’s camera settings is key to professional results.
Incorrect White Balance Settings
Shooting with auto white balance can cause color shifts during a shot, resulting in inconsistent tones.
- Solution: Manually set your white balance. For normal daylight, around 5600 Kelvin is often recommended, increasing to 6400 Kelvin for cloudy conditions, and staying around 6000 Kelvin for warmer sunrise/sunset tones. Locking in the value ensures color consistency.
Blown Highlights and Underexposed Shadows
It’s common to see images with an overblown sky or an underexposed foreground, lacking detail in either extreme. Recovering blown-out highlights is often more difficult than recovering details from shadows in post-production.
- Solution: Expose for the highlights to retain detail in the brightest areas. Utilize your drone’s histogram to monitor exposure and ensure most of the graph is centered for a balanced image. Consider using Automatic Exposure Bracketing (AEB) to capture multiple exposures for later merging into an HDR image, which helps balance highlights and shadows.
Blurry Photos and Motion Blur
Several factors can contribute to blurry drone images, from incorrect camera settings to movement during capture.
- Solution:
- Shutter Speed: For video, a good rule of thumb is to set your shutter speed to double your frame rate (e.g., 1/60th for 30fps, 1/120th for 60fps) to achieve natural motion blur. For still photography, especially in bright conditions, adjust shutter speed to prevent overexposure while keeping ISO low.
- ISO: Keep ISO as low as possible (ideally ISO 100) to minimize noise and grain, especially in well-lit conditions.
- Aperture: While many consumer drones have fixed apertures, if yours is adjustable, f/4 to f/5.6 is often considered the sweet spot for sharpness.
- Autofocus: Ensure autofocus is turned on, or manually tap on your screen to focus on your desired subject, especially for closer shots.
- ND Filters: Neutral Density (ND) filters are essential accessories that reduce the amount of light entering the lens, allowing for slower shutter speeds in bright conditions without overexposure, which is critical for cinematic motion blur in videos and long exposures in photography.
Shooting in JPEG Instead of RAW
JPEG files are compressed and have limited data, making significant adjustments in post-production challenging.
- Solution: Always shoot in RAW format (DNG for many drones). RAW files retain much more image data, offering greater flexibility for color correction, exposure adjustments, and overall post-processing without losing quality. Remember that DNG files might appear low-resolution in generic viewers, but will display full quality in dedicated editing software like Lightroom or Photoshop.
Composition and Artistic Vision: Crafting Engaging Aerial Images
Beyond technical settings, how you frame and compose your shots significantly impacts their impact.
Lack of a Clear Subject or Boring Composition
One of the most common mistakes is flying over an area and capturing “everything and nothing,” resulting in generic and uninspired images.
- Solution: Plan your shots with a clear subject in mind. Use compositional techniques like leading lines, the rule of thirds, symmetry, and patterns to draw the viewer’s eye. Experiment with different angles and altitudes, including unique top-down shots that are distinct to drone photography.
Flying Too High
While drones offer the ability to reach great heights, flying too high can make your subject appear tiny and insignificant, losing detail and impact.
- Solution: Experiment with lower altitudes. Some of the most compelling drone shots are taken just above head height, offering a fresh yet detailed perspective. Vary your height and angle to create more dynamic compositions.
Ignoring the Time of Day (Harsh Lighting)
Shooting during harsh midday sun often results in flat images, strong shadows, and washed-out colors.
- Solution: Leverage the “golden hours” of sunrise and sunset for soft, warm light that enhances textures and creates dramatic shadows. If you must shoot during the day, consider shooting at an angle so the sun illuminates the scene without being directly in the shot.
Skewed Horizon
A crooked horizon line instantly signals an amateur photo and can be distracting.
- Solution: Always ensure your horizon is perfectly level. Most drone software allows for gimbal adjustments to correct this in-flight, or it can be easily fixed in post-production.
Post-Production and Storytelling: The Finishing Touches
The work isn’t over after landing. Post-processing and intentional storytelling elevate your drone photography.
Neglecting Post-Production
Unedited drone photos, especially RAW files, often lack the “wow factor” and don’t fully represent the scene’s beauty.
- Solution: Always color correct and edit your images. Software like Adobe Lightroom or Photoshop can transform your photos, bringing them to life. Learn editing skills and consider using presets as a starting point.
Over-editing the Image
While post-production is essential, over-saturating colors, excessive sharpness, or overdone HDR effects can make an image look fake and unnatural.
- Solution: Strive for natural-looking edits that enhance what was already captured rather than forcing an artificial look. Subtle adjustments to exposure, shadows, and highlights often yield the best results.
Not Telling a Story
Random aerial clips or photos without a narrative connection can feel disjointed and unengaging.
- Solution: Think about the story you want to tell with your images or video. Whether it’s showcasing a landscape, property, or event, cohesive storytelling will make your work more impactful.
By diligently addressing these common drone photography mistakes, from meticulous pre-flight preparation and mastering camera settings to thoughtful composition and refined post-production, you can significantly elevate the quality of your aerial imagery and create truly captivating visuals. Practice, patience, and a keen eye for detail are your most powerful tools in the world of drone photography.