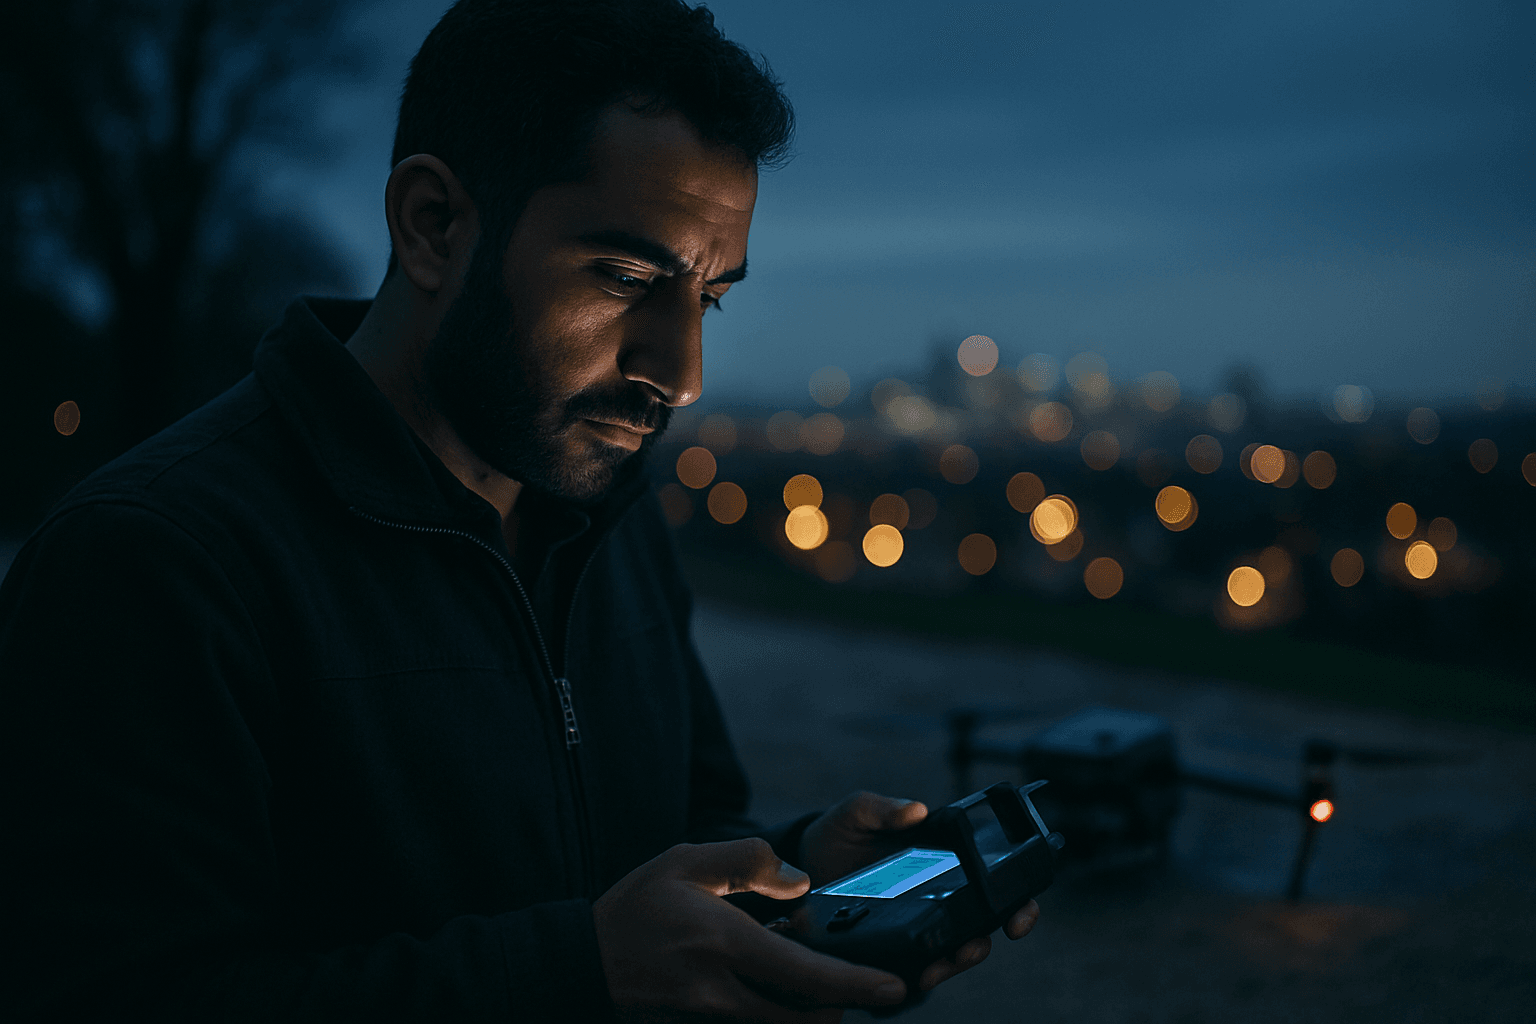
Capturing breathtaking aerial photographs after dusk presents a unique challenge and a rewarding opportunity for drone pilots. Low light conditions, such as twilight, blue hour, or deep night, demand a sophisticated understanding of your drone’s camera settings to avoid grainy, underexposed, or blurry images. While automatic settings often struggle in these scenarios, manually adjusting key parameters can unlock stunning, high-quality results.
This guide delves into the essential drone camera settings and techniques to help you master low light aerial photography, transforming challenging conditions into spectacular visual narratives.
The Exposure Triangle in Low Light: ISO, Shutter Speed, and Aperture
The core of any photography, especially in challenging lighting, revolves around the “exposure triangle”: ISO, shutter speed, and aperture. Balancing these three elements is crucial for achieving well-exposed and clear images. For low light drone photography, a manual approach is almost always recommended to gain full control.
ISO: Sensitivity and Noise Management
ISO dictates your camera sensor’s sensitivity to light. A higher ISO brightens your image, which is vital in low light, but it also introduces more “noise” or graininess, which degrades image quality. The goal is to use the lowest possible ISO that still allows for adequate exposure.
- Starting Point: Begin with ISO 100-200 if your drone has good low-light performance. For many drones, staying between ISO 100-400 is ideal to minimize noise.
- Gradual Increase: If needed, gradually increase to ISO 400-800. Some drones, particularly those with larger sensors like the DJI Mavic 3 or Inspire 3, can handle ISO 800-1600 with proper noise reduction, but higher values significantly introduce noise. For blue hour photography, ISO 200-400 is a good starting point, but 800 or even 1600 can be used with post-processing noise reduction.
- Drone Capabilities: Drones with larger sensors generally perform better at higher ISOs. For instance, DJI Mavic 3 Pro, with its Four Thirds CMOS sensor, excels in low light.
Shutter Speed: Balancing Light Intake and Motion Blur
Shutter speed controls how long the camera sensor is exposed to light. In low light, a slower shutter speed allows more light to reach the sensor, brightening the image. However, slower speeds also increase the risk of motion blur, especially with a moving drone.
- Still Photography: For still images, slower shutter speeds (e.g., 1/2 to 1/10 second, or even 1 to 6 seconds) can be used, but this often requires a very stable drone flight or a tripod mode to prevent blur. A very still night with minimal wind is crucial for longer exposures.
- Minimizing Blur: If your drone is in motion, a minimum shutter speed around 1/500s is recommended for sharp images. When hovering, you can drop to around 1/125s to allow more light. Some sources suggest starting at 1/1000 and decreasing towards 1/500 or 1/640, reducing flight speed to minimize blur.
- Video Considerations: For video, a common guideline is to set the shutter speed to double your frame rate (e.g., 1/60th for 30fps video or 1/48th for 24fps) to achieve natural-looking motion blur. However, in very low light, you might need to break this rule and use a slower shutter speed (e.g., 1/24s or 1/50s for 24fps) to gather more light, especially if the drone is stationary or moving slowly. Avoid higher frame rates (like 60fps or 120fps) at night, as they require faster shutter speeds, letting in less light.
- “Cheating the Shutter”: Using a very slow shutter speed in video can brighten your scene and keep ISO low, but it requires moving the drone slowly to avoid excessive motion blur.
Aperture: Maximizing Light Intake
Aperture refers to the opening of the lens that lets light into the camera. A wider aperture (represented by a smaller f-number, e.g., f/2.8) allows more light to reach the sensor, which is crucial in low-light environments.
- Widest Possible: Set the aperture as wide as possible. For many professional drones, this is typically f/2.8. Drones like the DJI Mini 3 Pro have an f/1.7 aperture, which is excellent for low light.
- Depth of Field: Be aware that a wider aperture results in a shallower depth of field (blurry background). While this can be less critical for wide aerial shots, it’s a factor to consider for detailed inspections or isolating subjects.
- Optimal Sharpness (if adjustable): If your drone allows aperture adjustments (e.g., DJI Mavic 3 or Autel EVO Lite+), aiming for f/4 to f/5.6 can offer optimal sharpness while still gathering good light. However, in truly low light, prioritize the widest aperture.
Other Crucial Settings and Techniques
Beyond the exposure triangle, several other camera settings and techniques are vital for successful low light drone photography.
White Balance: Accurate Color Representation
White balance ensures accurate color reproduction by adjusting for different color temperatures of light sources. Auto white balance can struggle in low-light scenes, leading to inconsistent color casts.
- Manual Control: Manually adjust white balance, especially for night photography.
- Presets and Kelvin: Start with presets like “Cloudy” or “Incandescent” depending on artificial light sources, or use custom white balance. For night skies, setting Kelvin between 3000K-3600K (Tungsten) can achieve a cool, natural night look. Daylight (around 5000-5500K) can also be a good starting point and adjusted in post.
- Consistency: For video, manual white balance helps maintain consistent color as the drone moves, preventing distracting shifts.
File Format: RAW for Post-Processing Flexibility
Always shoot in RAW format. RAW files retain much more image detail and color information compared to JPEGs, offering significantly more flexibility for adjustments in post-processing, especially when dealing with noise, exposure, and white balance.
Noise Reduction Techniques
Despite optimal camera settings, some noise might still appear in low light. Modern drones and post-processing offer solutions.
- In-Camera Noise Reduction: Some drones have built-in noise reduction features.
- Post-Processing Software: Software like Adobe Lightroom or Photoshop can effectively reduce noise. Third-party plugins like Topaz DeNoise AI are also highly recommended.
- Image Stacking: A powerful technique, especially for astrophotography or very dark scenes, involves taking multiple photos (often in burst mode) and stacking them in post-processing software (e.g., Photoshop). This “mean stacking” method averages out random noise, resulting in cleaner images without sacrificing sharpness. This technique is particularly beneficial for drones with smaller sensors.
Manual Exposure and Monitoring Tools
- Manual Mode is King: Switch your drone camera to manual (Pro) mode to gain full control over ISO, shutter speed, and aperture.
- Histogram: Frequently check the histogram during flight to monitor your exposure and avoid clipping highlights or crushing shadows.
- Test Shots: Take test shots and review them on your screen, adjusting settings as needed.
- Auto Mode for Composition: Some pilots temporarily switch to auto mode for composing their shot in very dark conditions, as it brightens the image on screen, then switch back to manual for capture.
Practical Tips for Low Light Drone Photography
- Blue Hour is Your Friend: The “blue hour” (the period of twilight each morning and evening when there is still some ambient natural light but city lights are prominent) offers a fantastic balance of light for drone photography, creating a convincing night look with less extreme conditions than deep night.
- Stable Platform: Ensure your drone is as stable as possible. Use “tripod mode” or hover mode if available to minimize movement, especially with slower shutter speeds. High winds can easily introduce blur.
- Location Scouting: Scout your location during the day to understand the layout, potential hazards, and available artificial light sources. Urban areas with city lights are generally easier to photograph at night due to more ambient light.
- Move Slowly: When using slower shutter speeds for video, move your drone very slowly to prevent excessive motion blur and streaky lights.
- Focus Techniques: For landscapes, set focus to infinity or tap to focus on the horizon. For closer subjects, use manual focus if available, or focus 1/3 into the scene (hyperfocal technique).
- Avoid Overexposure: Be mindful of bright light sources (like streetlights) which can easily become overexposed or cause flaring.
By understanding and meticulously applying these camera settings and techniques, drone pilots can transcend the limitations of low light and capture stunning, professional-grade aerial photographs that reveal the beauty of the world after sunset.
