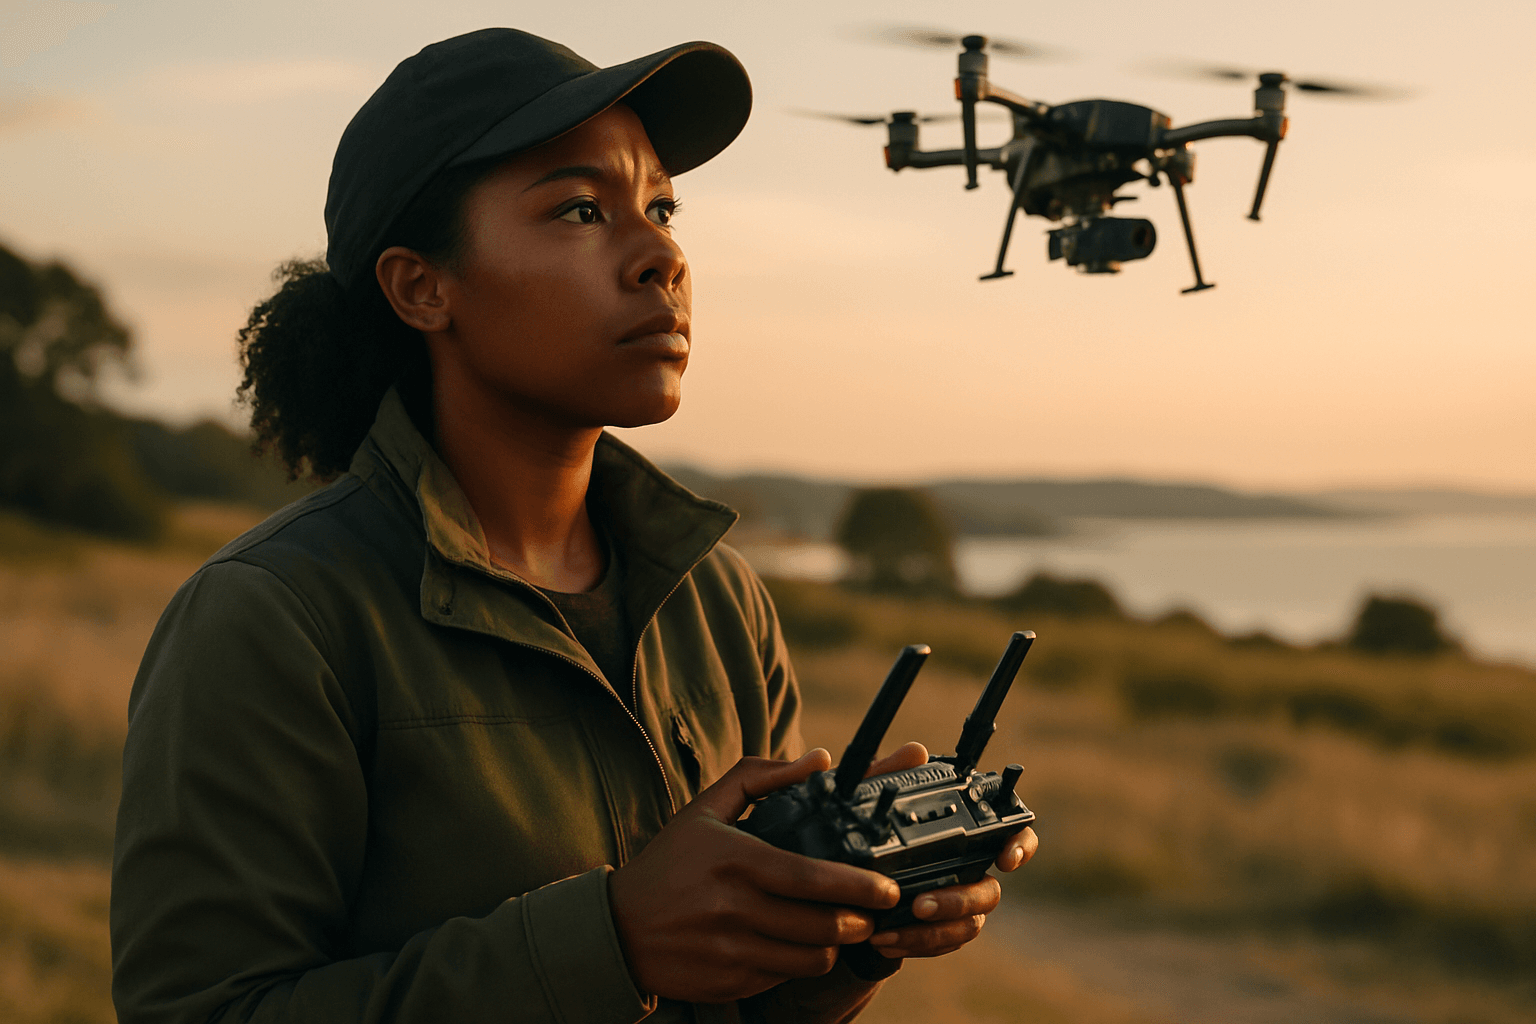
Capturing breathtaking aerial footage is one of the most exciting aspects of drone technology, offering unique perspectives that were once the exclusive domain of high-budget productions. However, the dream of cinematic drone shots can quickly turn into a frustrating reality if your footage is plagued by jerky movements and unstable camera work. Achieving that coveted smooth, professional look requires a combination of careful planning, optimized drone settings, skillful piloting, and smart post-production techniques.
This guide will equip you with the knowledge and strategies to transform your shaky drone videos into captivating, fluid aerial masterpieces.
Pre-Flight Preparation: Setting the Stage for Success
Smooth drone movements begin long before takeoff. Proper preparation ensures your equipment is ready and the environment is cooperative.
Check Weather Conditions
Wind is the arch-nemesis of smooth drone footage. Even modern drones with advanced gimbals can struggle in gusty conditions, leading to noticeable shakiness.
- Ideal Conditions: Aim for calm days with little to no wind.
- Compensating for Wind: If you must fly in light wind, consider flying into the wind for more stability and reduce your speed. You may also need to increase your drone’s responsiveness in settings.
Calibrate Your Drone and Gimbal
Always perform a pre-flight calibration of your drone’s compass and gimbal. This ensures the drone’s sensors are accurate and the gimbal can operate optimally to stabilize the camera.
Optimizing Drone and Camera Settings
The right settings on your drone and camera are crucial for capturing high-quality, smooth footage.
Adjust Gimbal Settings for Smoothness
Many drones default to gimbal settings that are too sensitive for cinematic shots. Lowering the sensitivity and increasing smoothness can make a significant difference.
- Gimbal Pitch Speed: This controls how fast the camera tilts up or down. Reduce it to a low value (e.g., 10-15 for DJI drones) to ensure gradual, controlled tilts.
- Gimbal Pitch Smoothness: This dictates how slowly or quickly the gimbal stops moving the camera. Increase this setting (e.g., 20-30 or even maximum for DJI) so that the camera eases into and out of movements, preventing abrupt stops.
- Yaw Smoothness/Angular Velocity: Similarly, adjust the yaw (horizontal rotation) smoothness and lower the maximum angular velocity (e.g., 35 degrees) to prevent jerky side-to-side movements. More stick movement will then be required to get the drone moving forward, which aids in smoother starts and stops.
Implement Cinematic Camera Settings
Beyond gimbal control, specific camera settings contribute to a filmic look and smooth motion blur.
- Resolution and Frame Rate: Shoot in 4K for higher detail and greater flexibility in post-production, allowing for cropping and more effective stabilization. For a cinematic look, use 24fps or 30fps. If you plan to slow down footage in post-production, shoot at 60fps or higher.
- Shutter Speed (The 180-Degree Rule): To achieve natural-looking motion blur, set your shutter speed to roughly double your frame rate. For example, if shooting at 24fps, use a shutter speed of 1/50th of a second; for 30fps, use 1/60th; and for 60fps, use 1/120th. This prevents a “jittery” or “stuttering” effect.
- ISO: Keep your ISO as low as possible (typically 100) to minimize digital noise and maintain image quality, especially in low light.
- ND Filters: Neutral Density (ND) filters are essential in bright conditions. They reduce the amount of light entering the camera, allowing you to use a slower shutter speed (to adhere to the 180-degree rule) without overexposing your footage.
- White Balance & Color Profile: Avoid Auto White Balance (AWB) as it can lead to inconsistent colors between shots. Set a fixed white balance. Shoot in a flat or “log” color profile (if available) to retain more dynamic range, which provides greater flexibility for color grading in post-production. Reduce in-camera sharpening if possible, as DJI drones often do a good job, and over-sharpening can degrade footage.
Mastering Piloting Techniques
Even with perfect settings, your stick inputs are paramount for smooth movements.
Slow and Deliberate Movements
The most fundamental rule for cinematic drone footage is to fly slowly and deliberately. Avoid abrupt, jerky control inputs. Think of your drone as a heavy camera crane, not a racing quad. Practice moving the sticks gently and waiting for the drone’s response.
Utilize Intelligent Flight Modes
Modern drones, especially DJI models, offer “Intelligent Flight Modes” that automate complex movements, making smooth shots much easier.
- Cinematic Mode (Cine Mode/Tripod Mode): This mode is specifically designed for smooth video, slowing down the drone’s movements and reducing stick sensitivity and turning speed. It increases braking distance for gradual stops, preventing shaky footage.
- ActiveTrack/Follow Me: Locks onto a subject and tracks its movement, keeping it centered in the frame.
- Point of Interest (POI): Makes the drone automatically orbit a subject at a set radius and altitude.
- Waypoints: Allows you to pre-program a flight path with multiple points, which the drone will then follow smoothly.
- Course Lock: Locks the drone’s horizontal movement to a specific direction, allowing you to focus on camera panning or tilting while the drone maintains a straight path.
- Cruise Control: Maintains current inputs, allowing the drone to continue a movement (e.g., yawing left) without constant stick pressure, eliminating jerky movements.
Practice Basic Cinematic Shots
Familiarize yourself with fundamental drone camera movements to tell a visual story.
- Push In / Pull Out (Dronie): Fly towards or away from a subject, often while gaining altitude to reveal the surrounding landscape.
- Tracking Shot: Fly alongside or behind a moving subject, maintaining consistent distance and focus.
- Aerial Pan: Rotate the drone horizontally (yaw) to reveal a wide scene. Combine with forward or backward movement for added sophistication. Avoid stationary pans if possible, and ensure the yaw is smooth.
- Pedestal Shot: Fly straight up or down, often without tilting the camera, to showcase height or reveal objects.
- Reveal Shot: Start with the camera pointed down or at an obscured view, then slowly tilt up or move to reveal the main subject or landscape.
- Orbit Shot (Parallax Orbit): Circle a subject while keeping it centered, creating a dynamic sense of depth.
Combine Movements Thoughtfully
Avoid doing too much at once. Combine only one or two movements (e.g., forward motion with a slow tilt) to maintain control and smoothness. For instance, if panning, always be doing a second movement, like rising/descending or pushing in/pulling back.
Post-Production Stabilization and Enhancement
Even with the best flying, some footage may benefit from post-processing.
Software Stabilization
Post-production stabilization tools can smooth out minor shakes and jitters.
- Adobe Premiere Pro / After Effects: Warp Stabilizer is a powerful tool to smooth out footage. Set it to “smooth motion” for subtle correction or “no motion” to lock the frame, adjusting smoothness for optimal results.
- DaVinci Resolve: Offers built-in stabilization with customizable settings.
- Gyroflow: A popular tool for FPV drone footage, allowing for precise adjustments based on raw gyro data.
- Pro Tip: Apply stabilization before other effects and use high-resolution footage for better results.
Speed Ramping and Slow Motion
Slowing down footage, especially if shot at higher frame rates (e.g., 60fps), can inherently make movements appear smoother and more dramatic. Speed ramping can add dynamic flow, slowing down dramatic reveals and speeding up longer sequences.
Color Grading
Enhance the visual impact of your aerial shots with color grading. This process can add vibrancy, depth, and a cinematic glow, especially for golden hour footage. Shooting in a flat color profile provides more flexibility for this step.
Noise Reduction
If footage was shot in low light or high ISO, noise reduction tools can clean up graininess, improving clarity.
Conclusion
Achieving smooth, cinematic drone camera movements is an art that blends technical understanding with skillful execution. By meticulously preparing your drone, optimizing camera and gimbal settings, mastering slow and deliberate piloting techniques, leveraging intelligent flight modes, and refining your footage in post-production, you can consistently capture stunning aerial videos that tell compelling stories and impress your audience. Remember, practice is key to developing the muscle memory and intuition needed for truly fluid drone cinematography.


