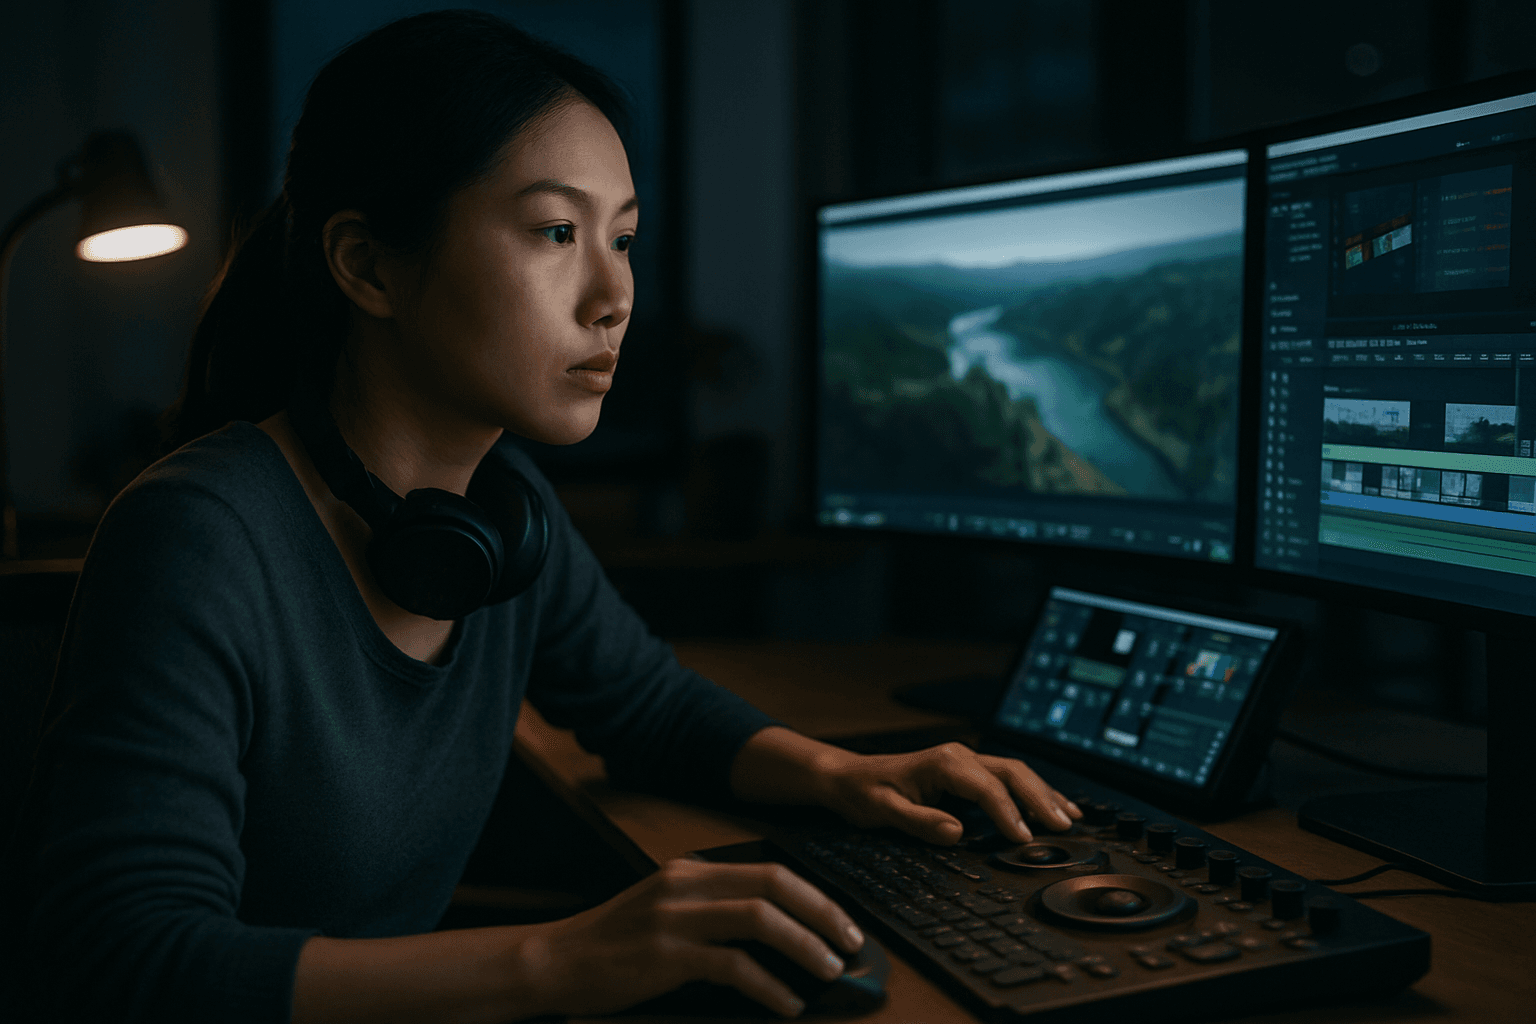
Drone footage has revolutionized visual storytelling, offering breathtaking aerial perspectives previously unattainable. However, the true magic of these stunning shots for film and events often lies not in the flight itself, but in the meticulous post-production process. Transforming raw drone video into a cinematic masterpiece or a dynamic event highlight requires a specialized suite of editing techniques, from stabilization and color grading to intricate sound design and visual effects.
Essential Pre-Editing Considerations
Before diving into the edit, a well-organized approach to your drone footage workflow is crucial for efficiency and quality.
Importing and Organizing Footage
Drone footage files, especially those shot in 4K or higher resolutions, can be massive. Investing in ample storage and creating a structured file system is paramount to prevent data loss and ensure easy access during editing. Labeling and sorting clips by location, shot type (e.g., wide shot, fly-through), and time can save hours in the long run.
Understanding Camera Settings
Familiarize yourself with your drone’s camera settings. Parameters such as frame rate, shutter speed, and ISO directly impact the footage quality and how it can be manipulated in post-production. For cinematic results, shooting at 24 or 30 frames per second (fps) is recommended, while higher frame rates like 60 or 120 fps are ideal for smooth slow-motion effects. Shooting in a flat color profile like D-Log or D-Cinelike (if available) preserves more color information, offering greater flexibility during color grading. Using Neutral Density (ND) filters during shooting can also help maintain color information in bright conditions.
Core Editing Techniques for Cinematic Appeal
Even the best-flown drone shots can benefit immensely from post-production refinement.
Stabilization: Banishing Shakes and Jello
One of the most common challenges with drone footage is unwanted camera shake or the “jello effect” (rolling shutter distortion caused by vibrations).
- Software Stabilization: Tools like Adobe Premiere Pro’s Warp Stabilizer or Adobe After Effects offer powerful algorithms to smooth out shaky footage. After Effects provides advanced customization options, including detailed motion tracking and keyframe controls for intricate stabilization tasks. When using Warp Stabilizer, you can adjust settings like “Smooth Motion” or “No Motion” and fine-tune the smoothness percentage. Gyroflow is another popular tool for stabilizing video using gyroscope data from the camera, particularly effective for removing high-frequency vibrations.
- Preventative Measures: While software is powerful, in-camera prevention is ideal. Using a drone with a high-quality gimbal helps keep the camera steady. Flying smoothly, avoiding sudden movements, maintaining consistent altitude, and flying in calm weather conditions can significantly reduce shakiness. Additionally, ensuring balanced propellers and properly fitted cameras can prevent the jello effect. Lowering your shutter speed can also help mask rolling shutter issues.
Color Correction and Grading
Color work is arguably one of the most transformative aspects of post-production, giving your drone footage a unique look and style.
- Color Correction: This initial step involves adjusting white balance, exposure, and contrast to ensure natural and consistent colors across all clips.
- Color Grading: This is the creative process of applying a specific aesthetic or mood. Shooting in flat profiles (like D-Log or D-Cinelike) provides maximum flexibility for grading. Look-Up Tables (LUTs) can be used to convert flat footage to standard Rec.709 color space or to apply cinematic looks. Many Hollywood films, for instance, utilize a teal and orange palette. Software like DaVinci Resolve is highly regarded for its professional-level color grading capabilities.
Strategic Cropping, Zooming, and Resizing
These techniques can enhance composition, remove distractions, and add dynamic flair.
- Post-Production Cropping: Useful for removing unwanted elements (like propellers) or re-framing a shot. Cropping can also help achieve a widescreen aspect ratio. However, be mindful not to over-crop, as it can degrade video quality, especially if not shot in 4K or higher.
- Post-Production Zoom: Many editing software offer zoom features, including automated processes like the Ken Burns effect, to add drama or draw attention to specific details.
Speed Ramps and Reverse Footage
Manipulating playback speed can create dynamic and engaging sequences.
- Speed Ramps: Speeding up drone footage can make shots more dynamic or cover more ground in a shorter time.
- Reverse Footage: Reversing shots can create unique and smoother movements, especially when a backward flight is more stable than a forward one, or an upward movement is smoother than a descent.
Adding Cinematic Black Bars (Letterboxing)
The classic widescreen aspect ratio, often achieved with black bars at the top and bottom of the frame (letterboxing), instantly lends a cinematic feel to drone footage. These can also be used to crop out unwanted elements like propellers.
Advanced Techniques for Enhanced Storytelling
Beyond fundamental adjustments, advanced techniques can elevate drone footage to truly professional levels.
Motion Tracking and VFX Integration
Adding visual effects (VFX) can significantly enhance the visual appeal and storytelling of drone footage.
- Motion Tracking: This technique allows you to “attach” text, graphics, or other elements to specific points within a moving drone shot, making them appear seamlessly integrated. Software like After Effects and DaVinci Resolve’s Fusion page are commonly used for motion tracking and VFX.
- VFX Elements: These can include adding motion graphics, CGI elements, atmospheric effects like haze or clouds, or even explosions. It’s crucial to strike a balance between realism and fantastical elements to ensure a convincing final result. For complex VFX, it’s often more efficient to apply effects to specific, trimmed sections of footage rather than an entire project.
Seamless Transitions
Crafting smooth and creative transitions between drone clips is key to maintaining audience engagement and narrative flow. Experiment with various transition effects to match the project’s tone and style.
The Art of Sound Design
While drones themselves typically don’t record usable audio, sound design is a crucial, often overlooked, element that adds depth, emotion, and realism to drone videos.
Why Sound Matters for Drone Footage
Since many consumer drones don’t record sound, or the native audio is uncinematic propeller noise, adding custom sound design in post-production is essential. Sound helps to immerse the audience and connect them more effectively with the story being told.
Layering Ambient Sounds and Sound Effects
- Diegetic Sounds: Replicate sounds that would naturally exist within the scene, such as wind, birds, crashing waves, or city ambience (e.g., car beeps, chatter). The volume of these sounds can be adjusted to reflect proximity, such as increasing wave sounds as the drone approaches the ocean.
- Non-Diegetic Sounds: Abstract or subjective sounds, like whooshes or atmospheric drones, can help guide the viewer’s attention or enhance the emotional impact.
- Balancing Audio: It’s important not to overdo sound effects. Balancing the volume of various audio layers ensures a natural and pleasing auditory experience.
Music Selection and Synchronization
Choosing the right music is fundamental to setting the tone and driving emotion in your drone video. The music should complement the visuals, and cuts in the footage can be synchronized with musical accents to create a more impactful and engaging experience.
Recommended Software and Workflow Tips
The choice of editing software significantly impacts your workflow and the capabilities available.
Popular Editing Suites
- Adobe Premiere Pro & After Effects: A powerful combination for editing, stabilization (Warp Stabilizer), motion graphics, and VFX.
- DaVinci Resolve: A free yet professional-grade software that includes comprehensive tools for editing, visual effects (Fusion), color correction, grading, and sound editing. It’s particularly strong for color work.
- Final Cut Pro: Popular for Mac users, offering robust editing features, 360° video editing, and 4K HDR support, including native ProRes RAW file support for DJI Inspire 2 footage.
Workflow Best Practices
- Organized File Structure: Begin with a well-organized system for your raw footage.
- Proxy Editing: For large 4K or H.265 files, using proxies (lower-resolution versions for editing) can significantly improve performance, especially on less powerful computers.
- Pre-Compose in After Effects: When adding VFX, it’s often best to work on specific, trimmed sections of your drone clip within a pre-composition to manage computing power effectively.
- Continuous Review: Regularly review your edited footage, sometimes taking a break and returning with fresh eyes, to catch any errors or areas for improvement.
- High-Quality Export: Always export your final video in a high-quality format like ProRes or H.264 for the best balance of quality and file size.
Mastering post-production editing techniques for drone footage is an art form that transforms raw aerial captures into captivating narratives. By meticulously addressing stabilization, color, visual effects, and sound design, editors can unlock the full cinematic potential of drones for film and events, creating truly immersive and unforgettable viewing experiences.


