The dolly zoom, often referred to as the “Vertigo effect” or “Hitchcock zoom,” is a powerful cinematic technique that creates a sense of disorientation or heightened drama by simultaneously changing the camera’s focal length and its distance from the subject. While the subject maintains a consistent size in the frame, the background appears to either dramatically compress or expand, producing a visually captivating and often unsettling effect. Originally achieved with complex camera dollies, this iconic shot has become increasingly accessible to filmmakers and content creators through the innovative capabilities of modern drones.
Achieving a precise dolly zoom with a drone, however, requires a fine-tuned synchronization of flight maneuvers and camera settings. Whether your drone features an optical zoom lens or you plan to simulate the effect in post-production, understanding the nuances of this technique can elevate your aerial videography to professional levels.
Understanding the Dolly Zoom Effect
Pioneered by Alfred Hitchcock in his 1958 film Vertigo, the essence of the dolly zoom lies in manipulating perspective. It involves two concurrent movements:
- Camera Movement: The drone (acting as the dolly) moves either forward towards the subject or backward away from it.
- Lens Zoom: Simultaneously, the camera’s lens zooms in or out in the opposite direction of the drone’s movement.
For instance, if the drone flies backward, the lens zooms in. If the drone flies forward, the lens zooms out. The goal is to keep your main subject in the foreground roughly the same size and position within the frame, while the background undergoes a dramatic distortion, either appearing to stretch out or close in. This visual trick plays with the viewer’s perception of space and distance, making it a highly effective storytelling tool.
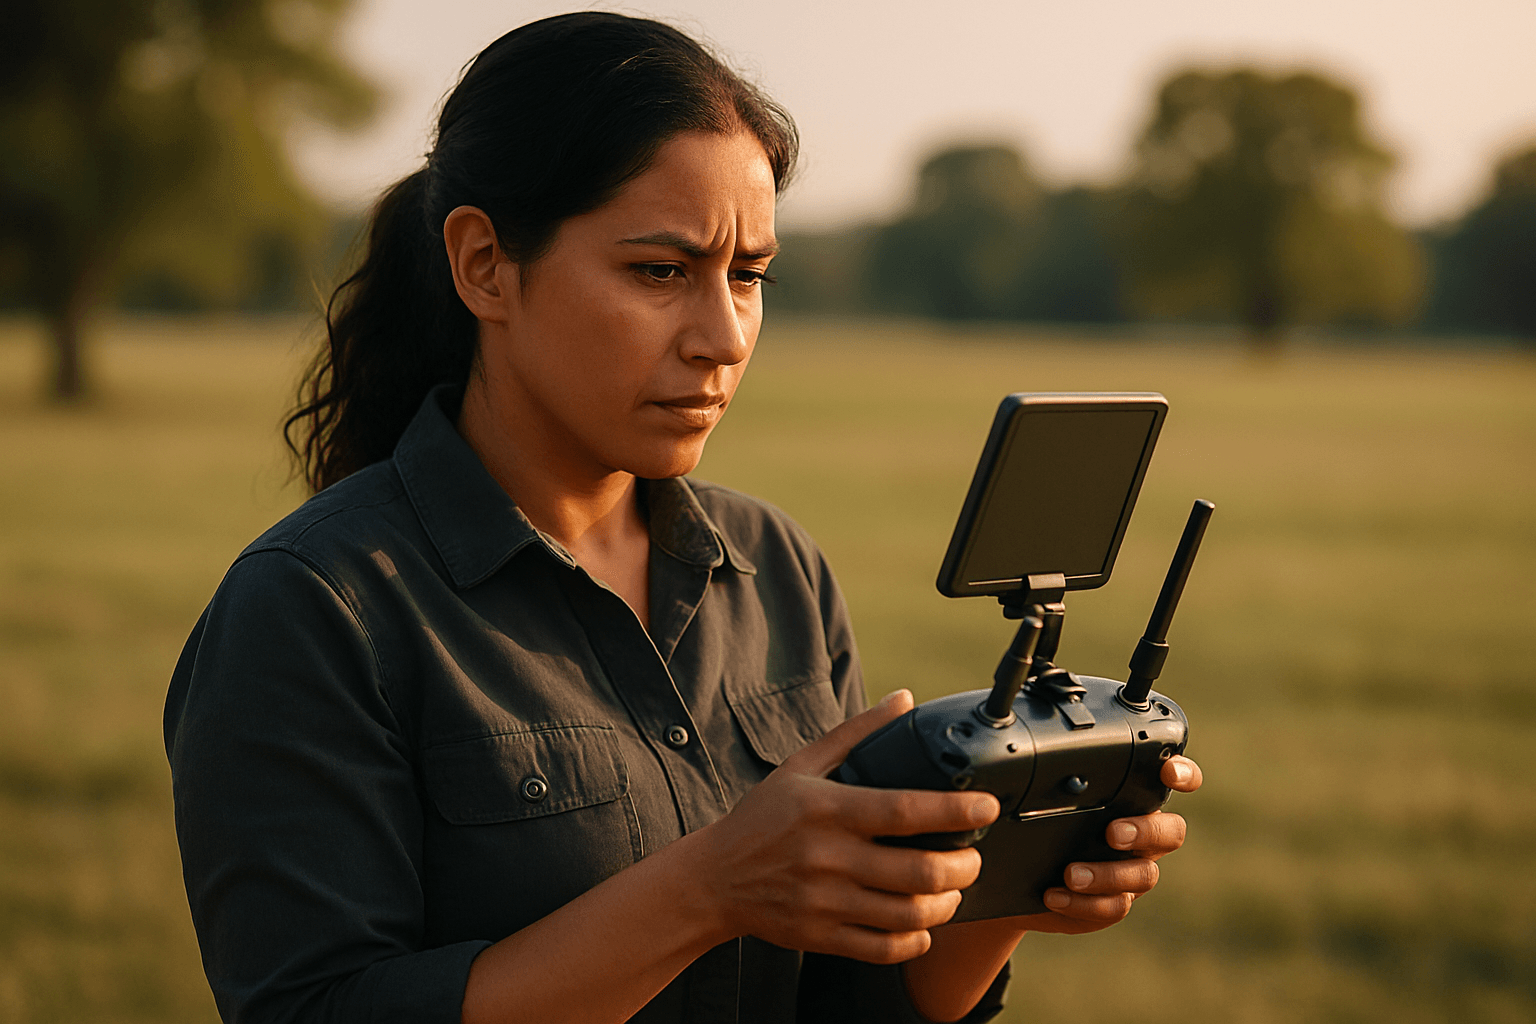
Achieving Dolly Zoom with Drones: Two Primary Methods
There are two main approaches to executing a dolly zoom with a drone, depending on your equipment: in-camera (for drones with optical zoom) or in post-production (for fixed-lens drones).
1. In-Camera Dolly Zoom (Drones with Optical Zoom)
Some advanced drones are equipped with optical zoom lenses, allowing for a true dolly zoom directly in the air. Drones like the DJI Mavic 2 Zoom, DJI Air 2S, DJI Mini 4 Pro, DJI Air 3, and the Mavic 3 series offer this capability. Many of these also feature automated “Dolly Zoom” or “Vertigo” Quickshot modes, simplifying the process.
Recommended Equipment & Setup:
- Drone with Optical Zoom: Essential for performing the effect directly in-camera.
- Manual Camera Settings: Set your drone’s camera to manual mode for consistent exposure throughout the shot. Adjust white balance, ISO, and shutter speed according to lighting conditions to prevent flickering or abrupt brightness changes. A narrower aperture can also help achieve a deeper depth of field, keeping the subject sharp while the background shifts.
- Clear Subject and Background: Ensure a prominent foreground subject and a distinct background with elements at varying distances to maximize the effect.
Step-by-Step Execution:
- Position Your Drone: Begin with your drone at a suitable distance from your subject, with both the subject and a discernible background visible in the frame.
- Start Recording: Activate video recording on your drone.
- Synchronize Movement and Zoom:
- Option 1 (Push In, Zoom Out): Slowly fly your drone towards the subject while simultaneously zooming out using the camera controls in your drone’s app.
- Option 2 (Pull Back, Zoom In): Slowly fly your drone away from the subject while simultaneously zooming in.
- The critical aspect is to maintain the subject’s size consistently in the frame by precisely counteracting the drone’s movement with the zoom. Aim for a moderate, consistent flight speed, such as 2-3 meters per second, for optimal results.
- Automated Quickshots: If your DJI drone (e.g., Mavic 2 Zoom) has a “Dolly Zoom” Quickshot, select it from the Intelligent Flight Modes menu, drag a box around your target on the screen, and tap “GO.” The drone will then automatically perform the coordinated movement and zoom.
- Waypoint Missions: For more precise control and repeatable shots, some drones (like the Mavic 3, Mini 4 Pro, or Air 3) allow you to program a dolly zoom using waypoint missions. You can set two waypoints with different zoom levels and drone positions, then let the drone execute the smooth transition.
2. Post-Production Dolly Zoom (Fixed-Lens Drones)
Even if your drone doesn’t have an optical zoom lens, you can still simulate the dolly zoom effect effectively in post-production. This method relies on shooting in a high resolution (like 4K or 5.4K) and then digitally zooming within your editing software.
Recommended Equipment & Setup:
- High-Resolution Drone Footage: Your drone must be capable of recording in 4K or higher (e.g., 5.4K with the DJI Air 2S) to allow for digital zooming without significant loss of quality in an HD or 4K timeline.
- Clear Foreground and Background: Just as with in-camera, a distinct subject in the foreground and a distant, detailed background are crucial for the effect to be noticeable.
- Video Editing Software: Programs like Adobe Premiere Pro, Final Cut Pro, or DaVinci Resolve are necessary for keyframing the scale of your footage.
Step-by-Step Execution:
- Fly Your Drone: Fly your drone steadily either forwards or backwards towards/away from your subject at a constant speed. The smoother the motion, the better the final effect will be. Moving faster can make the effect more prominent.
- Import Footage: Transfer your high-resolution drone footage to your computer and import it into your preferred video editing software.
- Prepare Your Timeline: Place the clip on your editing timeline. If you shot in 4K and your timeline is 1080p, you already have room to zoom in digitally without losing resolution.
- Apply Keyframe Scaling:
- If the drone flew forward: You need to simulate zooming out. Start the clip zoomed in (e.g., 200% scale in a 1080p timeline from 4K footage) and set a keyframe. Then, as the drone moves forward, set another keyframe at the end of the clip, zooming out to 100% scale.
- If the drone flew backward: You need to simulate zooming in. Start the clip at 100% scale and set a keyframe. As the drone moves backward, set another keyframe at the end of the clip, zooming in to a higher percentage (e.g., 150-200%).
- Refine and Playback: Adjust the keyframes and scaling values until the subject appears to remain relatively constant in size while the background shifts dramatically. Play back the clip to ensure the transition is smooth and consistent. Avoid zooming in too much (e.g., beyond 150-200% on 4K footage for a 1080p timeline) to prevent noticeable pixelation.
- Color Grade and Export: Once satisfied with the effect, proceed with color grading and other post-processing enhancements before exporting your final video.
Tips for Success and Common Pitfalls
- Practice Makes Perfect: The dolly zoom requires precision. Practice both drone movement and camera control (or post-production keyframing) until you can achieve smooth, synchronized results.
- Choose Your Subject Wisely: Select a scene with a clear, distinct foreground subject and a background that offers interesting depth and detail for the effect to truly stand out.
- Maintain Constant Speed: Whether flying forward or backward, strive for a consistent, smooth drone speed. Jerky movements will ruin the illusion.
- Consider Obstacles: When flying backward, ensure there are no obstacles behind the drone, giving it sufficient space to maneuver.
- Experiment with Speeds: Try different drone speeds (slow and fast) to see which creates the most dramatic and desired effect for your shot.
- Don’t Overdo It: While impactful, the dolly zoom is a powerful effect that can lose its impact if overused. Employ it strategically for maximum dramatic effect.
- Check Drone Capabilities: Ensure your drone supports either optical zoom or high-resolution recording (e.g., 4K or 5.4K) necessary for your chosen method.
The drone dolly zoom offers a unique way to add cinematic flair and emotional depth to your aerial footage. By understanding the underlying principles and mastering the execution, you can create truly memorable and professional-looking videos.


